Showing posts with label c: pink. Show all posts

Monday, April 3, 2023

Dashing Diva Gloss Gel Nail Strips Update

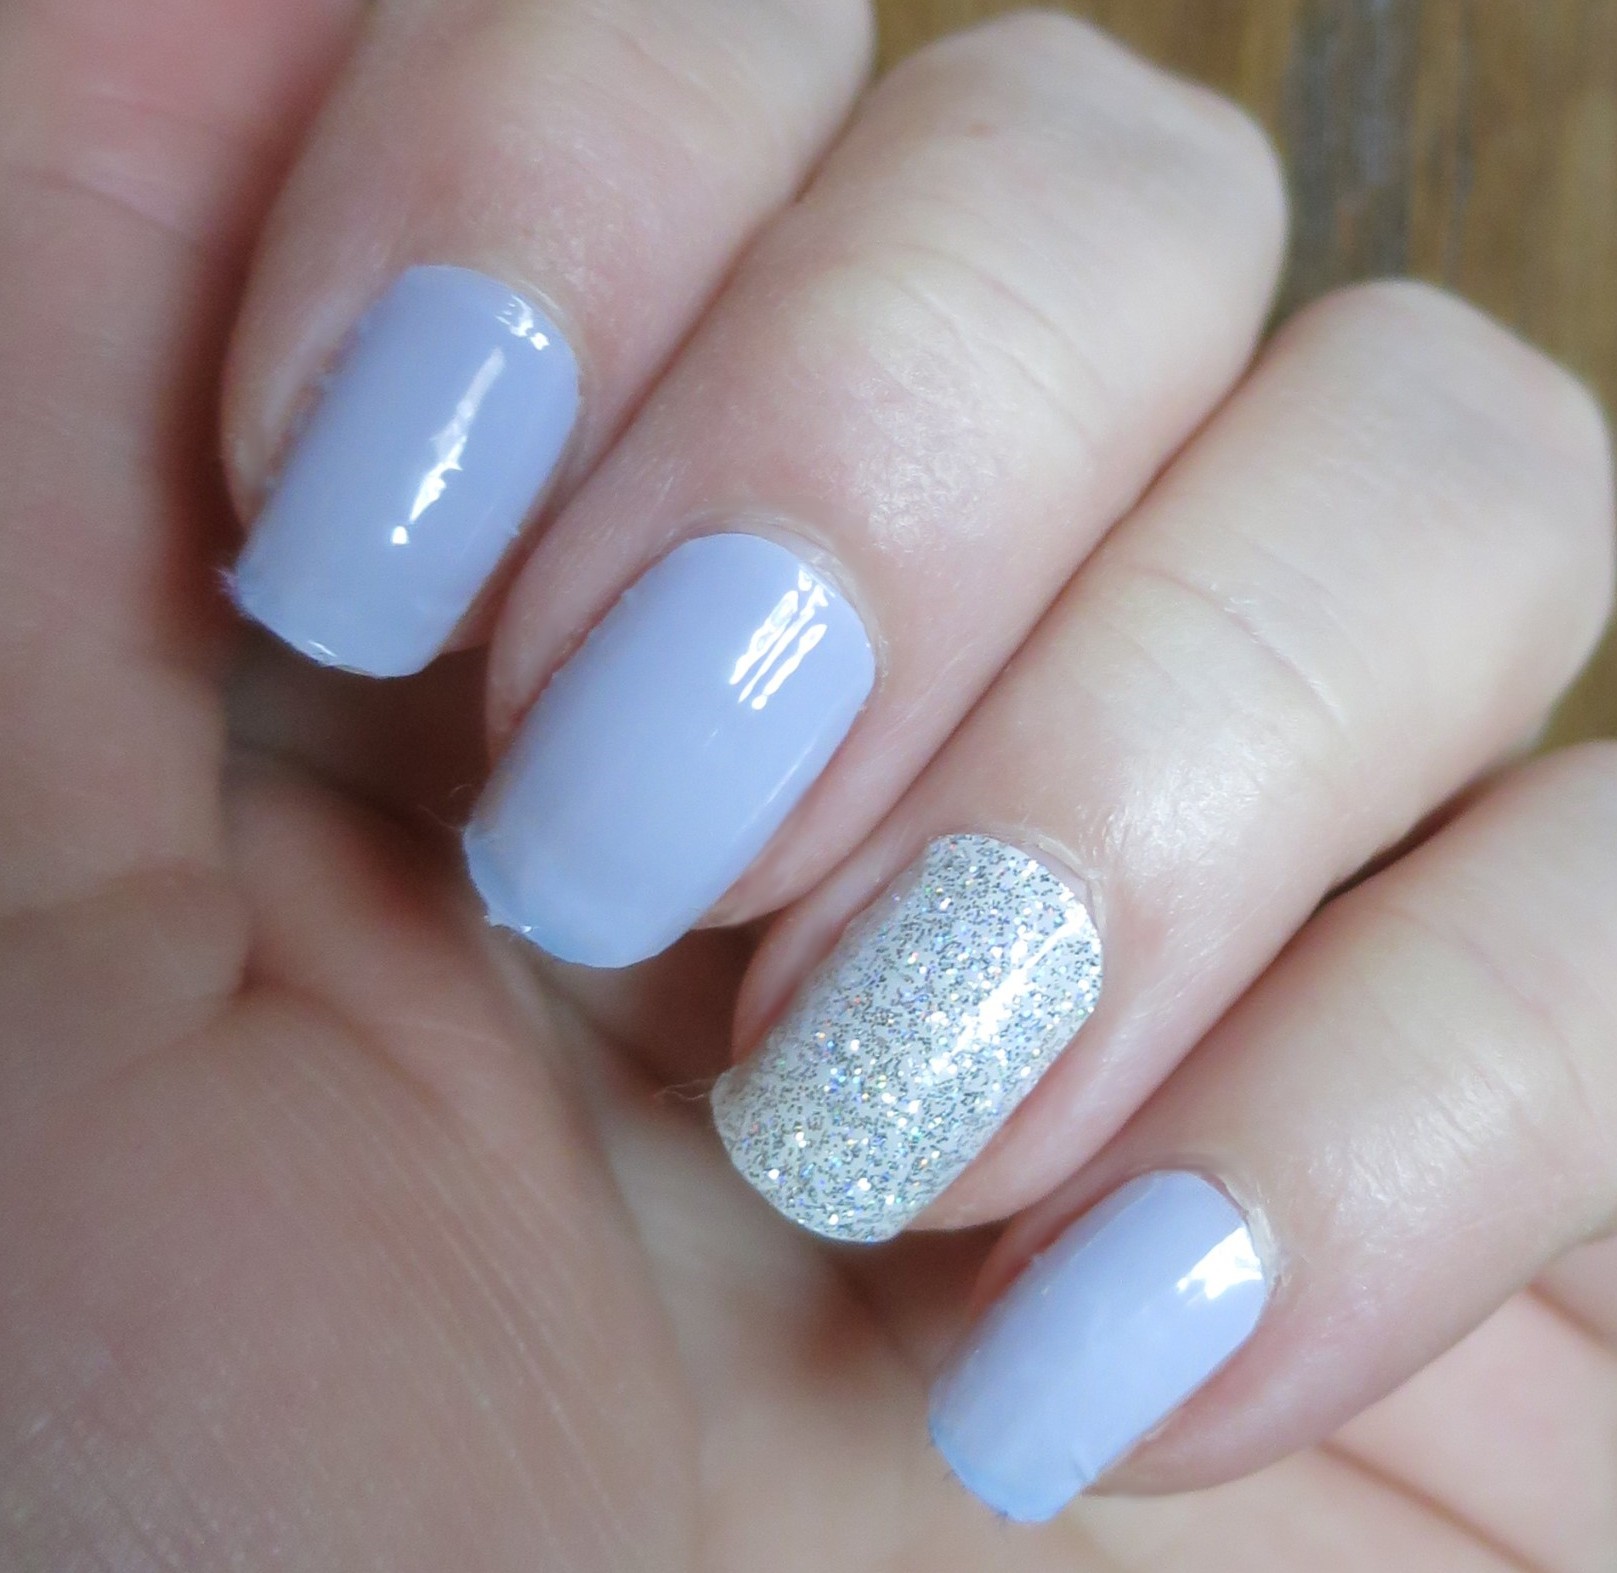
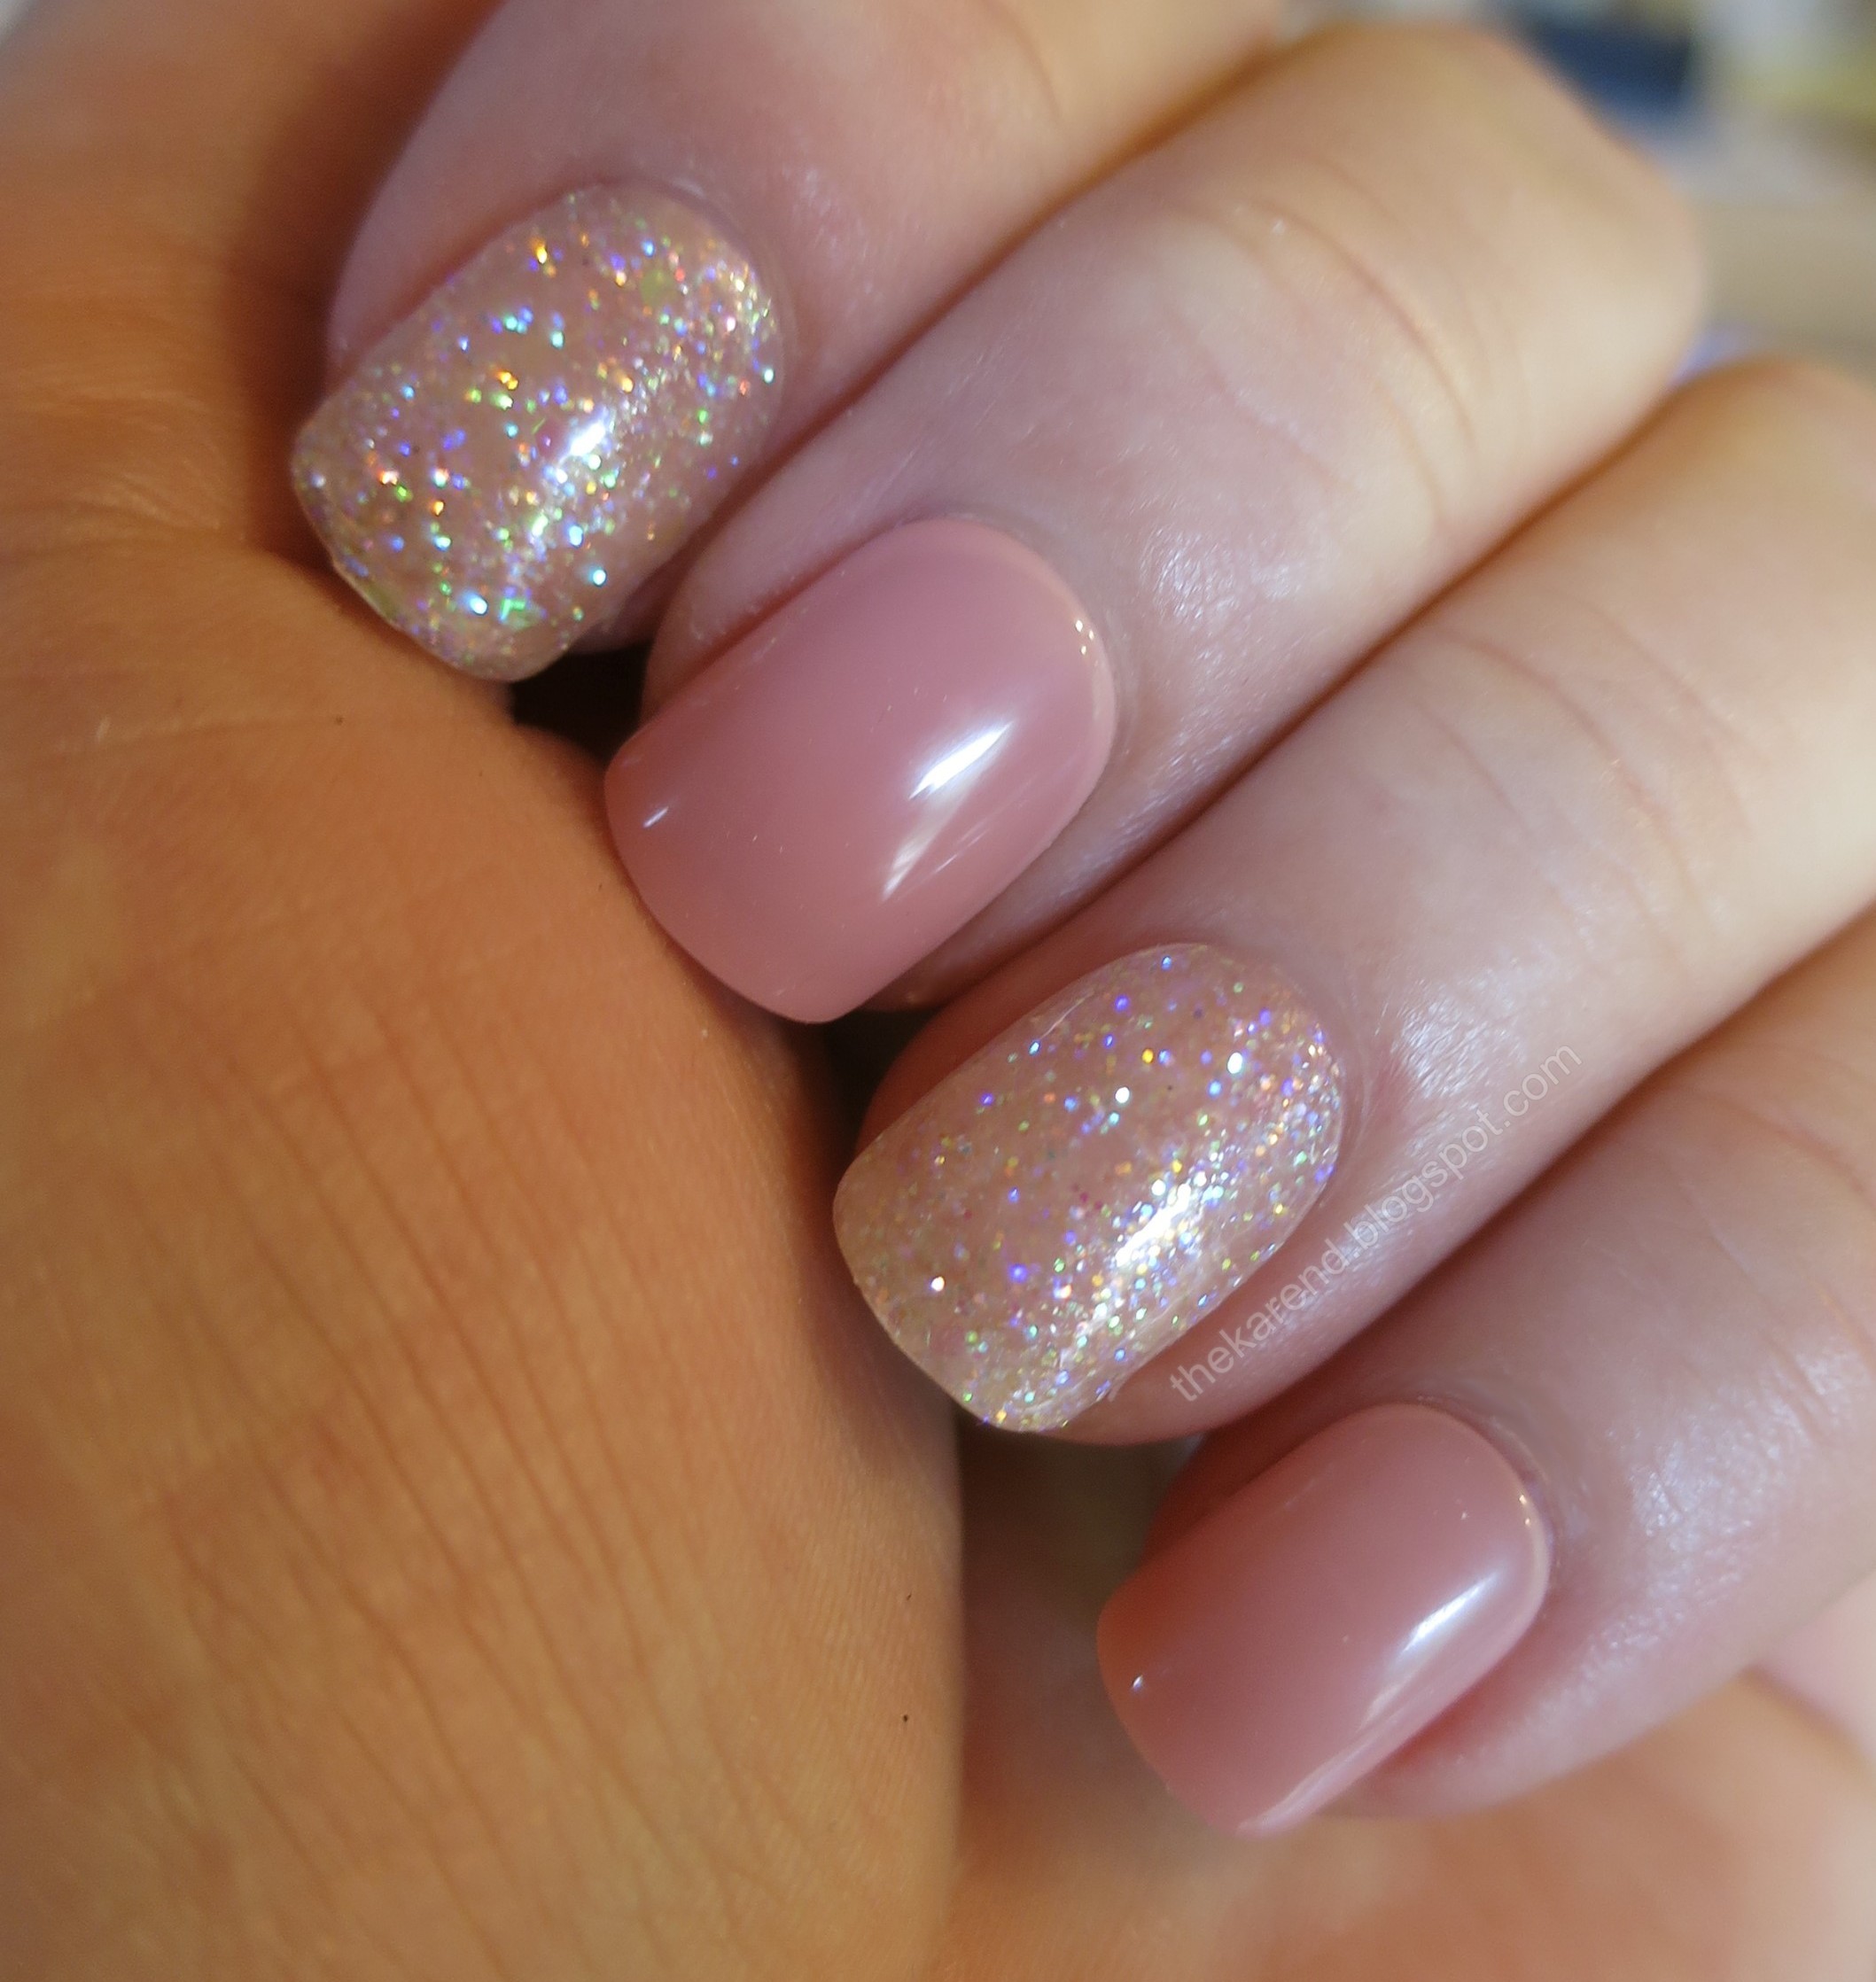
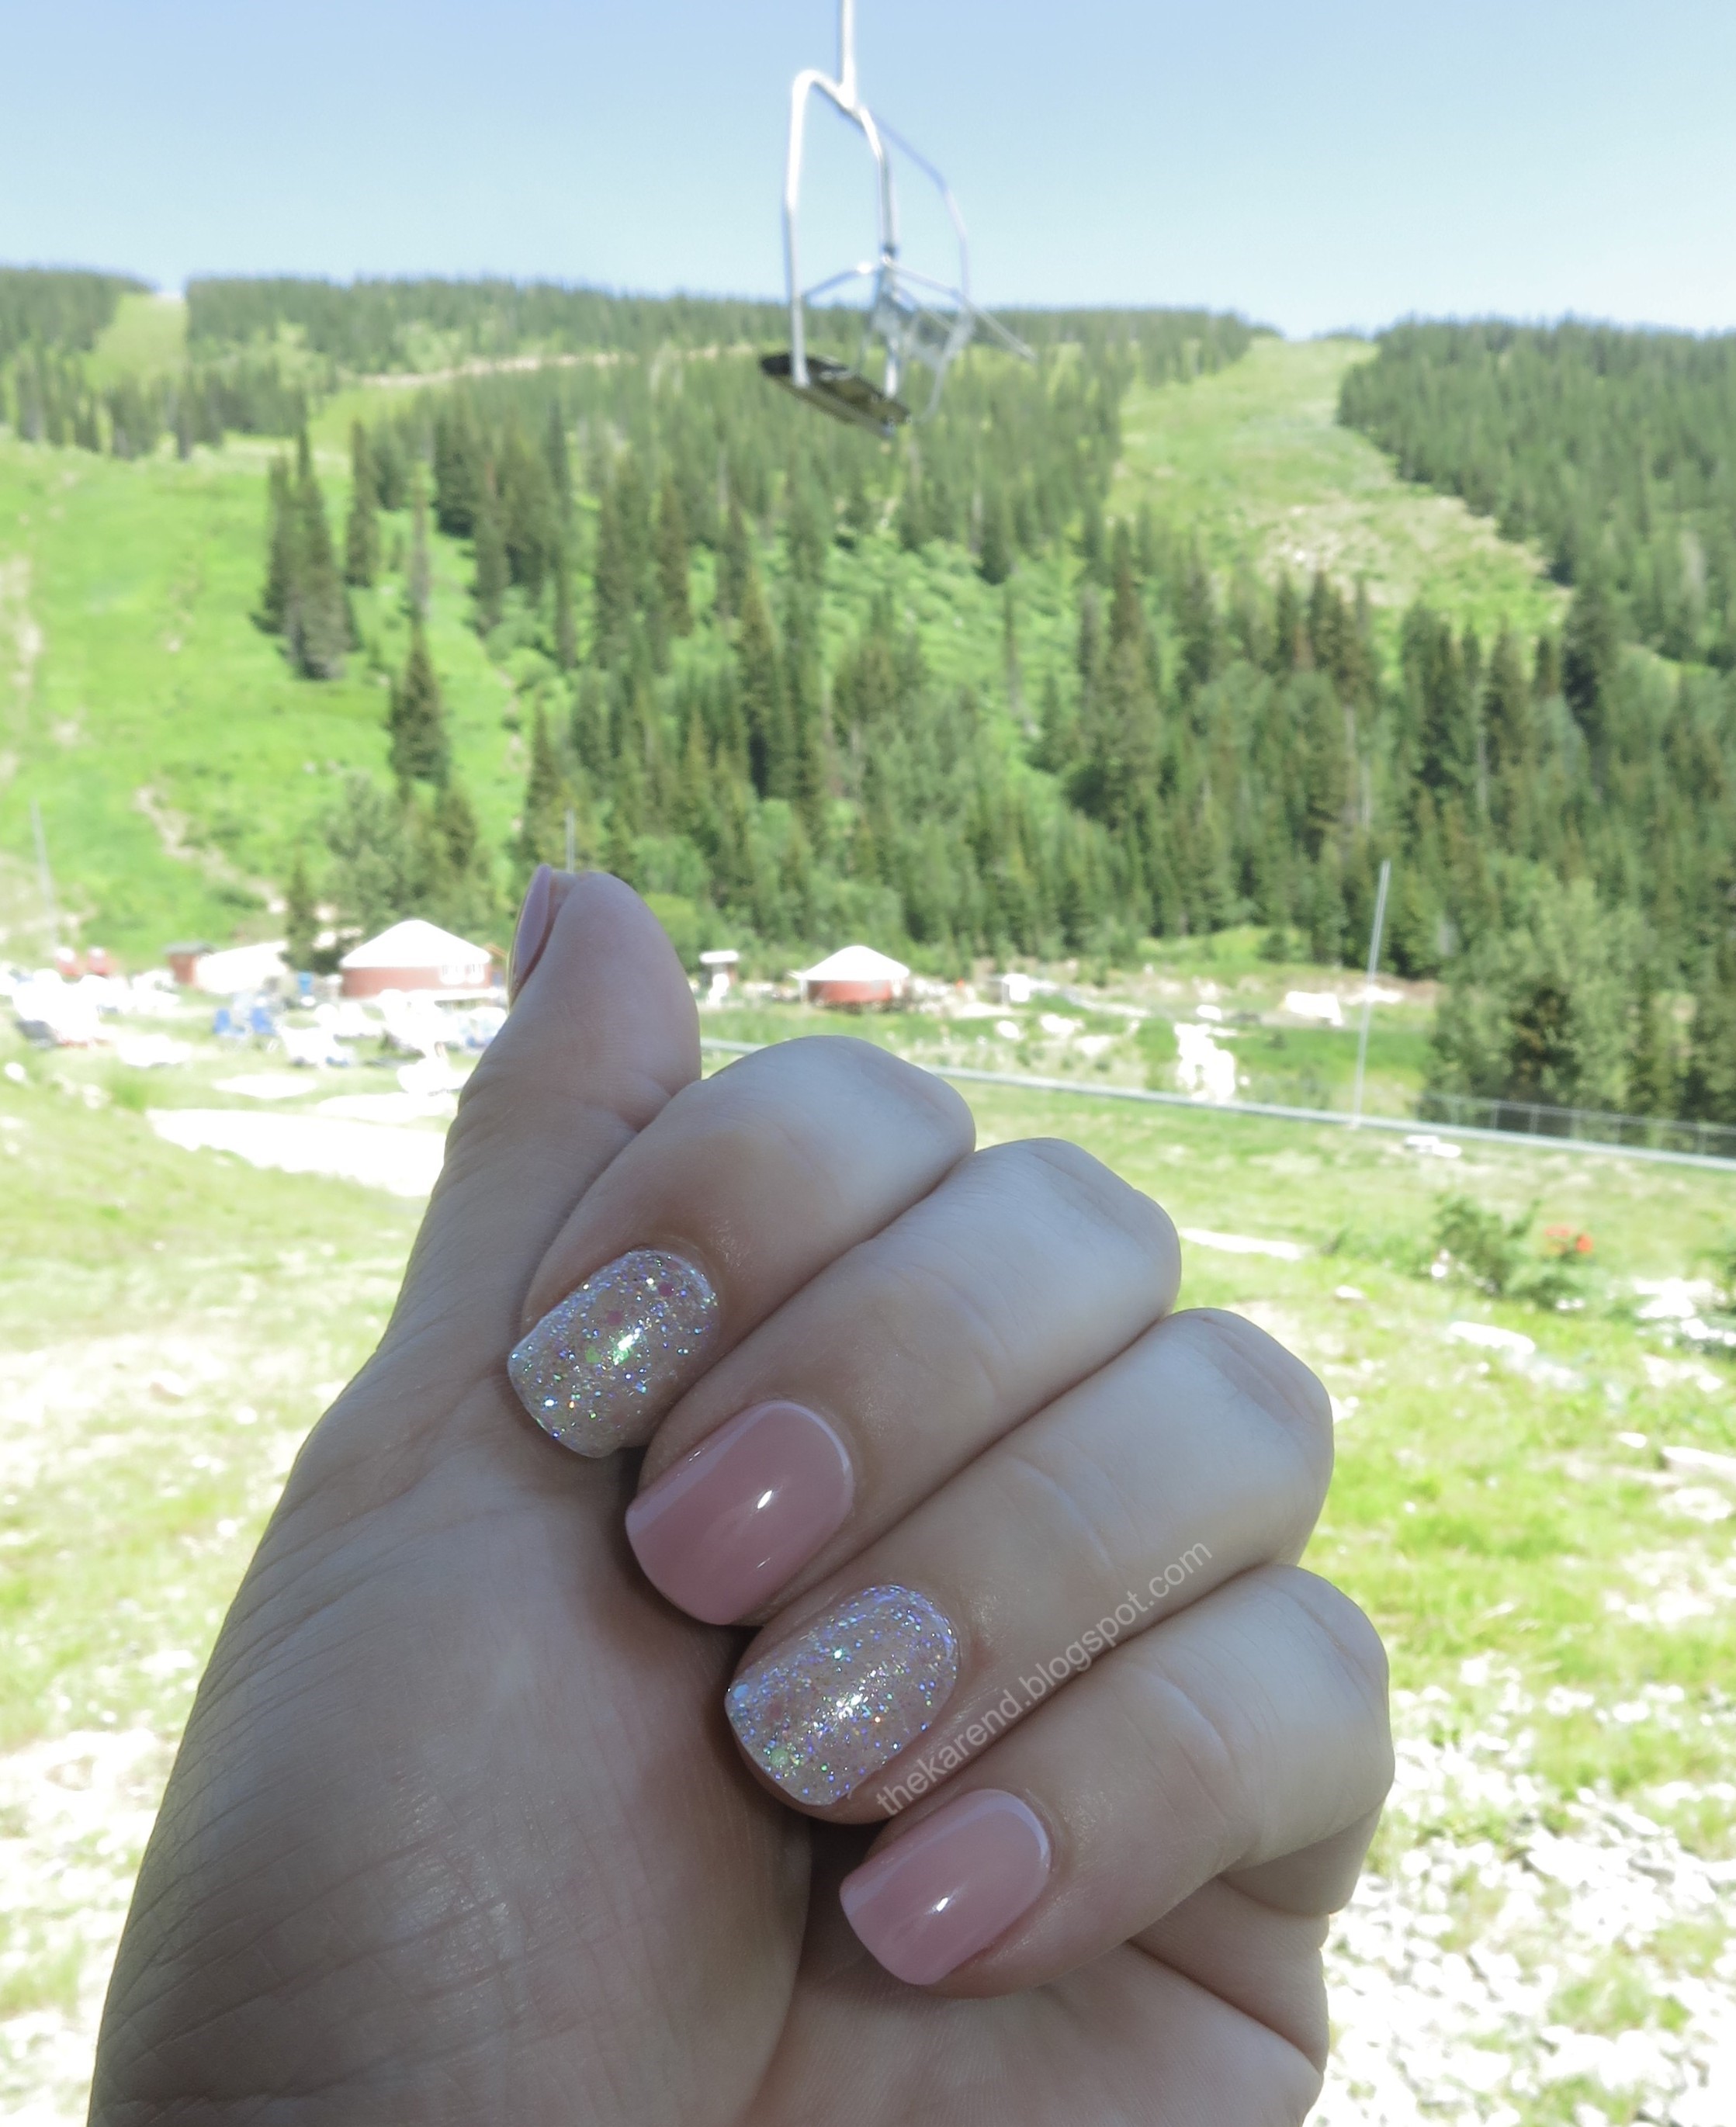
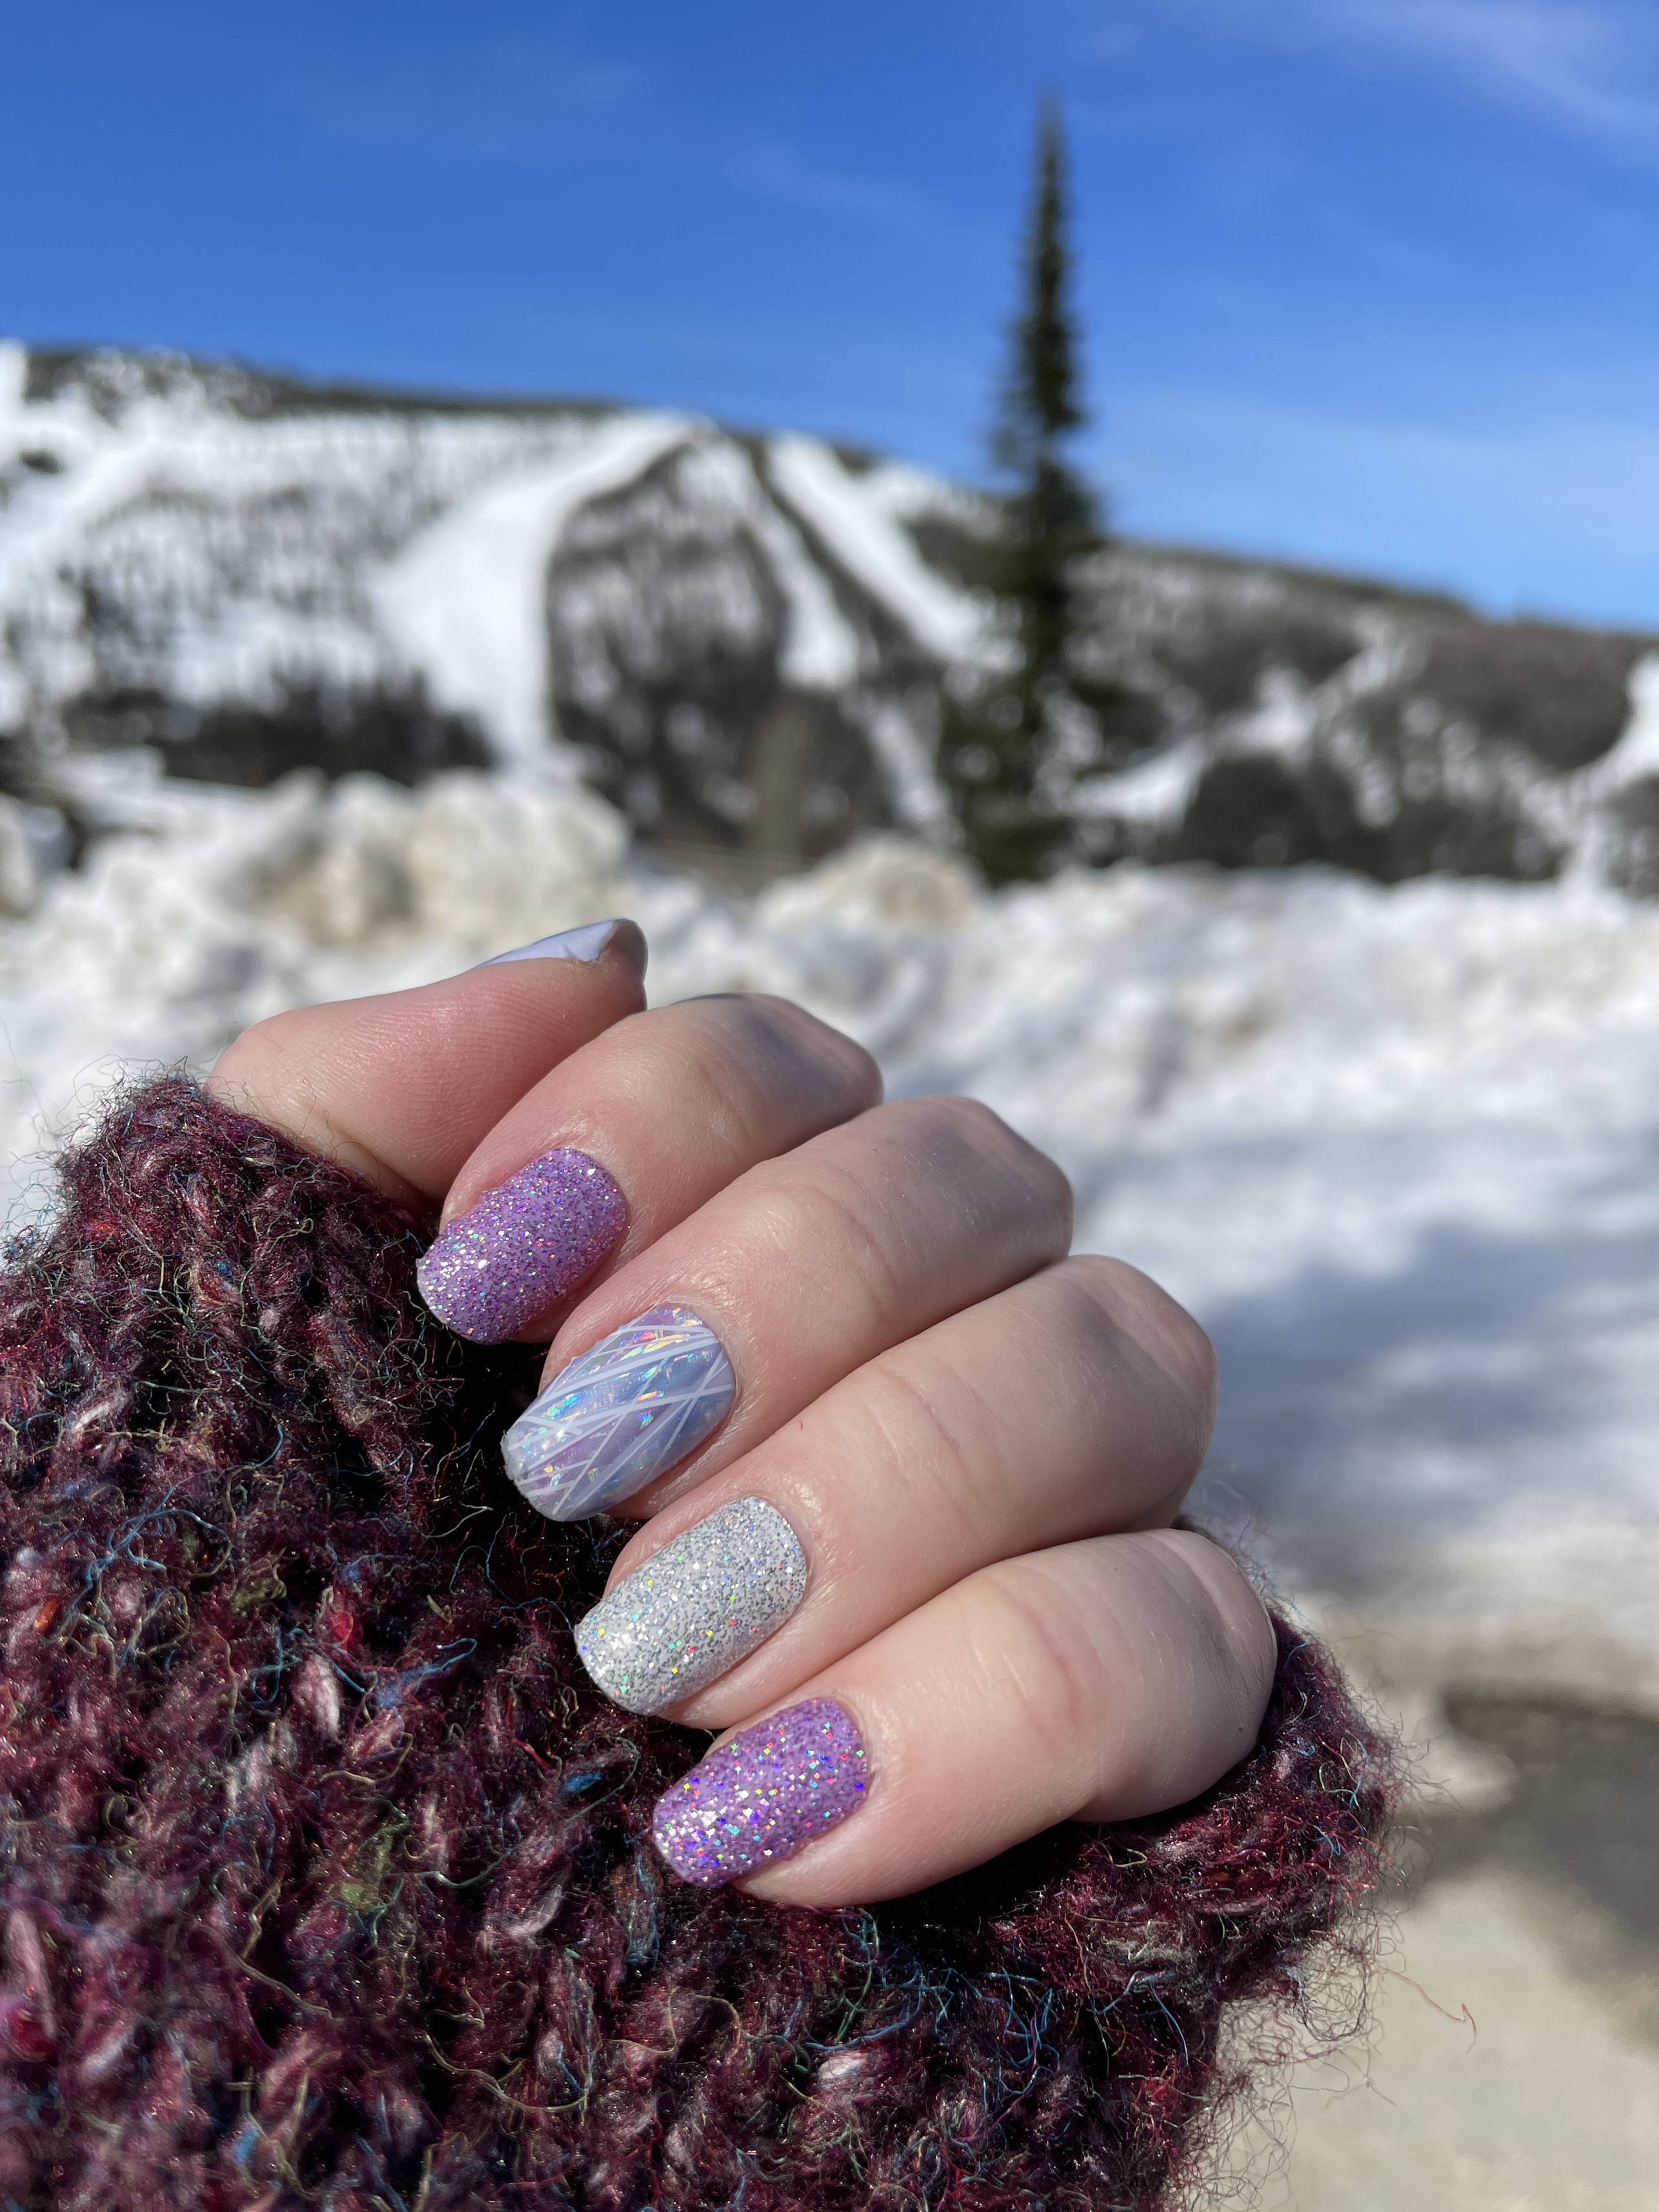
After I posted about my NOTD on Friday, I remembered I'd taken a photo of my nails in the sun that I'd forgotten to include. So I was going to just edit the post and add it, but got distracted (no surprise there). Then on Saturday, I had something unexpected happen to the strips so here I am with a two-photo update. First, the strips in the sun on a recent still wintery but not so cold I needed full gloves day. I liked the sparkle and glow a lot.
 
Dashing Diva Gloss Gel Nail Strips in Gleam Queen
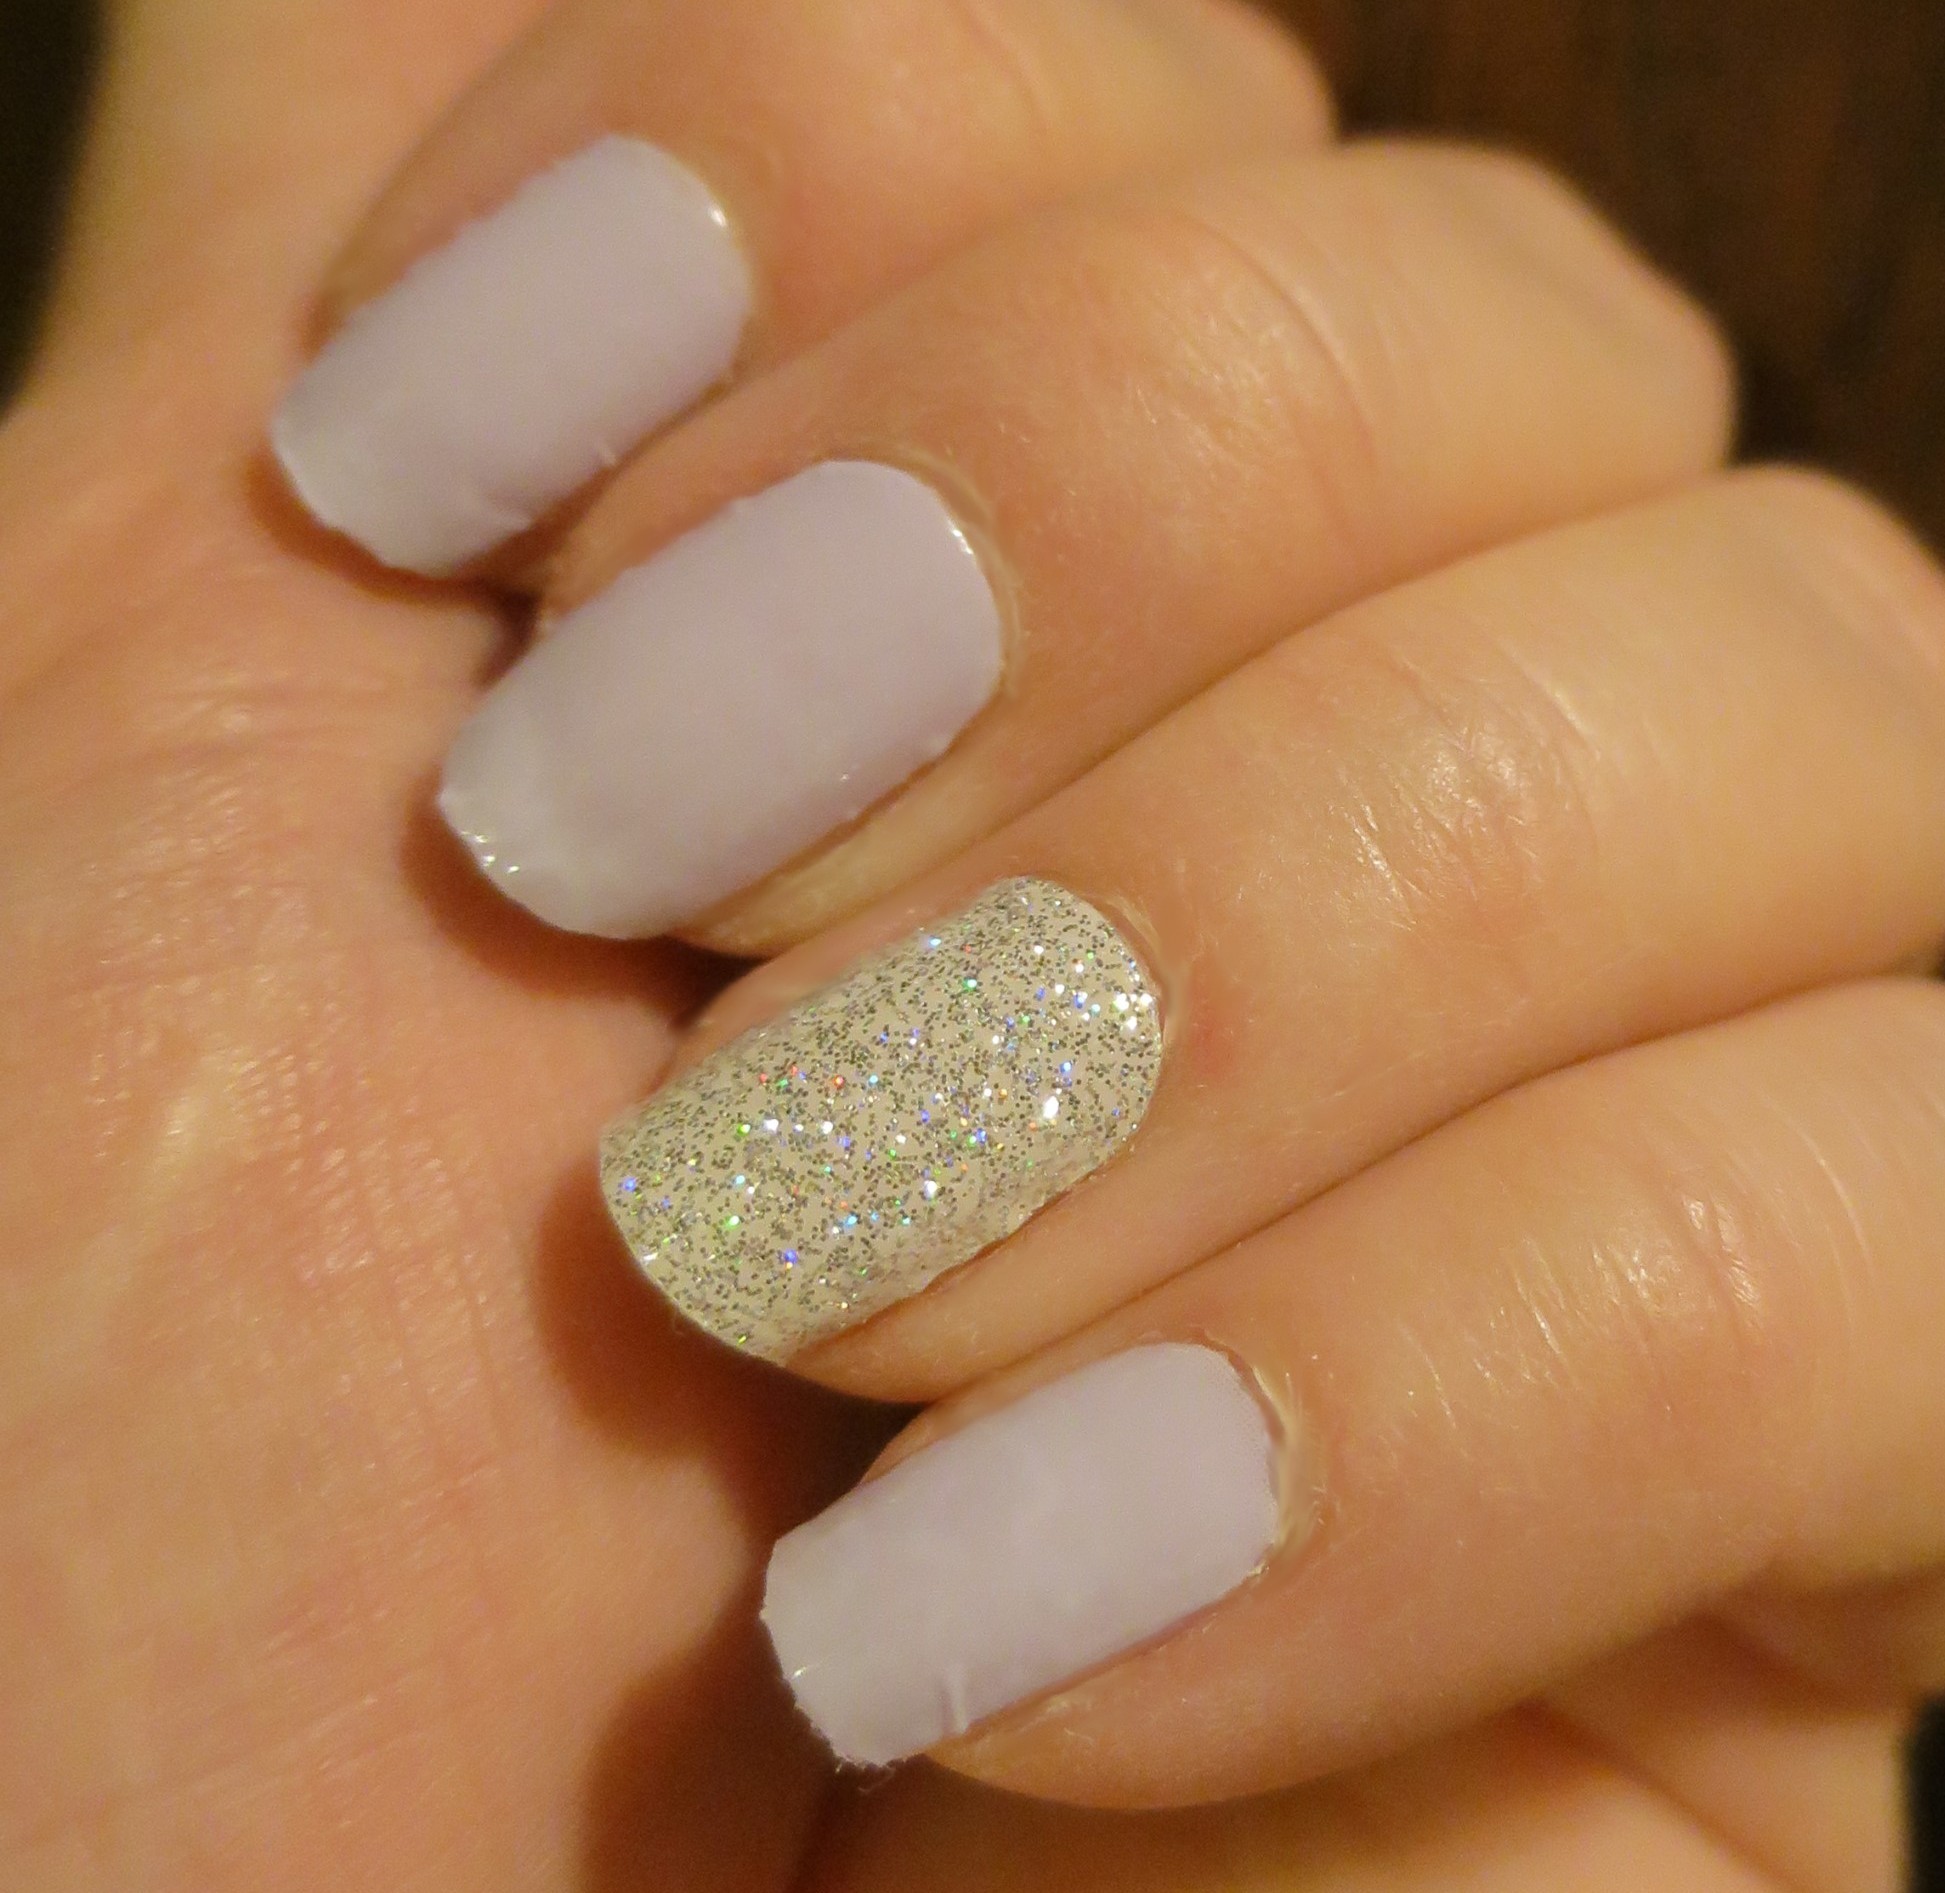
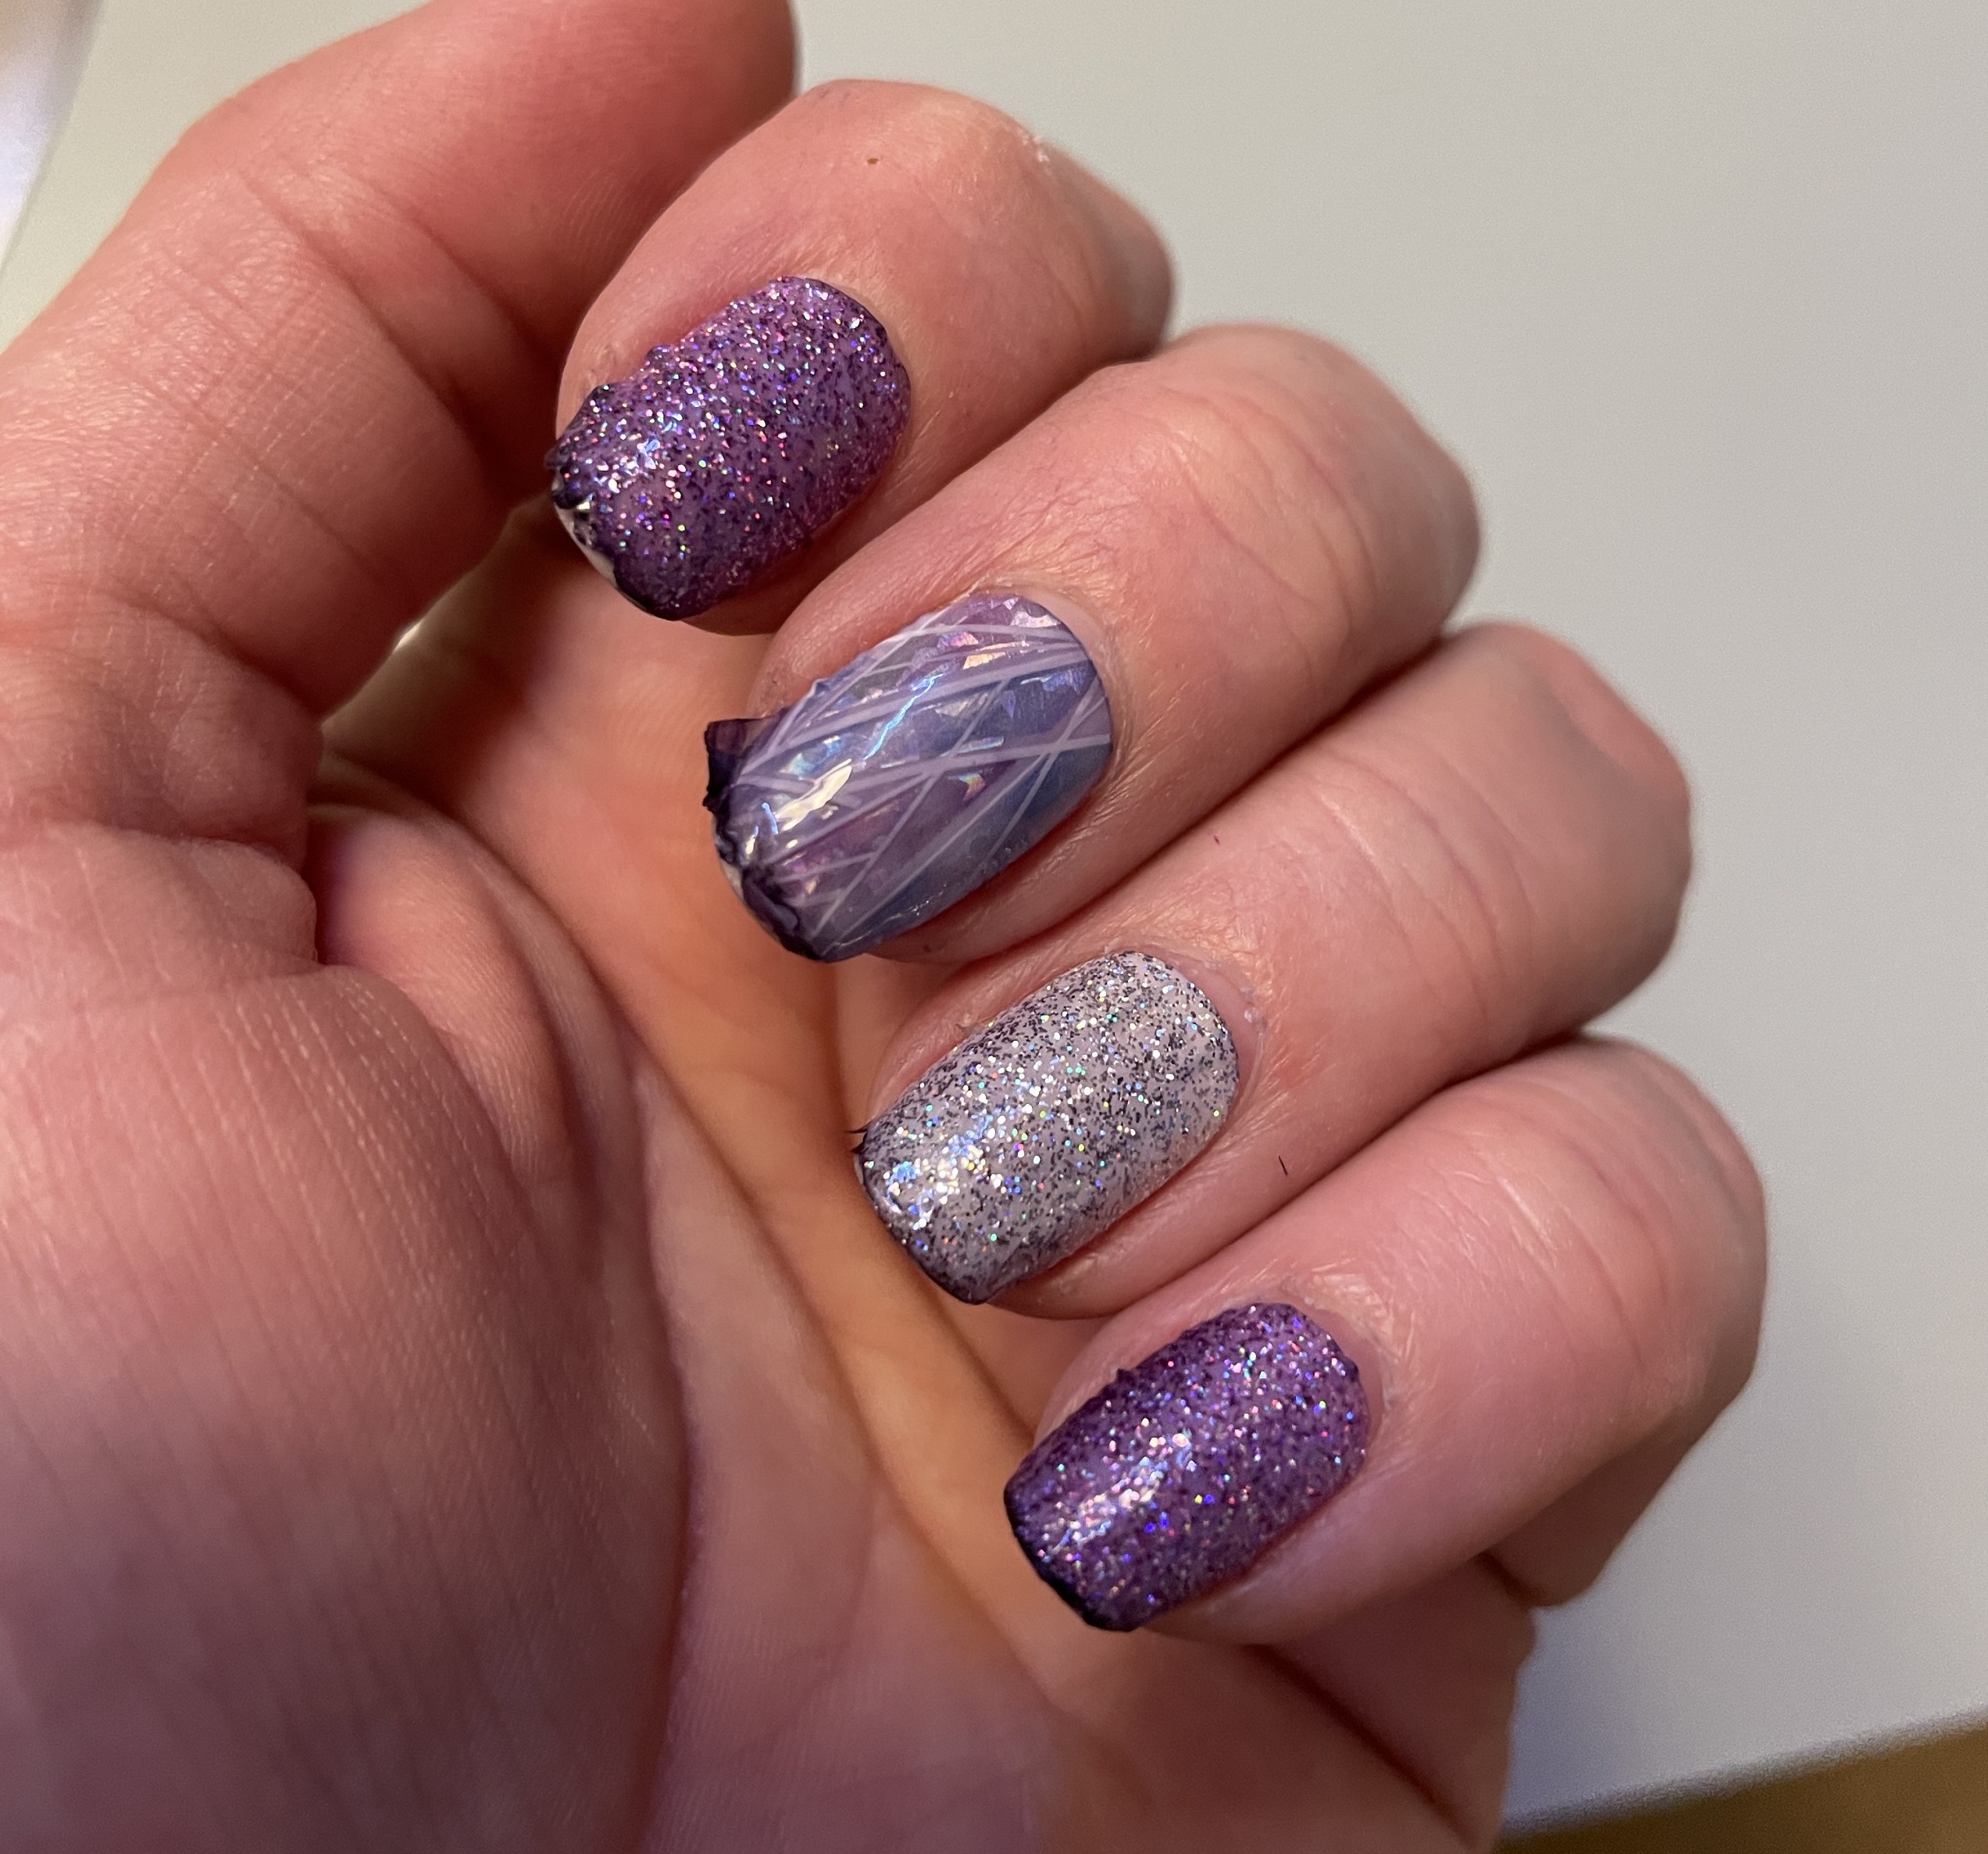
Then Saturday I was a party at some friends' place. Helping to clean up, I used a disinfecting wipe from a container they had. Didn't think anything of it until I noticed the tips of my strips had turned dark. Guess the chemicals in the wipes weren't compatible with the chemicals in the strips. Good to know.
 
Dashing Diva Gloss Gel Nail Strips in Gleam Queen
Given how ratty they were looking, I removed the strips yesterday. As per the instructions, I used a bit of oil on my nails and then peeled them off. They all came off cleanly in one piece each and my nails didn't seem to have suffered any damage. I will probably use the Dashing Diva strips again, though I will probably try putting down a ridge filling base coat first. I can buy the strips at Fred Meyer, so that's convenient, though they just had a few designs the last time I was there. Maybe supply chain issues from the pandemic still.

Friday, March 31, 2023

Dashing Diva Gloss Gel Nail Strips

Well hello. I had a good break from nail blogging. I've still been paying attention to a couple of polish groups on Facebook and looking for displays when I have the opportunity. Last month, I saw a mainstream collection that inspired me to not just photograph it, but buy all the colors and I've used two of them already (on my toes, so won't be sharing those here because that's a whole thing). I hope to at least get a display post with those in it up next week. Now, though, Ij ust couldn't let all of March go by without posting something, so here I am with the first nail look I've done in ages that didn't involve press on fake nails (not that there's anything wrong with fake nails).

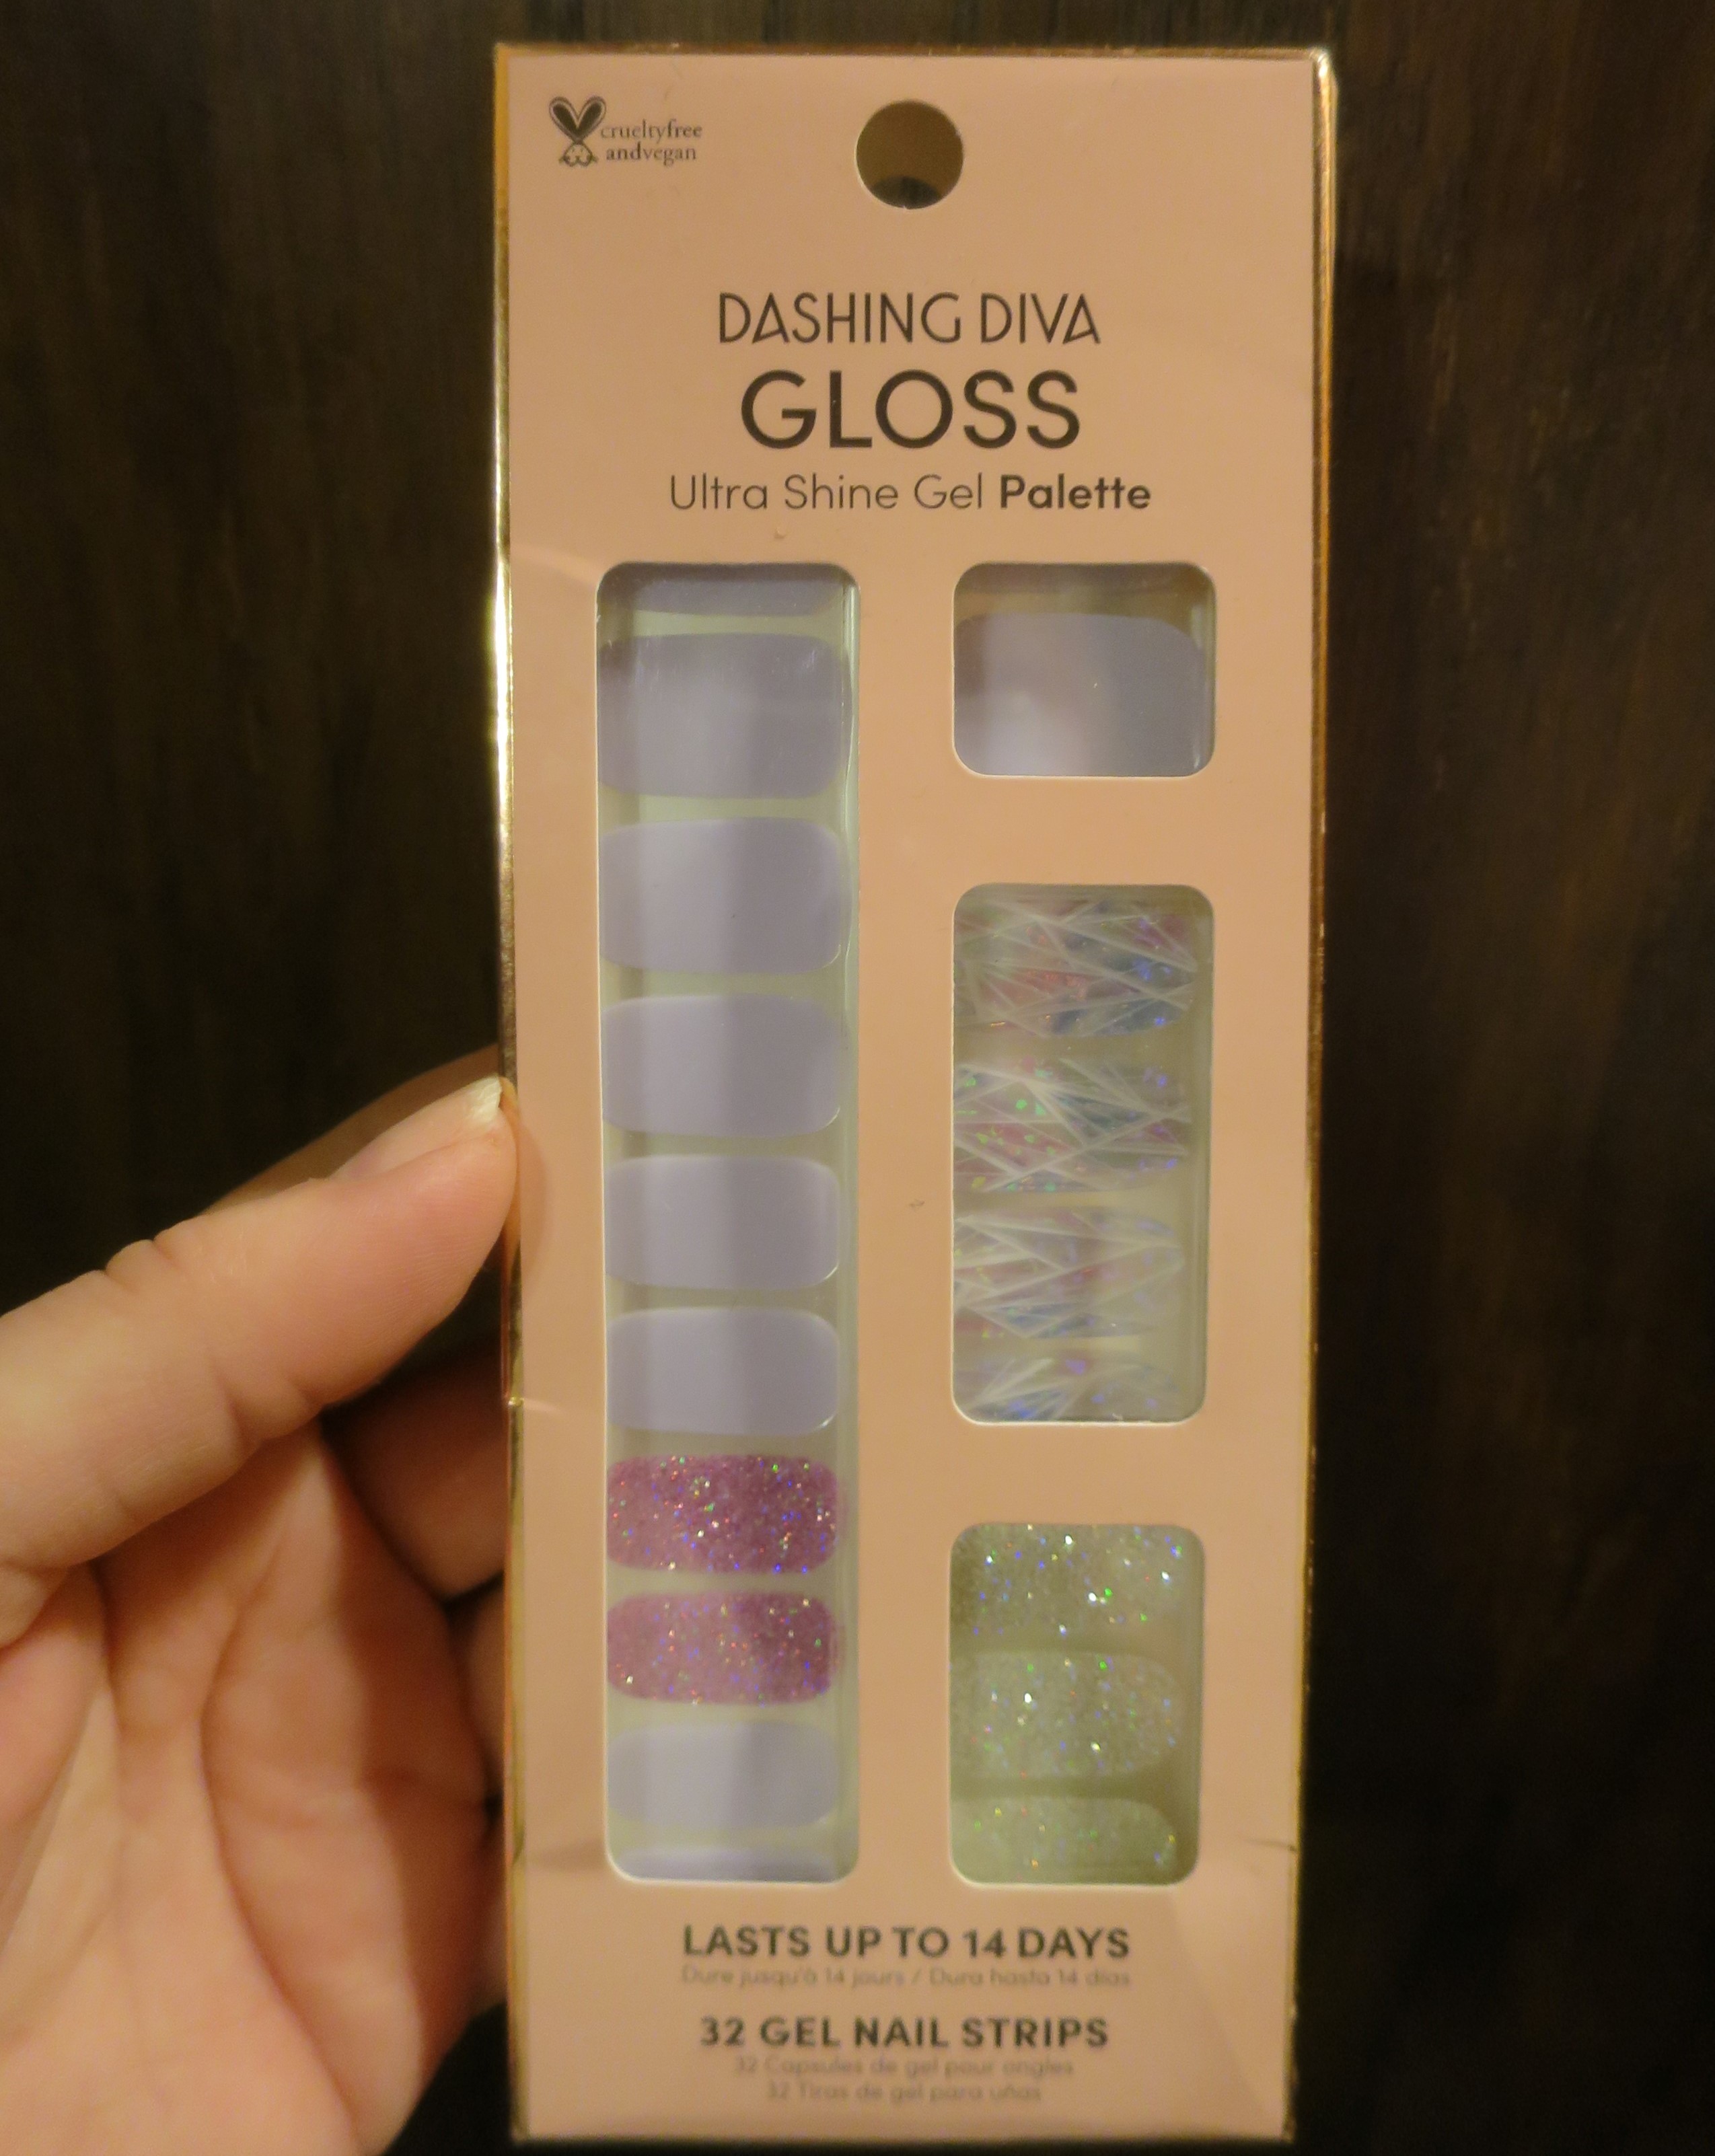
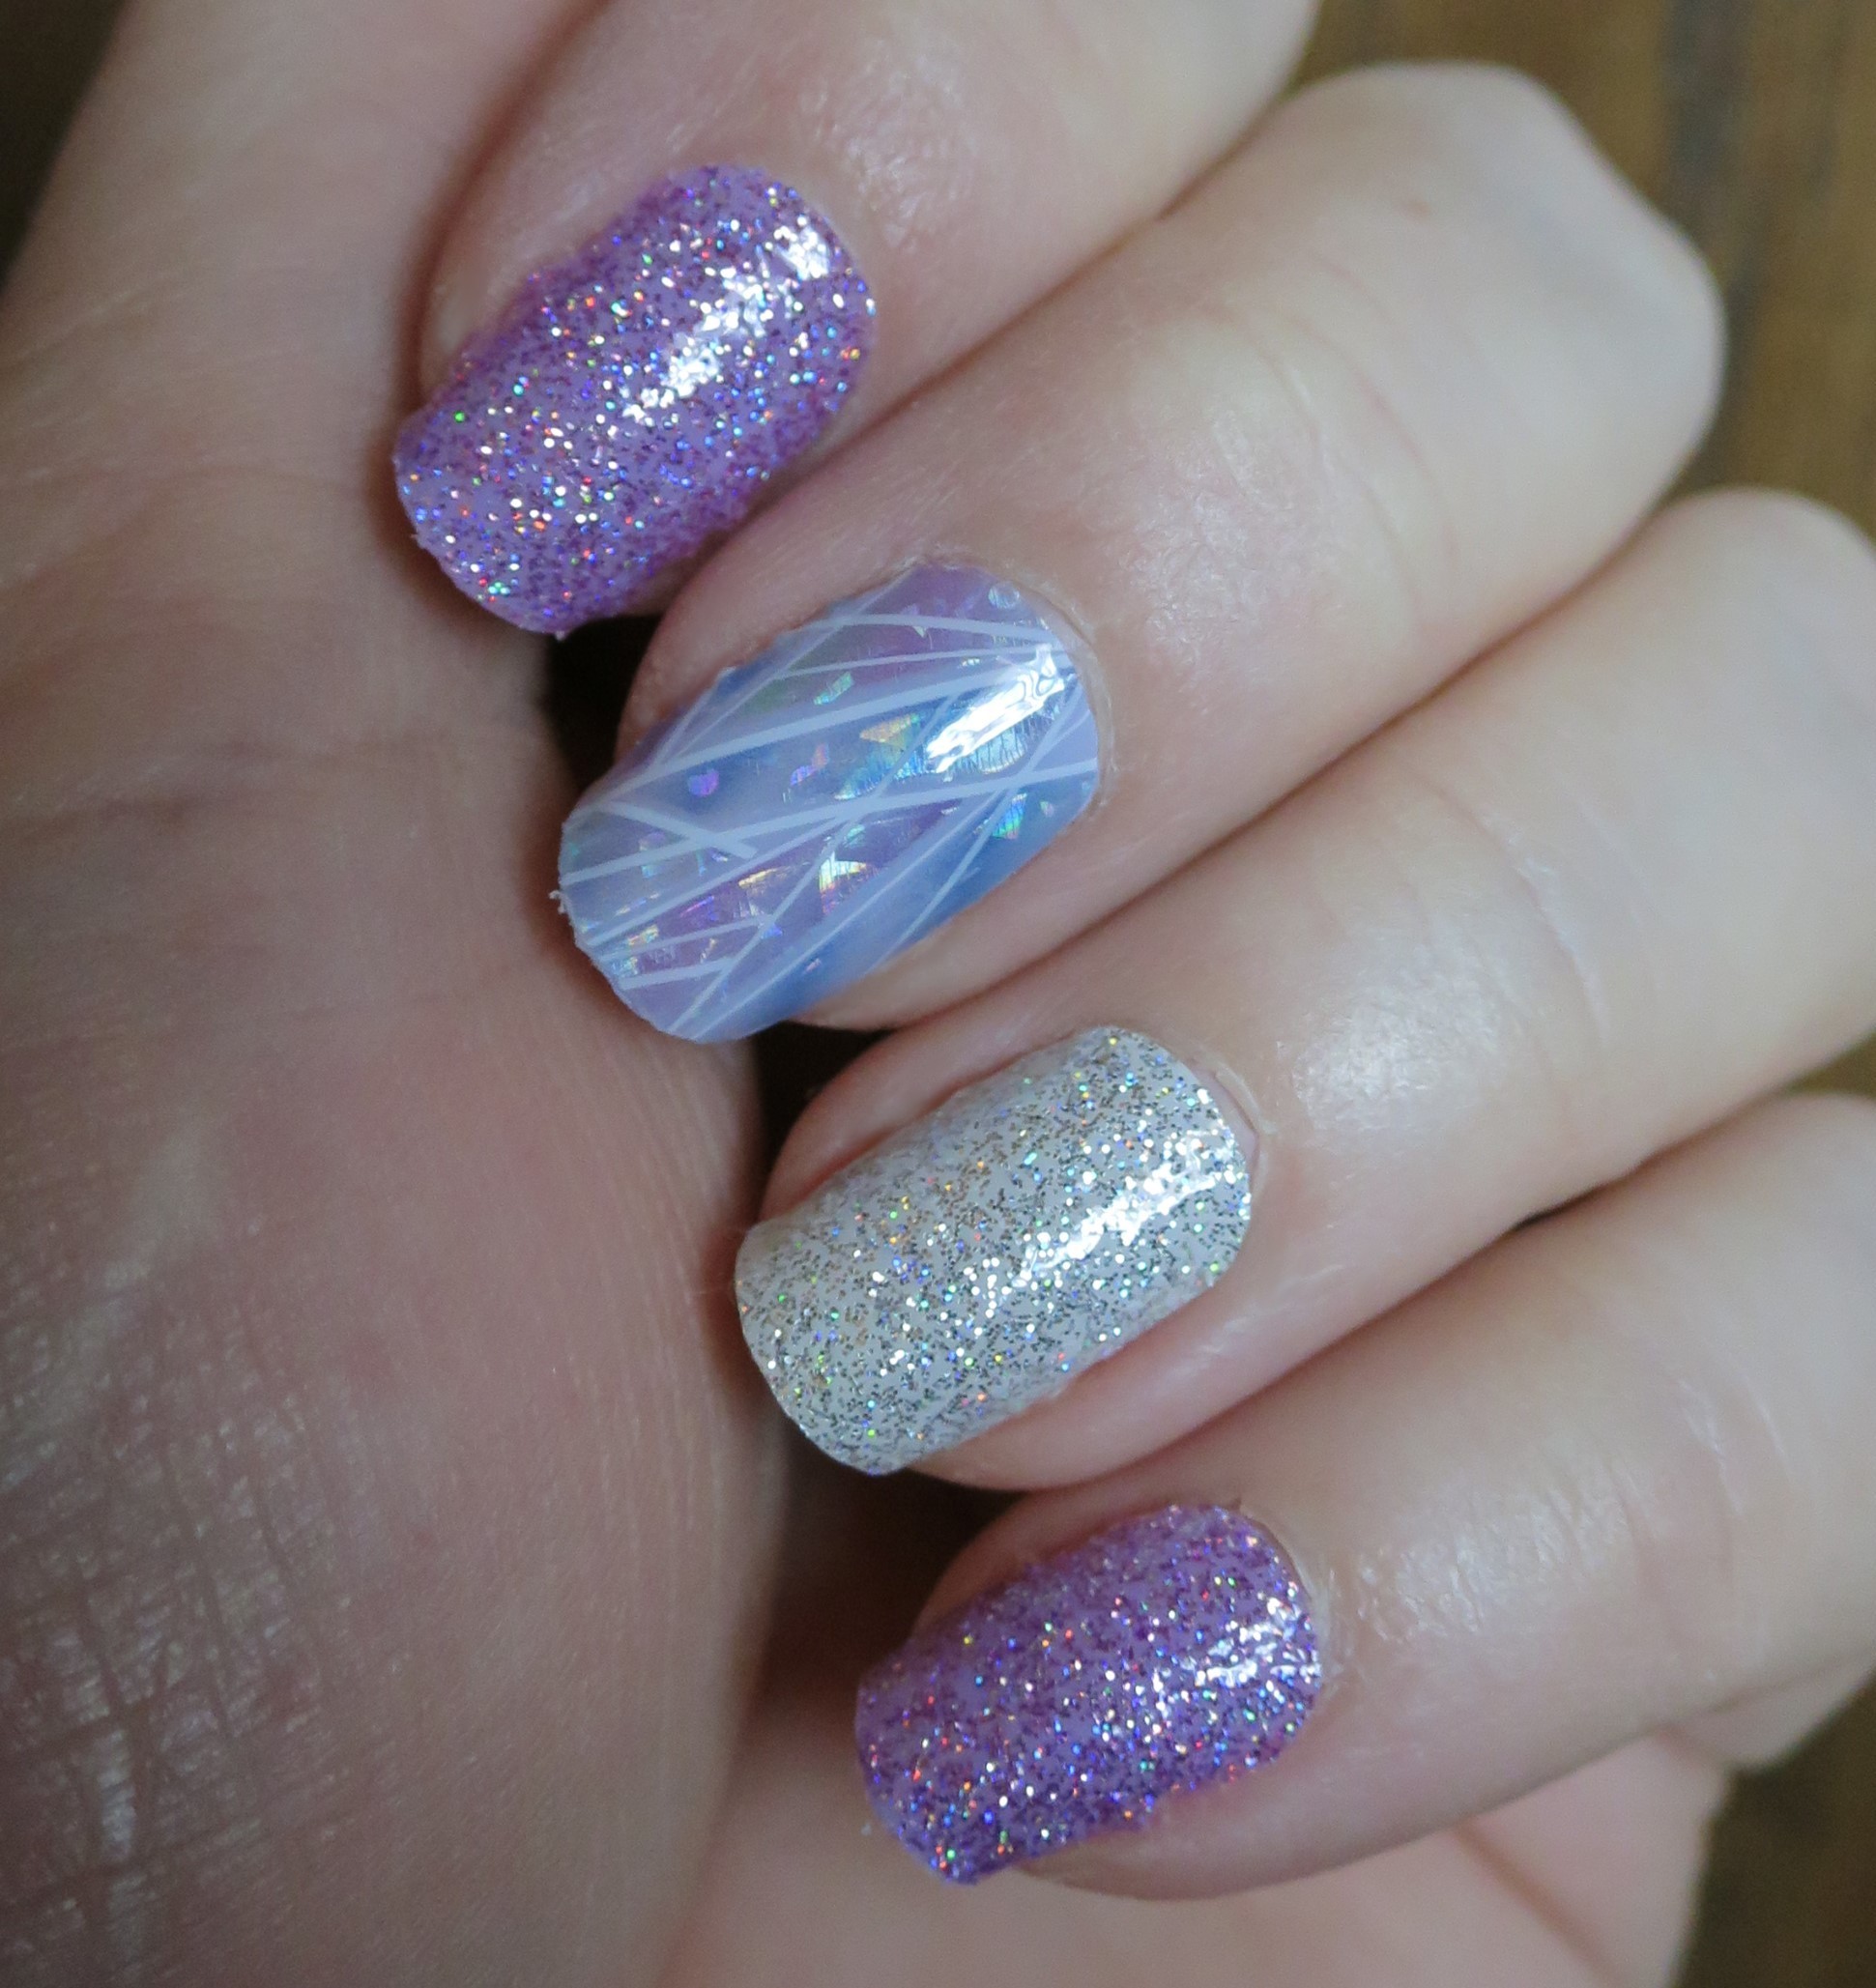
Late last week I found a set of Dashing Diva Gloss Gel Nail Strips when I was looking for a new set of fake nails to put on (yes, the organization of my nail stuff is an ongoing issue). I'd had a few too many nails pop off from set I was wearing so thought why not try the strips. Those aren't going to end up on the floor of someone else's house the way my fake nails had the other week (twice at the same party, even). I put them on late at night at home, so please forgive the wonky lighting in these next several pics. This set is called Gleam Queen and has mostly lilac creme strips, with three different accent options: purpley pink microglitter, silver microglitter, and lilac and pink "stained glass" with white leading.
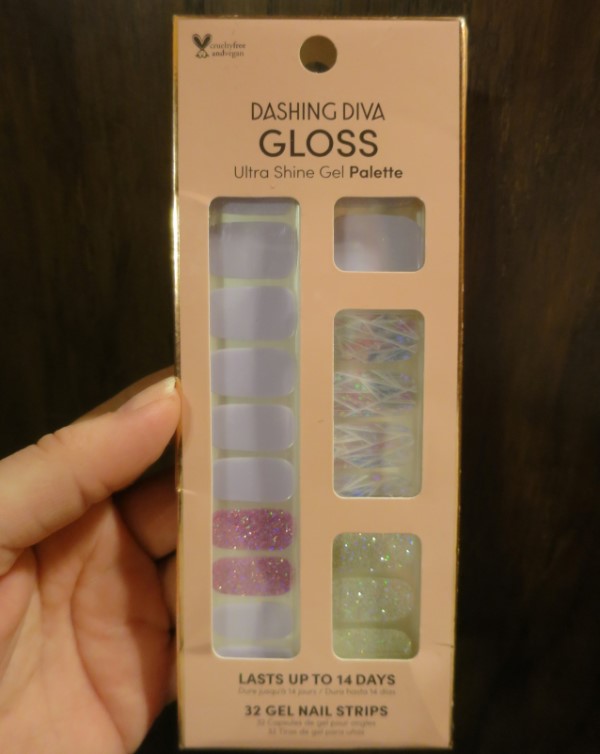
 
Dashing Diva Gloss Gel Nail Strips in Gleam Queen
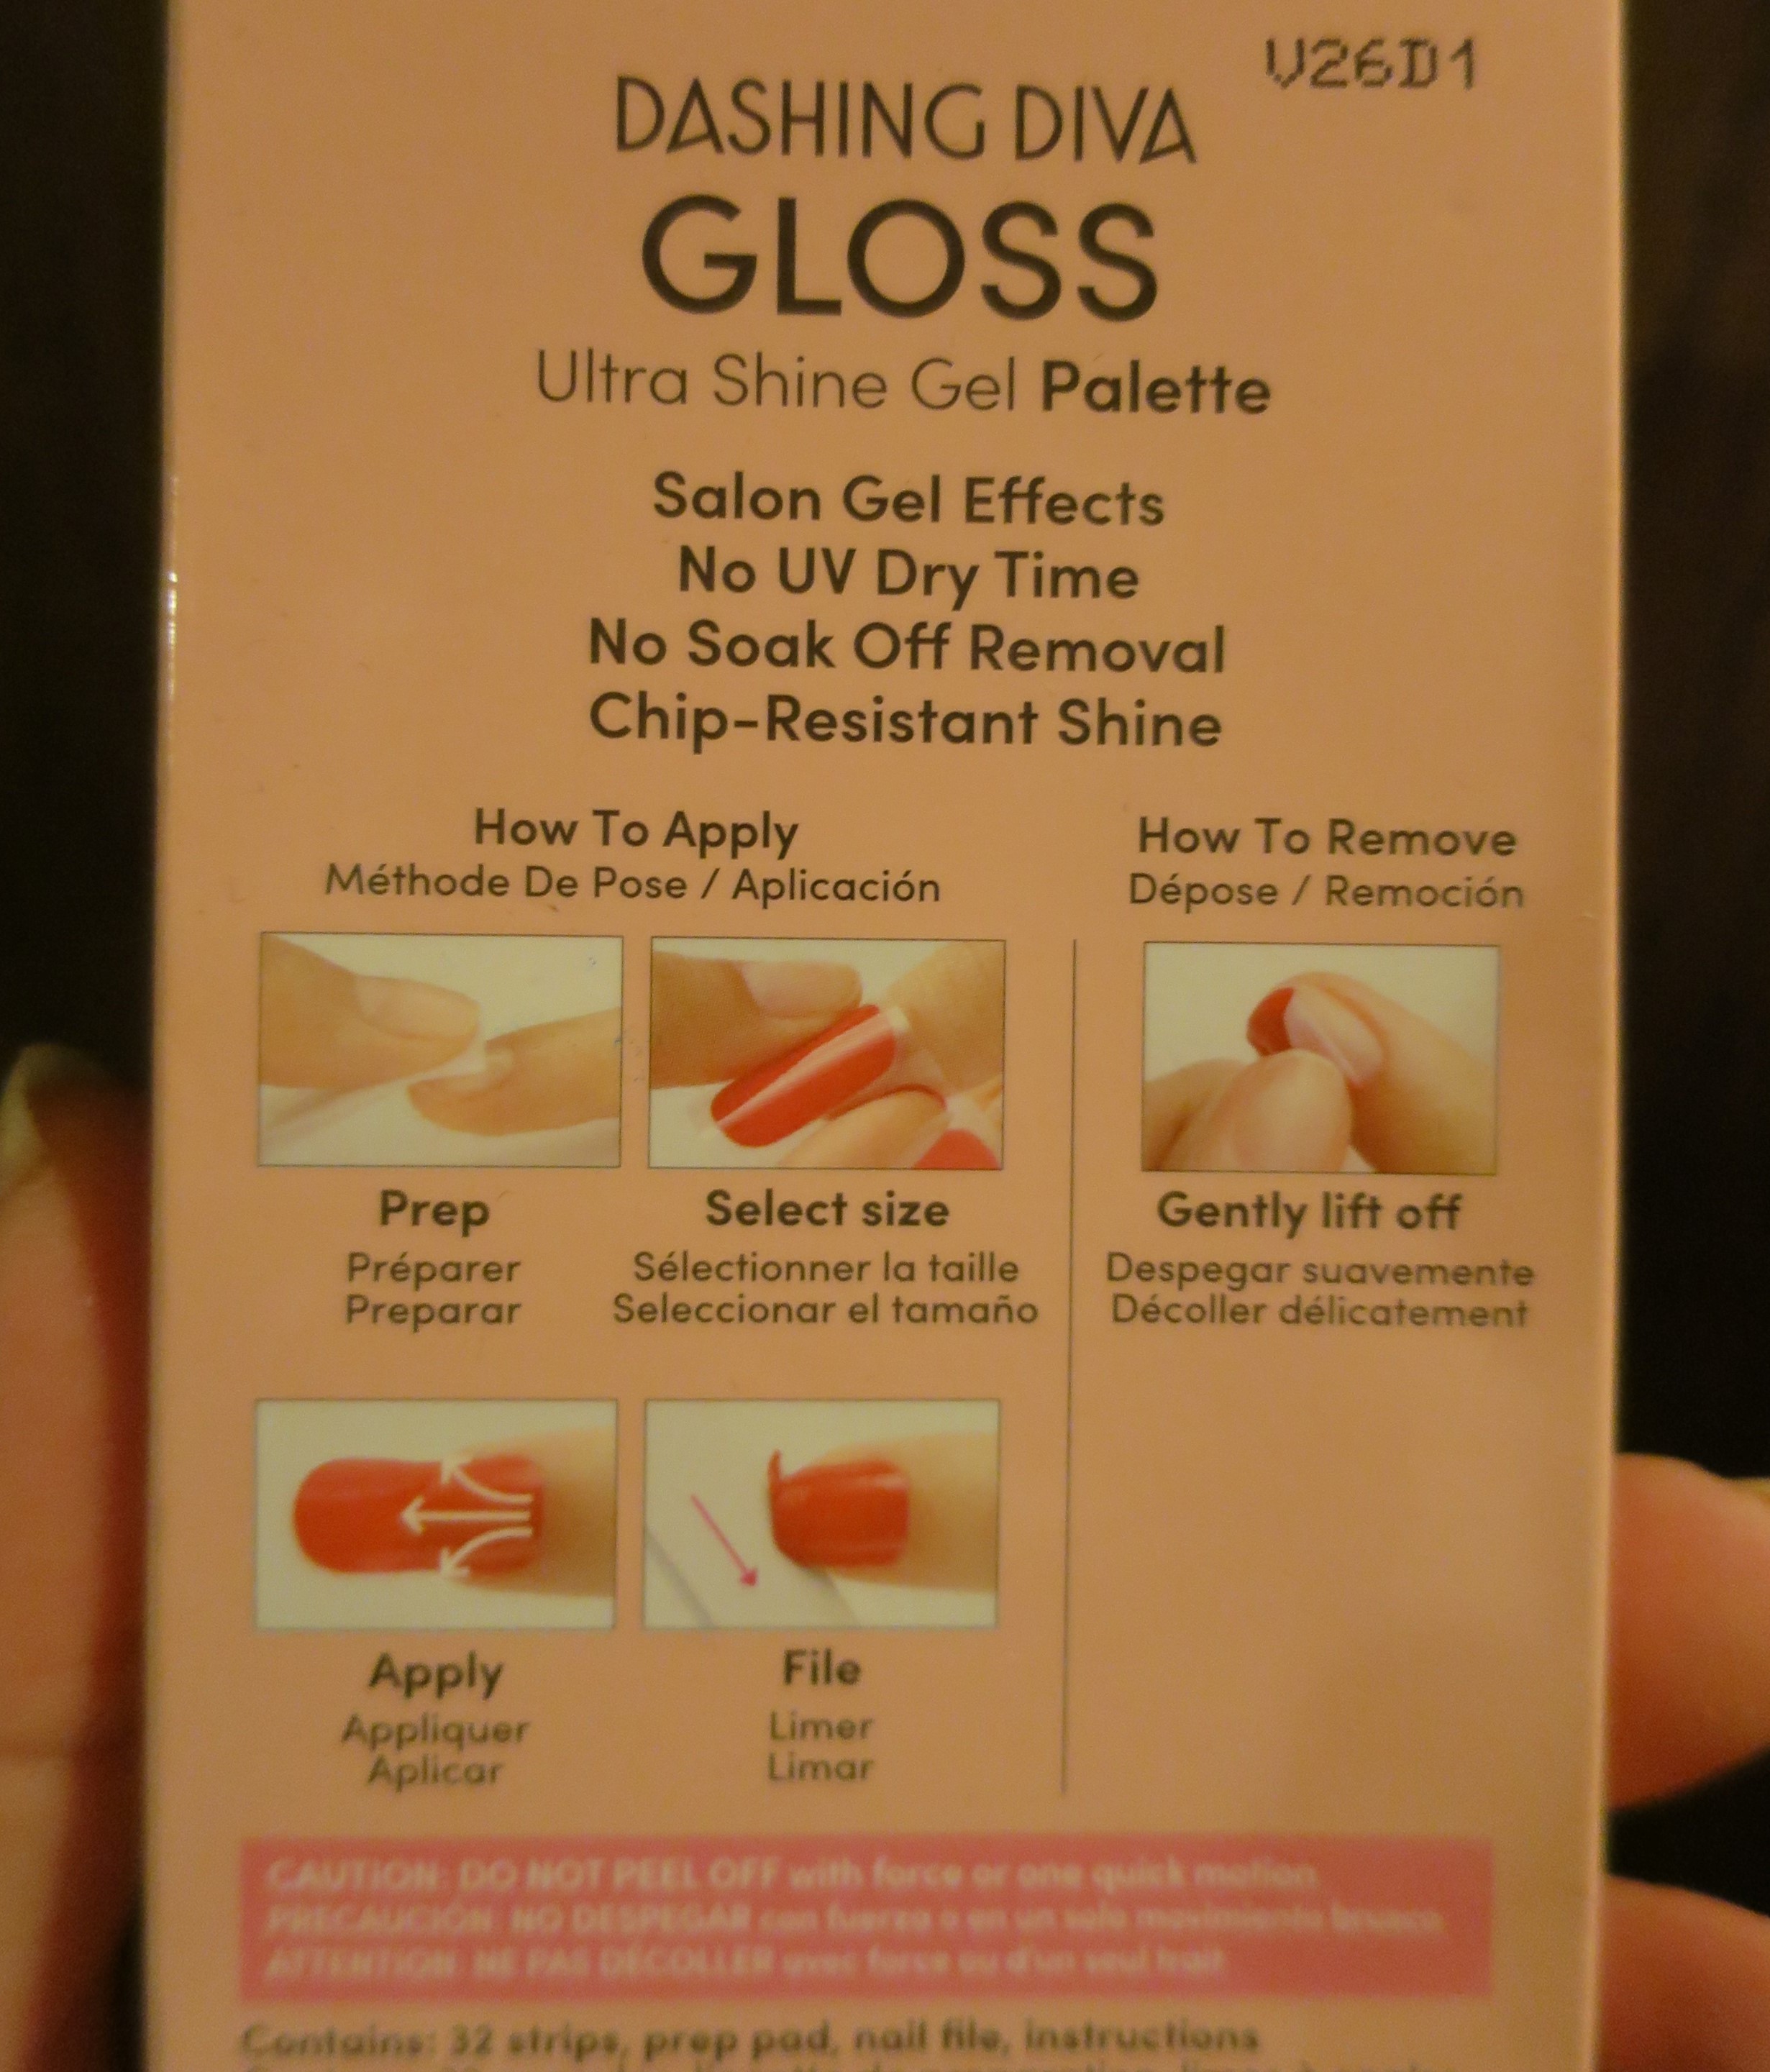
The directions for applying these are similar to my beloved and long discontinued Sally Hansen Salon Effects nail polish strips: prep the nail, choose a size, smooth from base to tip when applying, file off excess. Removal is different: these can be peeled off rather than needing nail polish remover.
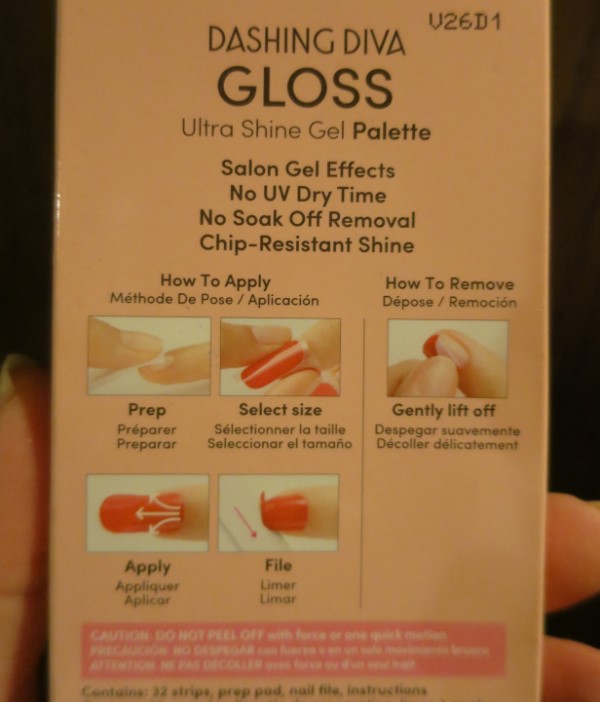
 
Dashing Diva Gloss Gel Nail Strips in Gleam Queen
I did lilac on most of my nails, with silver glitter as an accent on my ring finger. In comparison to the nail polish strips, these are thicker, feeling sort of rubbery. That's good in that it makes them easier to handle: they don't tear or flop over onto themselves the way the very thin polish strips can. That's bad in that it's harder to smooth them out at the edges (my pronouced C-curve makes that harder) and harder to remove the excess at the tip (forget about the sides ... you can't cut these with the sharp end of manicure stick like you can regular polish strips). You can see some little wrinkles on a couple of my nails and some fuzziness at the ends where I had trouble filing them smoooth. The set does come with a fairly good sized one-sided file to use, but I still had trouble. The glitter strips were thicker than the plain ones, which meant they looked better since they didn't form those wrinkles at the sides and camoflauged irregularities in my nails better than the plain strips.
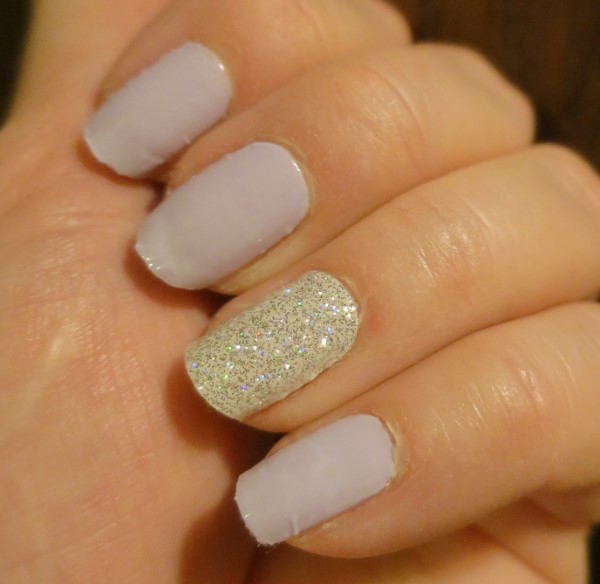
 
Dashing Diva Gloss Gel Nail Strips in Gleam Queen
In the light of day the next morning, I wasn't super happy with how the plain strips looked, what with the wrinkles and the showing of every ridge underneath. The ridges aren't so obvious in this photo as they were to the naked eye. I also noticed some "fuzzies" stuck on the ends of some nails, likely clinging to the adhesive on the bits of strips I'd struggled to file off the night before.
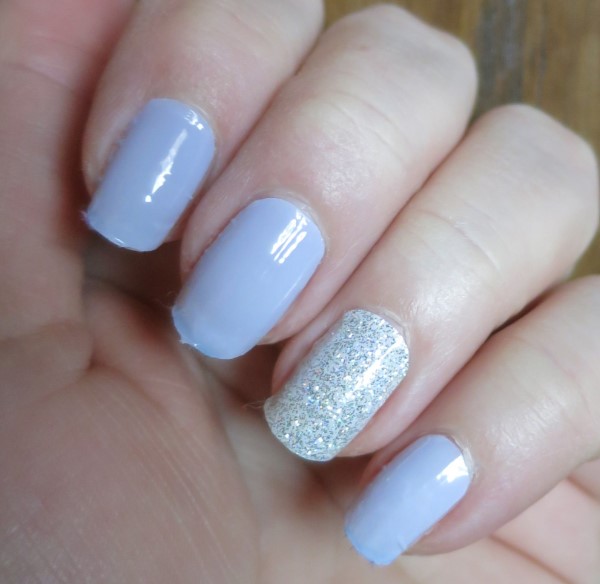
 
Dashing Diva Gloss Gel Nail Strips in Gleam Queen
Since I liked the glitter nail, I decided to just put accent strips over the plain strips. Much better.
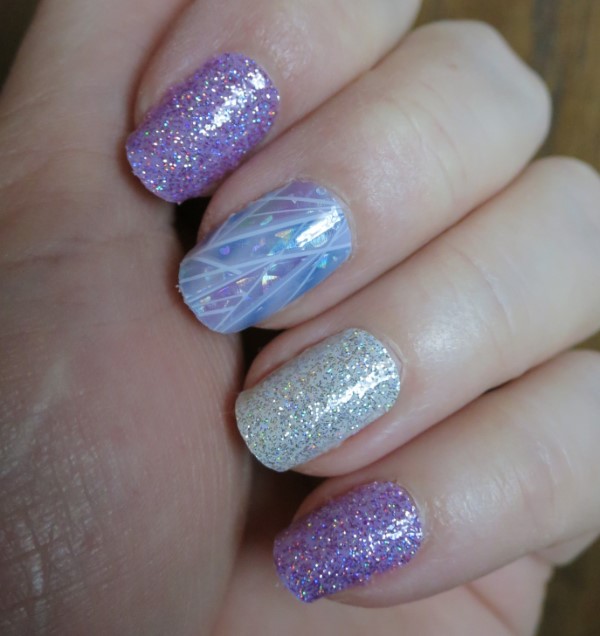
 
Dashing Diva Gloss Gel Nail Strips in Gleam Queen
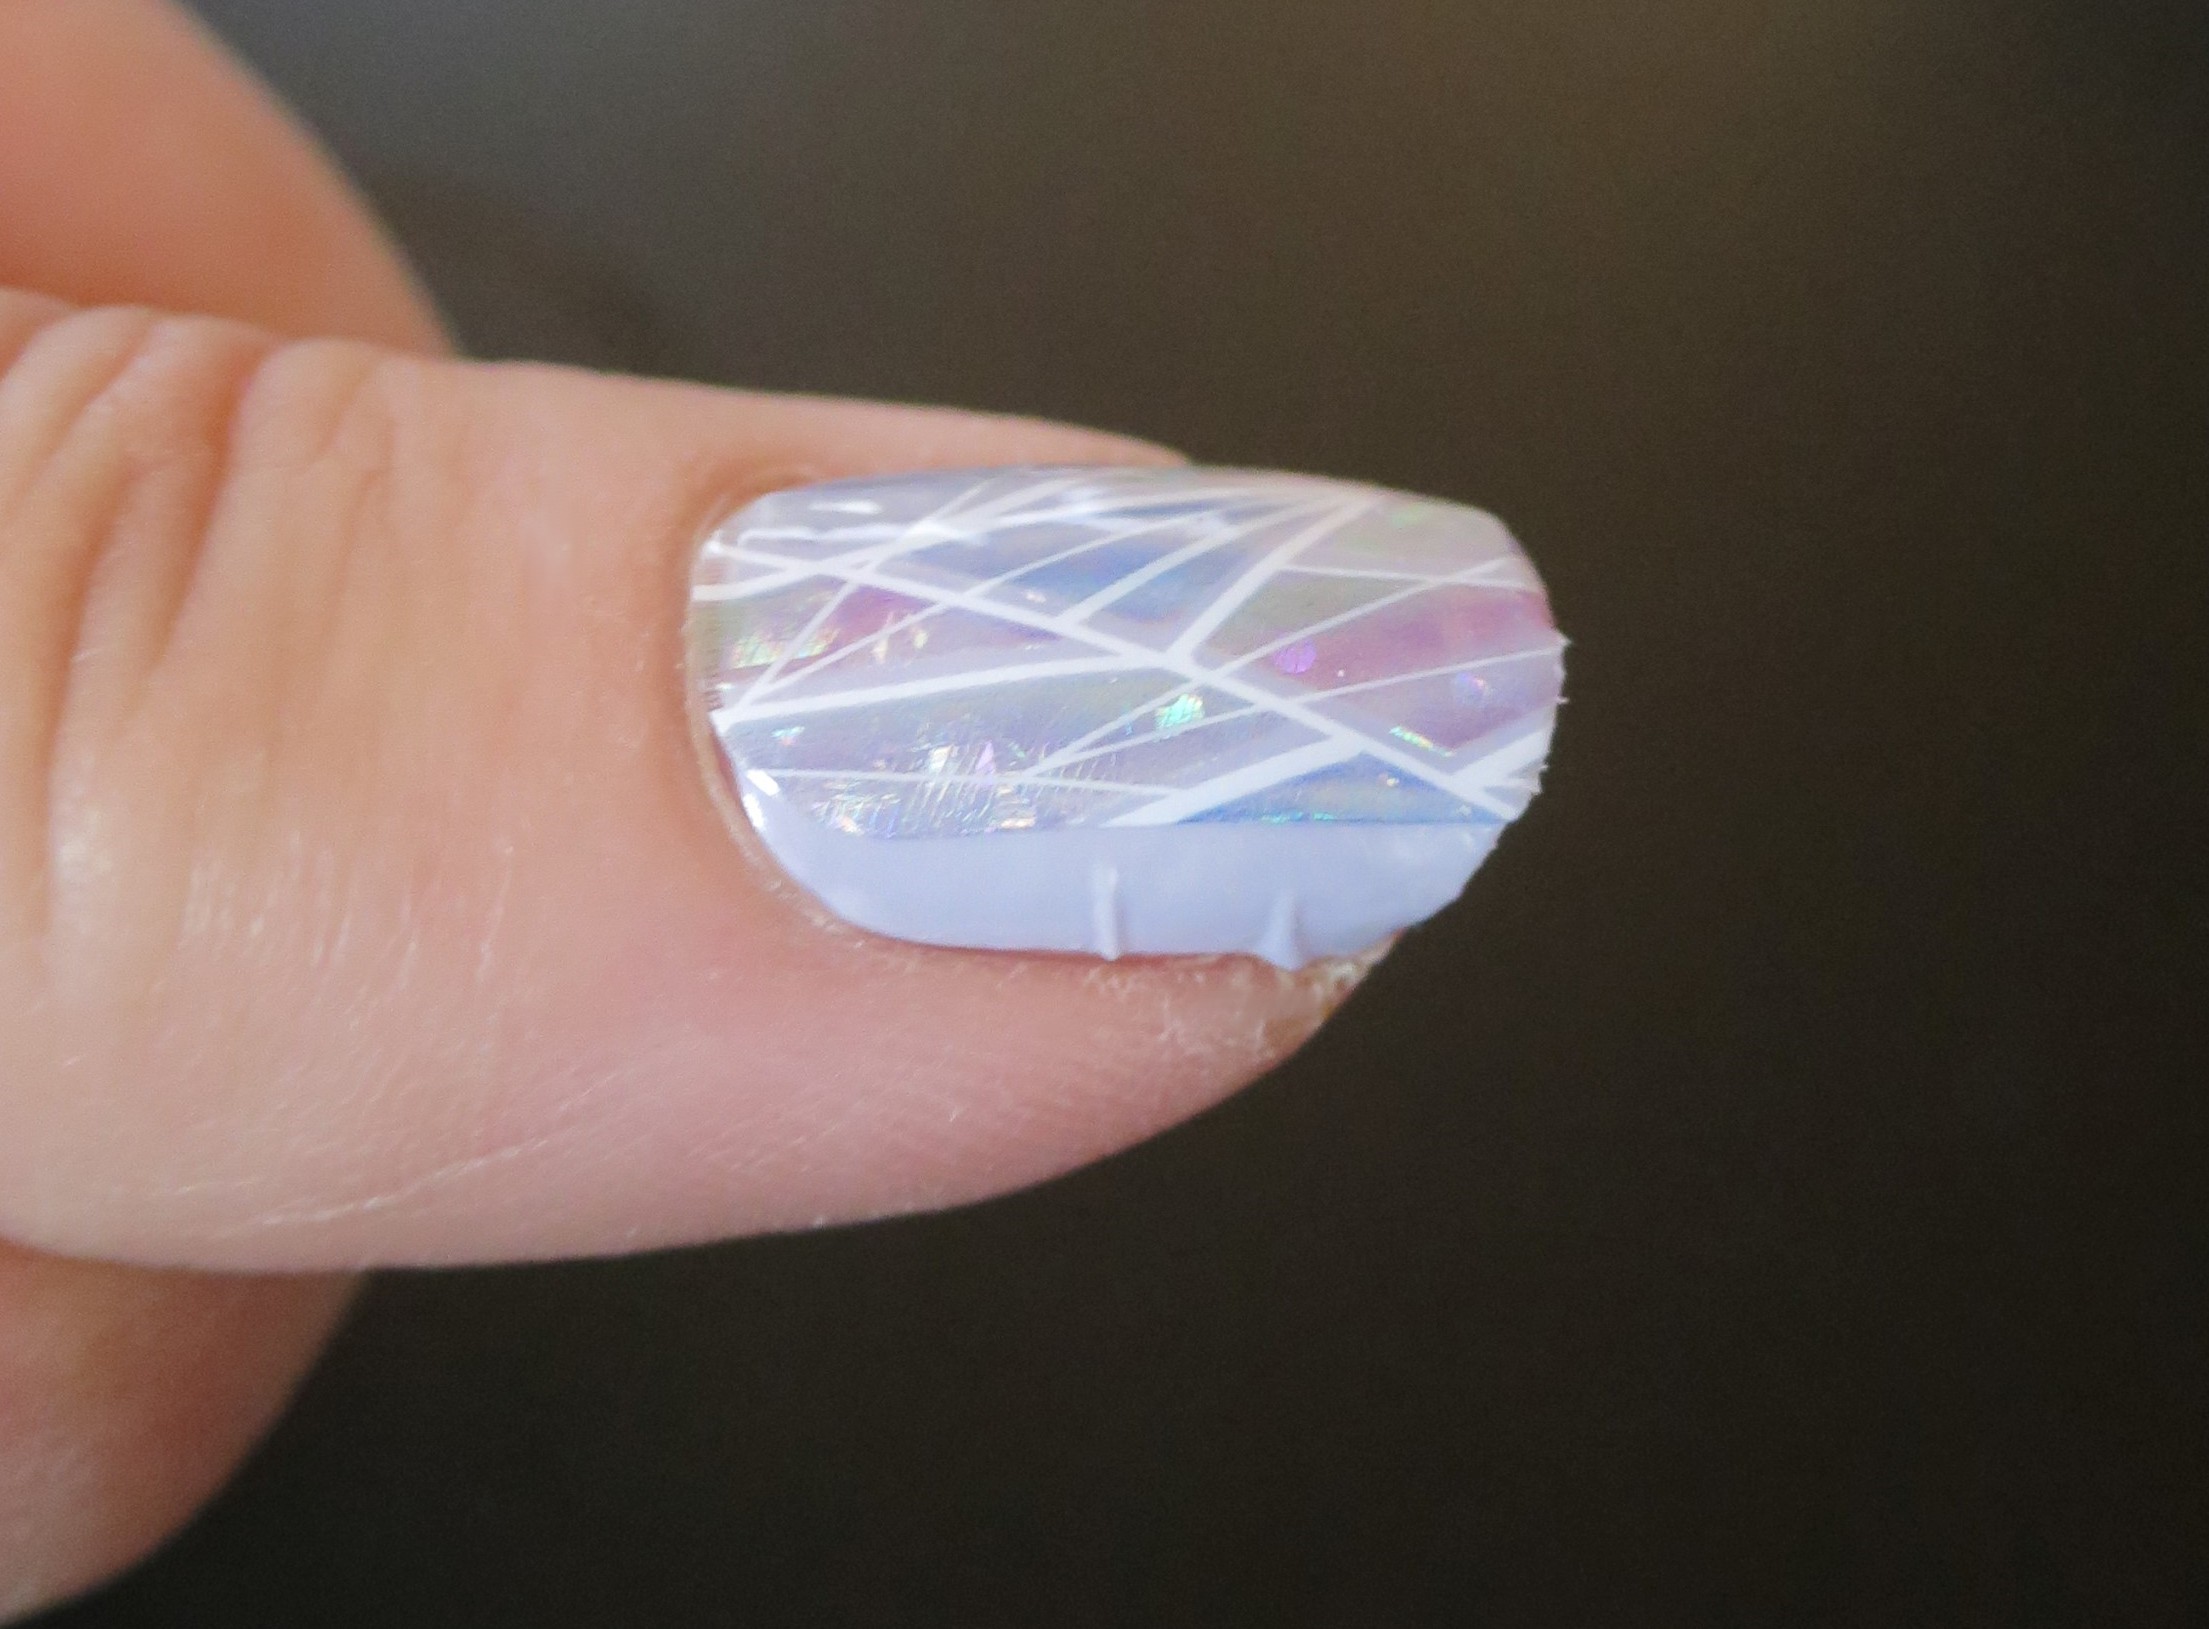
There weren't any thumb-sized accent strips, so I just laid one of the stained glass ones down the center, hoping that would distract from the wrinkles at the sides. It looked pretty good, I thought.
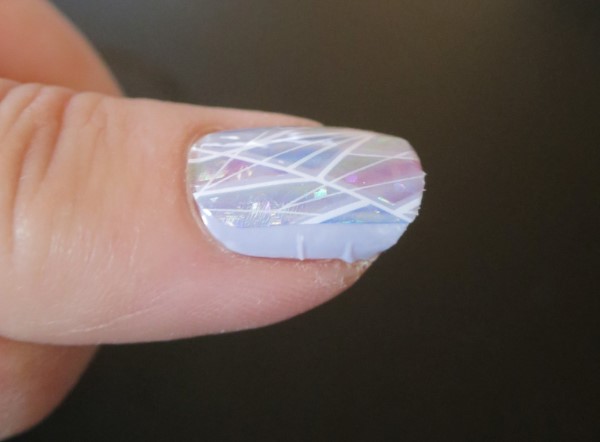
 
Dashing Diva Gloss Gel Nail Strips in Gleam Queen
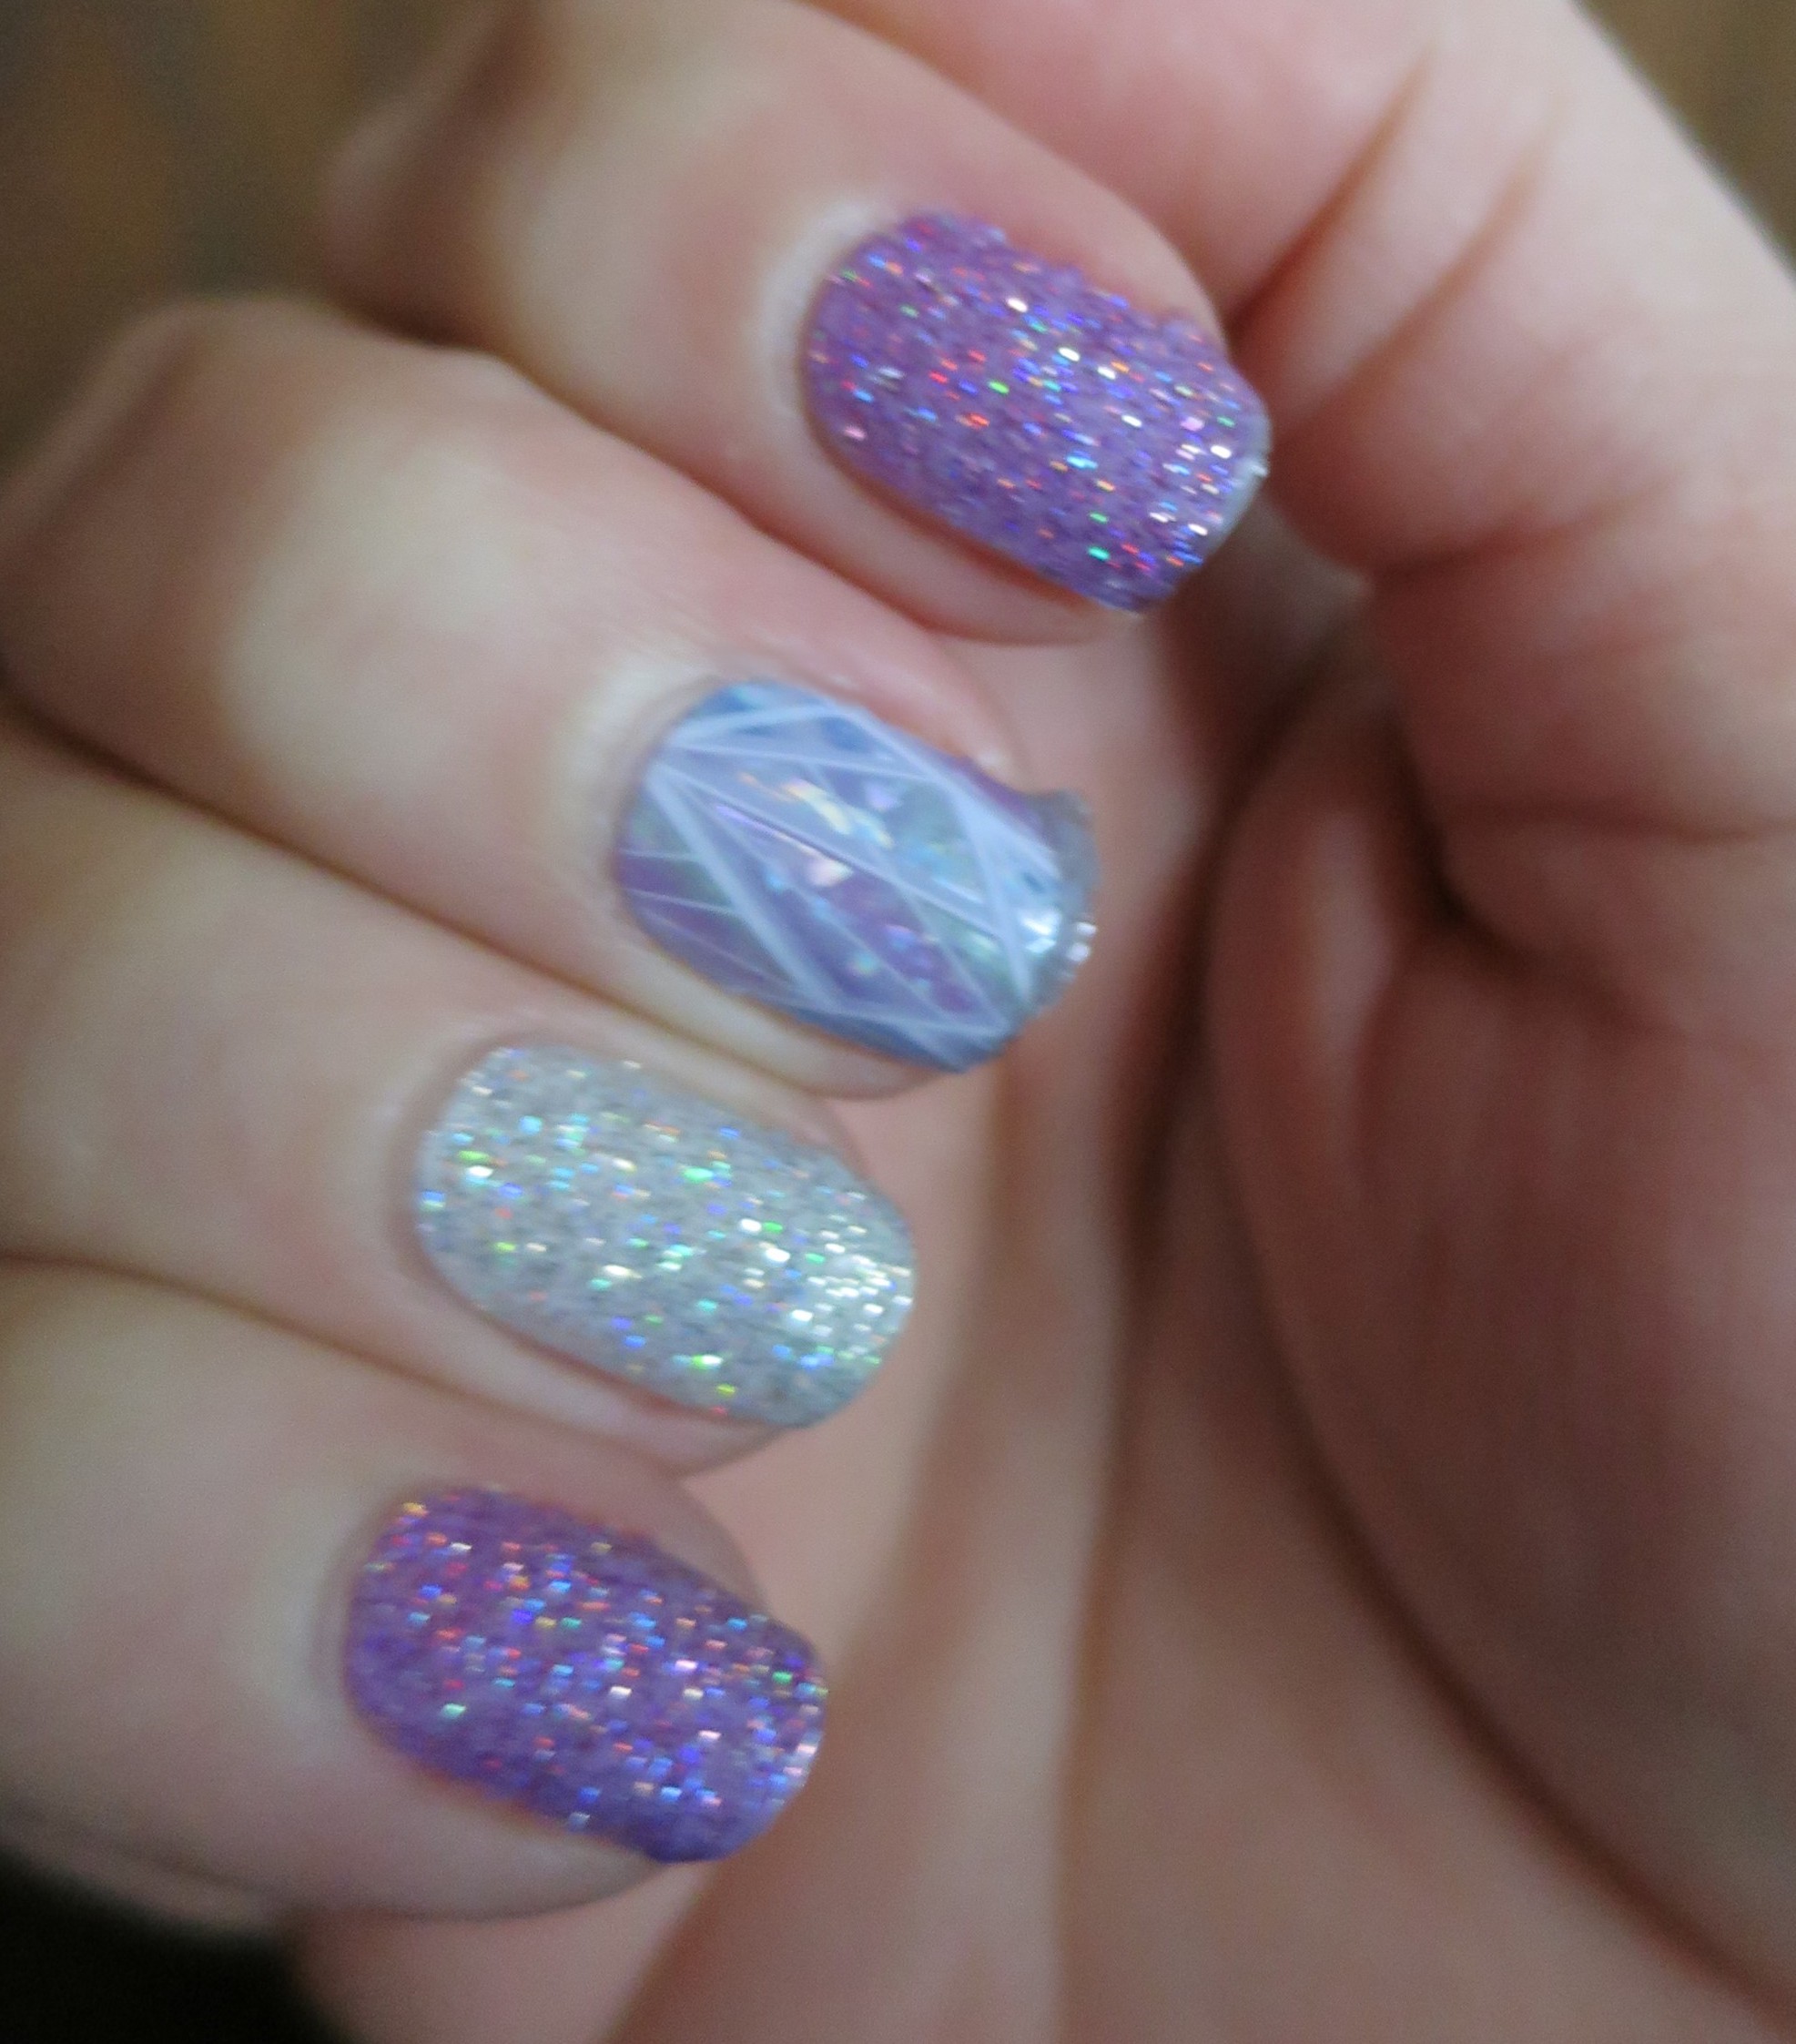
I've now had them on for six days. There's been some slight lifting of the strips at the tips and corners of a few of my nails, perhaps because of the double thickness. The stained glass ones on my middle fingers are showing the most raggedy-ness, probably because I tend to bump those fingers into things more since they're longest.
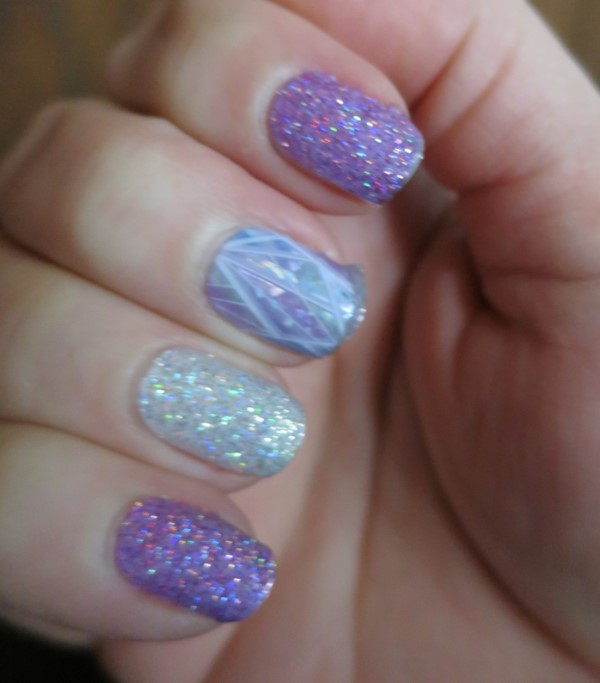
 
Dashing Diva Gloss Gel Nail Strips in Gleam Queen
I'd use these again, just stick to glitter sets rather than plain ones, or do a ridge filling base coat first, though I don't know how that would affect their sticking power.
Thursday, October 27, 2022

Salon Perfect Bewitched Collection

Yes, Nail Wheel Wednesday is still on hiatus, and I'm still having trouble getting back into a regular blogging routine, but I'm here now with the Salon Pefect Bewitched colors from the Halloween display that showed up at some Walmart stores. Six shades here: On My Milky Way, Celestial Chic, I Need Space, Head in the Stars, Universal Glow, and Alien Apple Bobbin'. All of these are full cover glitter polishes, packed with small hex glitter in two colors.
 
Salon Perfect Bewitched nail polish collection
I was pretty sure I wasn't going to be able to do full hand swatches of all six of these due to the time I had available, so I was glad that the collection naturally divided into two trios that I could swatch as groups. I started with On My Milky Way (white and gold glitters), Celestial Chic (red and gold), and I Need Space (black and gold). I did a not-quite-gradient on my index finger (over a skintone creme base) and three coats of each color individually on my other fingers, topping all with a clear topcoat. These were buildable to full coverage, as you see, though when I pull them out again I want to experiment with two coats over a base that matches the non-gold glitter as I think that will look just as good and be easier to apply and remove.
 
Salon Perfect Bewitched nail polish collection On My Milky Way, Celestial Chic, I Need Space
 
Salon Perfect Bewitched nail polish collection On My Milky Way, Celestial Chic, I Need Space
 
Salon Perfect Bewitched nail polish collection On My Milky Way, Celestial Chic, I Need Space
Then I gave the same treatment to the remaining three shades: Alien Apple Bobbin' (yellow and gold), Univers-al Glow (pink and yellow), and Head in the Stars (bright pink and silver).
 
Salon Perfect Bewitched nail polish collection Head in the Stars, Universal Glow, and Alien Apple Bobbin
 
Salon Perfect Bewitched nail polish collection Head in the Stars, Universal Glow, and Alien Apple Bobbin
 
Salon Perfect Bewitched nail polish collection Head in the Stars, Universal Glow, and Alien Apple Bobbin
I still love glitter, so am glad I was able to get these. I can see wearing the white, red, and gold through the winter then breaking out the three brights next summer.

Monday, October 10, 2022

Some Nails of the Day

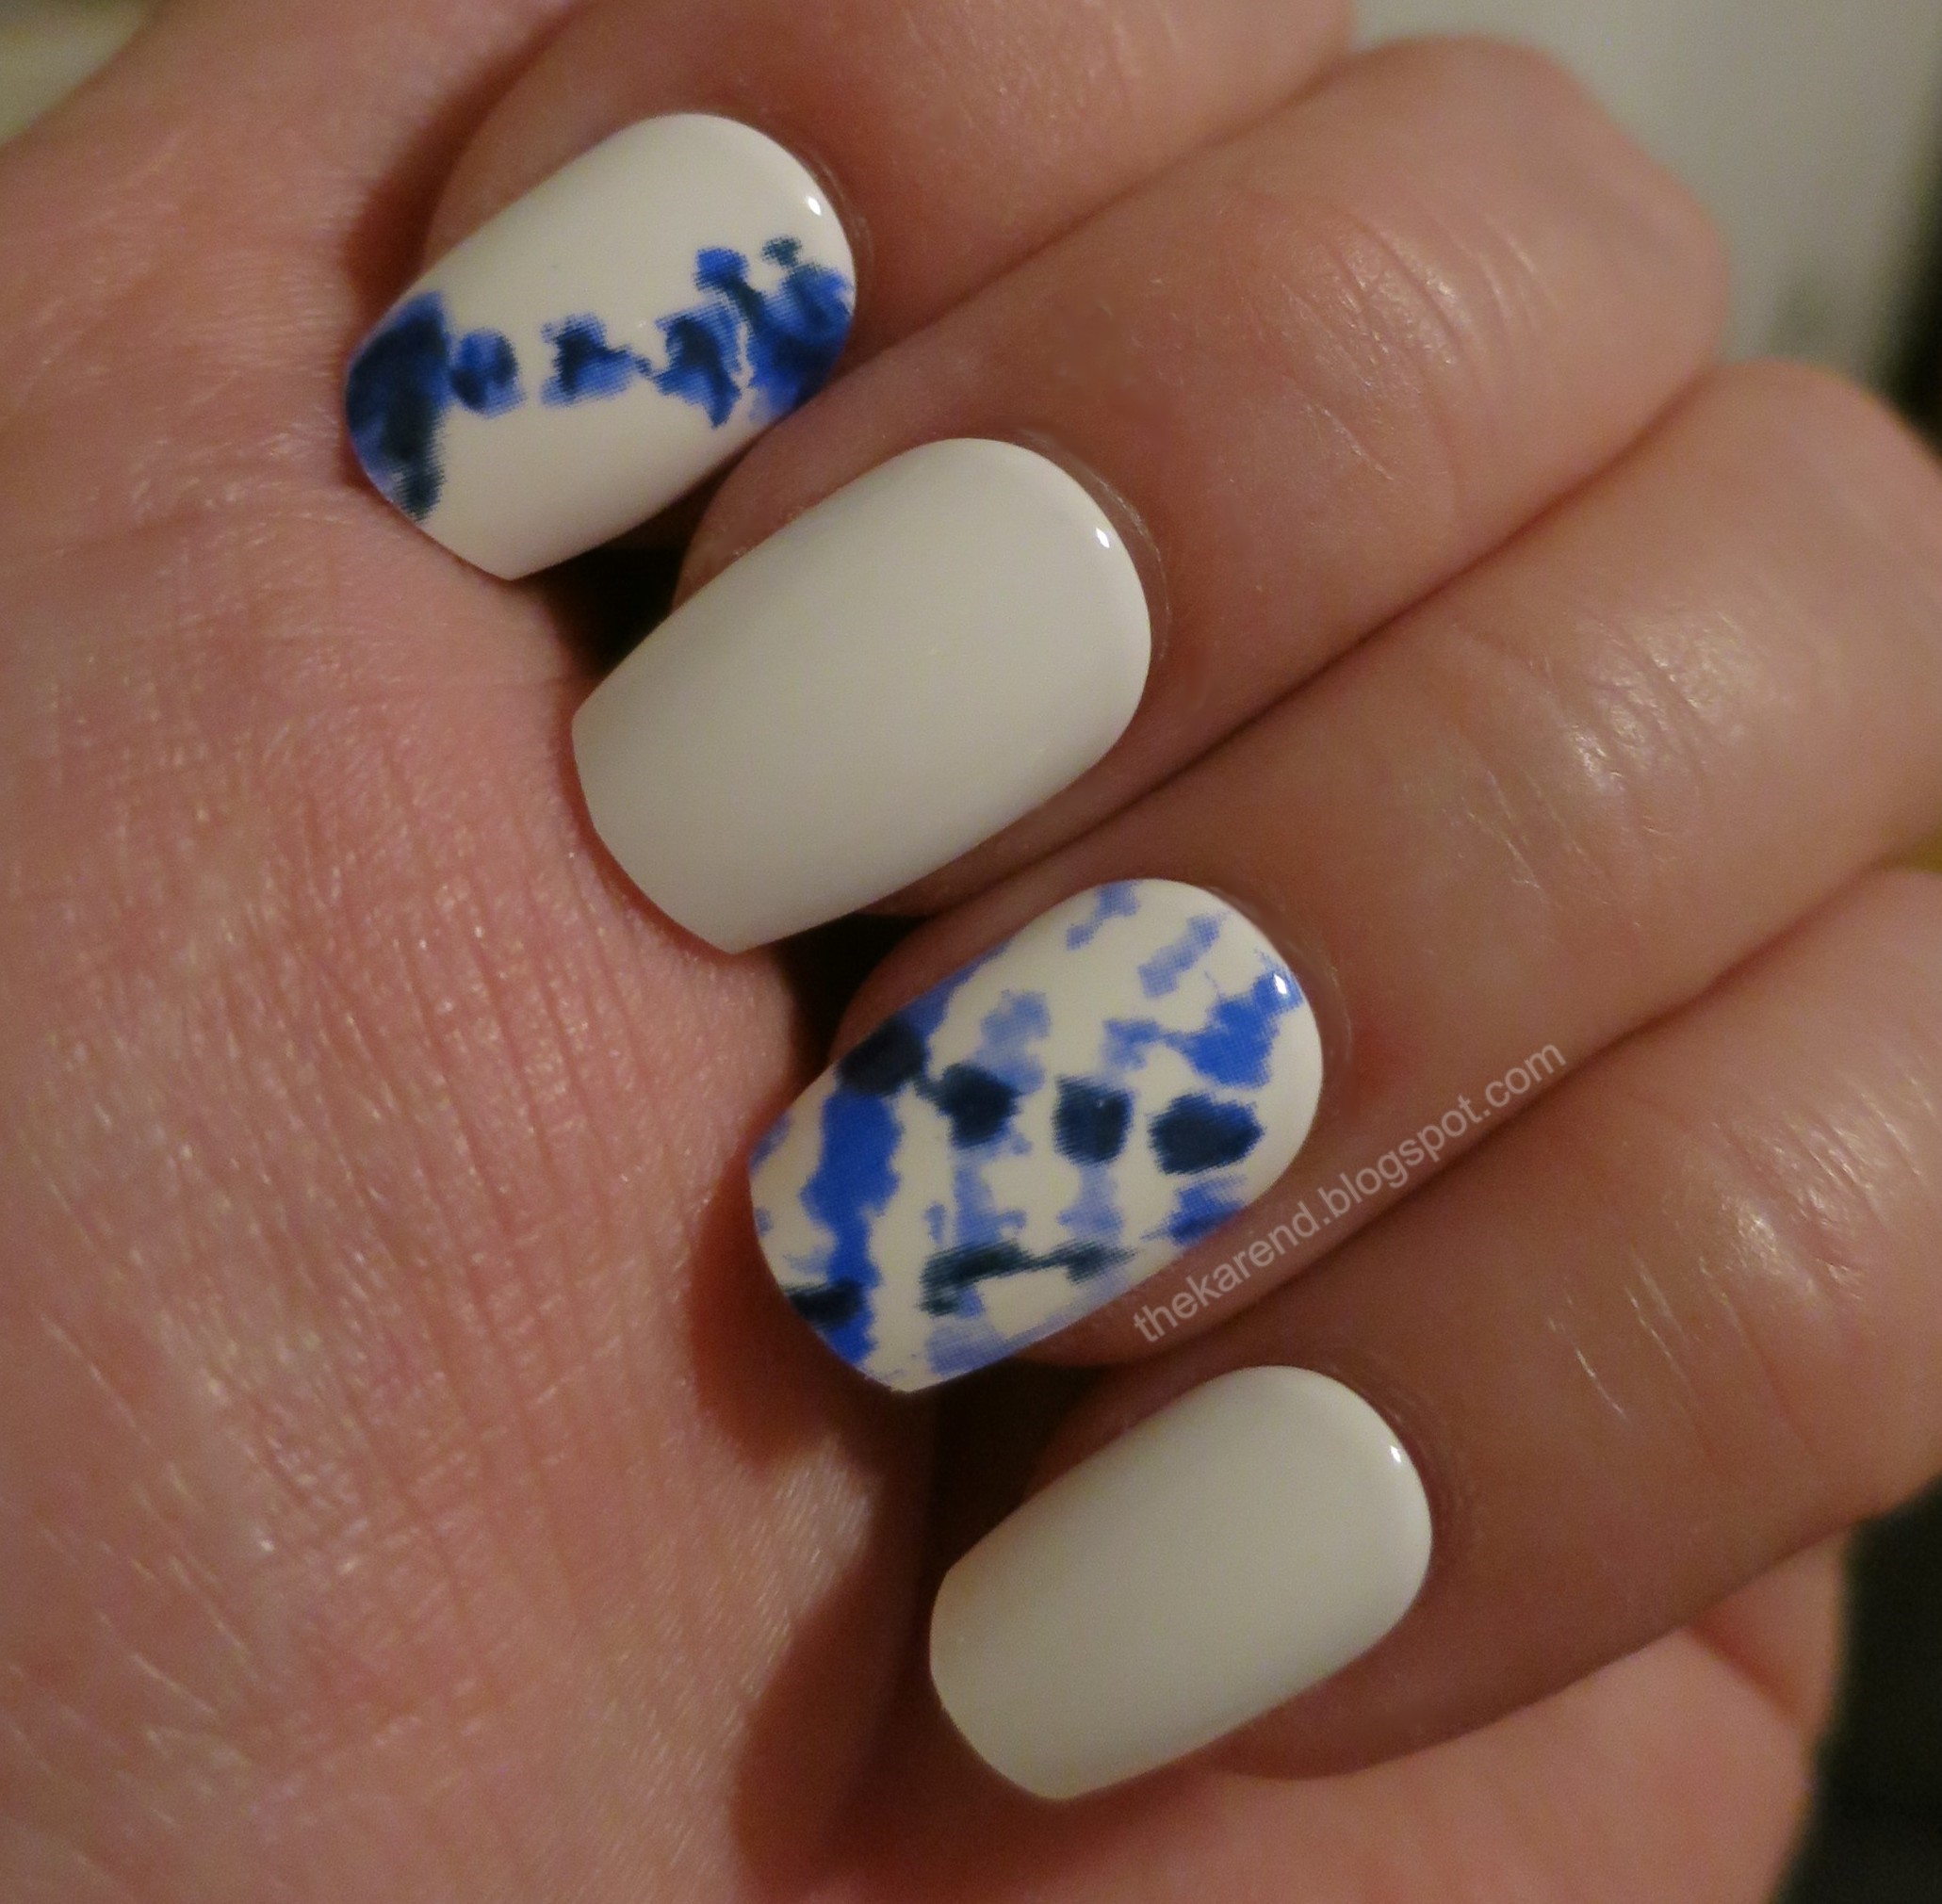
So yeah, hi. I did disappear from here for September. As often happens, I didn't plan to, just put other things ahead of nail stuff on my priority list either due to necessity (nail stuff can be put off in a way that getting my car repaired cannot) or due to travel (I returned last week from last long trip of the year), and the longer I don't blog, the harder it feels to get back to it. Which is why I'm going to come back with a little NOTD post rather than trying to clear my backlog of display photos. I hope that if I can get this post done and published, working on the display one won't feel so daunting. When my nails grow out to what I consider my ideal length, the short length of imPress fakes don't provide the coverage I need, so I have to go with the medium length. Those have a more limited selection of designs, but I can still find things I like, such as the white with blue accents set called Riviera Paradise. I do find the medium length a bit long, so I clip and file them a bit so they feel right for me (and don't interfere with typing on my laptop).
 
imPress press on nails in Riviera Paradise, a white and blue design
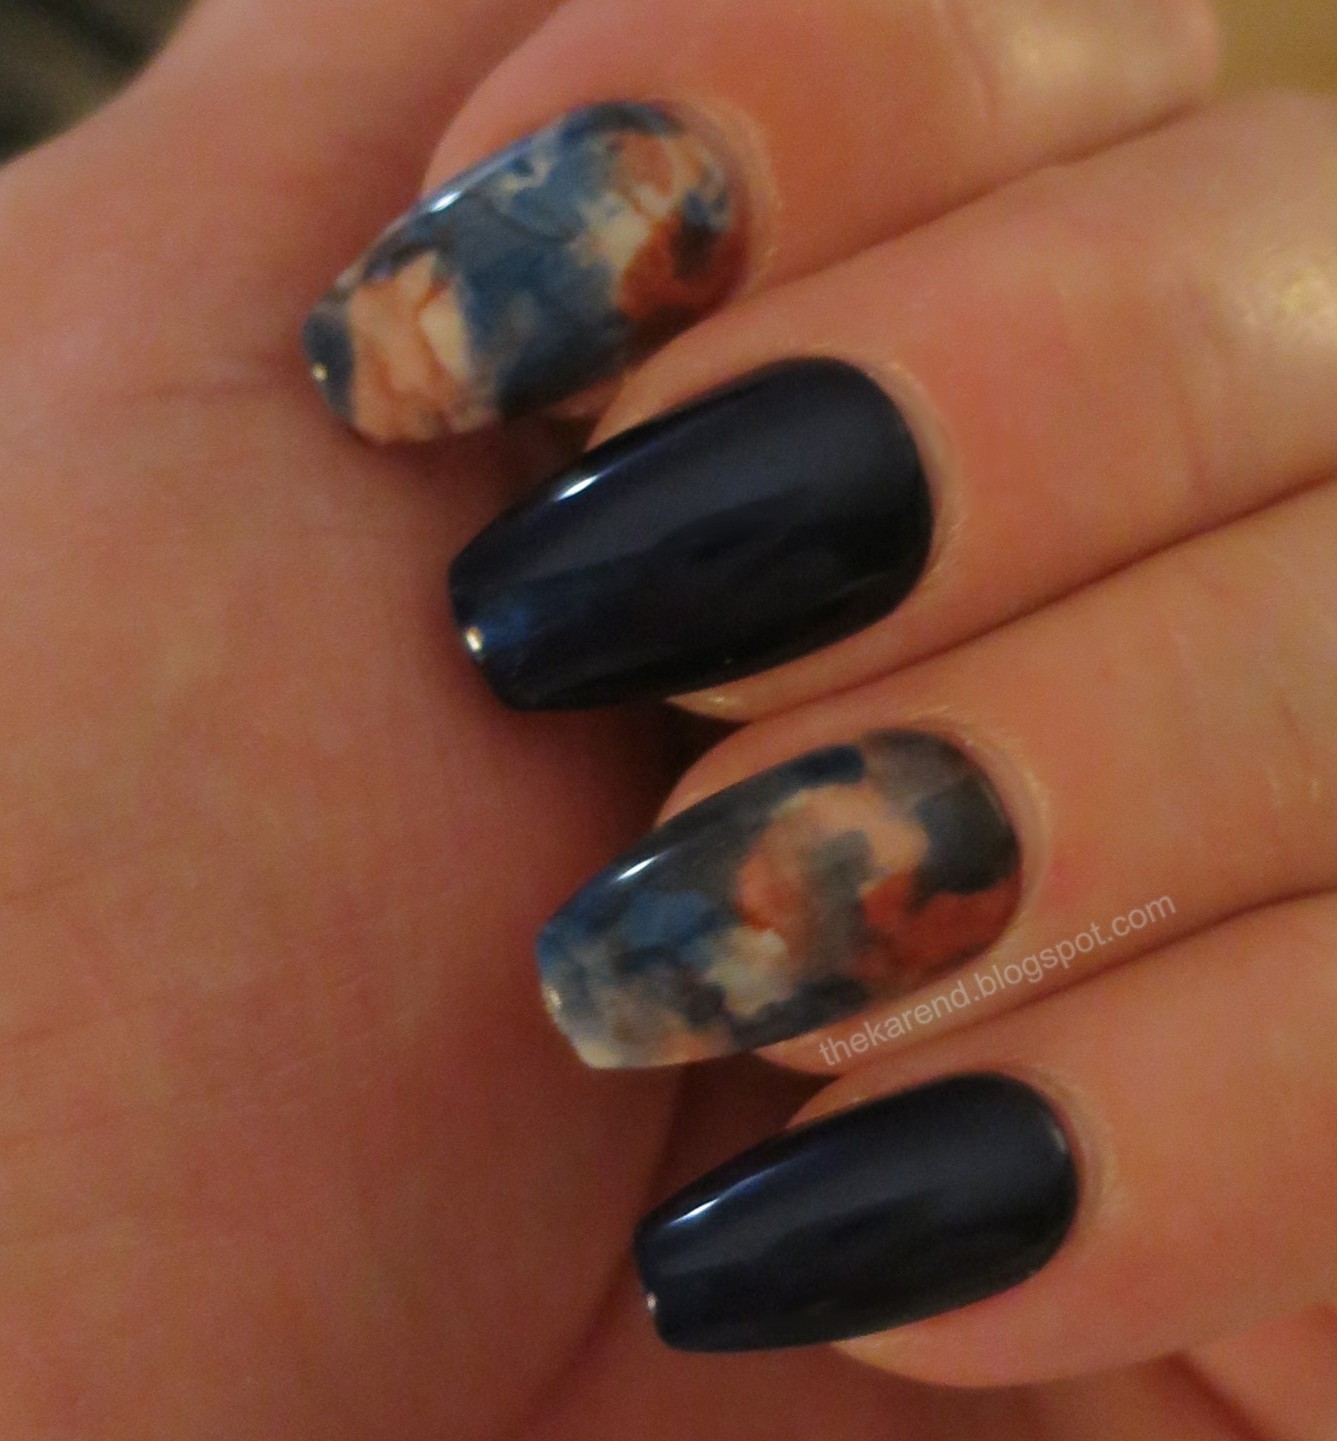
I followed up that set with one called Indigo Autumn. Here they are out of the box, before I clipped and filed:
 
imPress press on nails in Indigo Autumn, a navy with brown/blue/cream accents
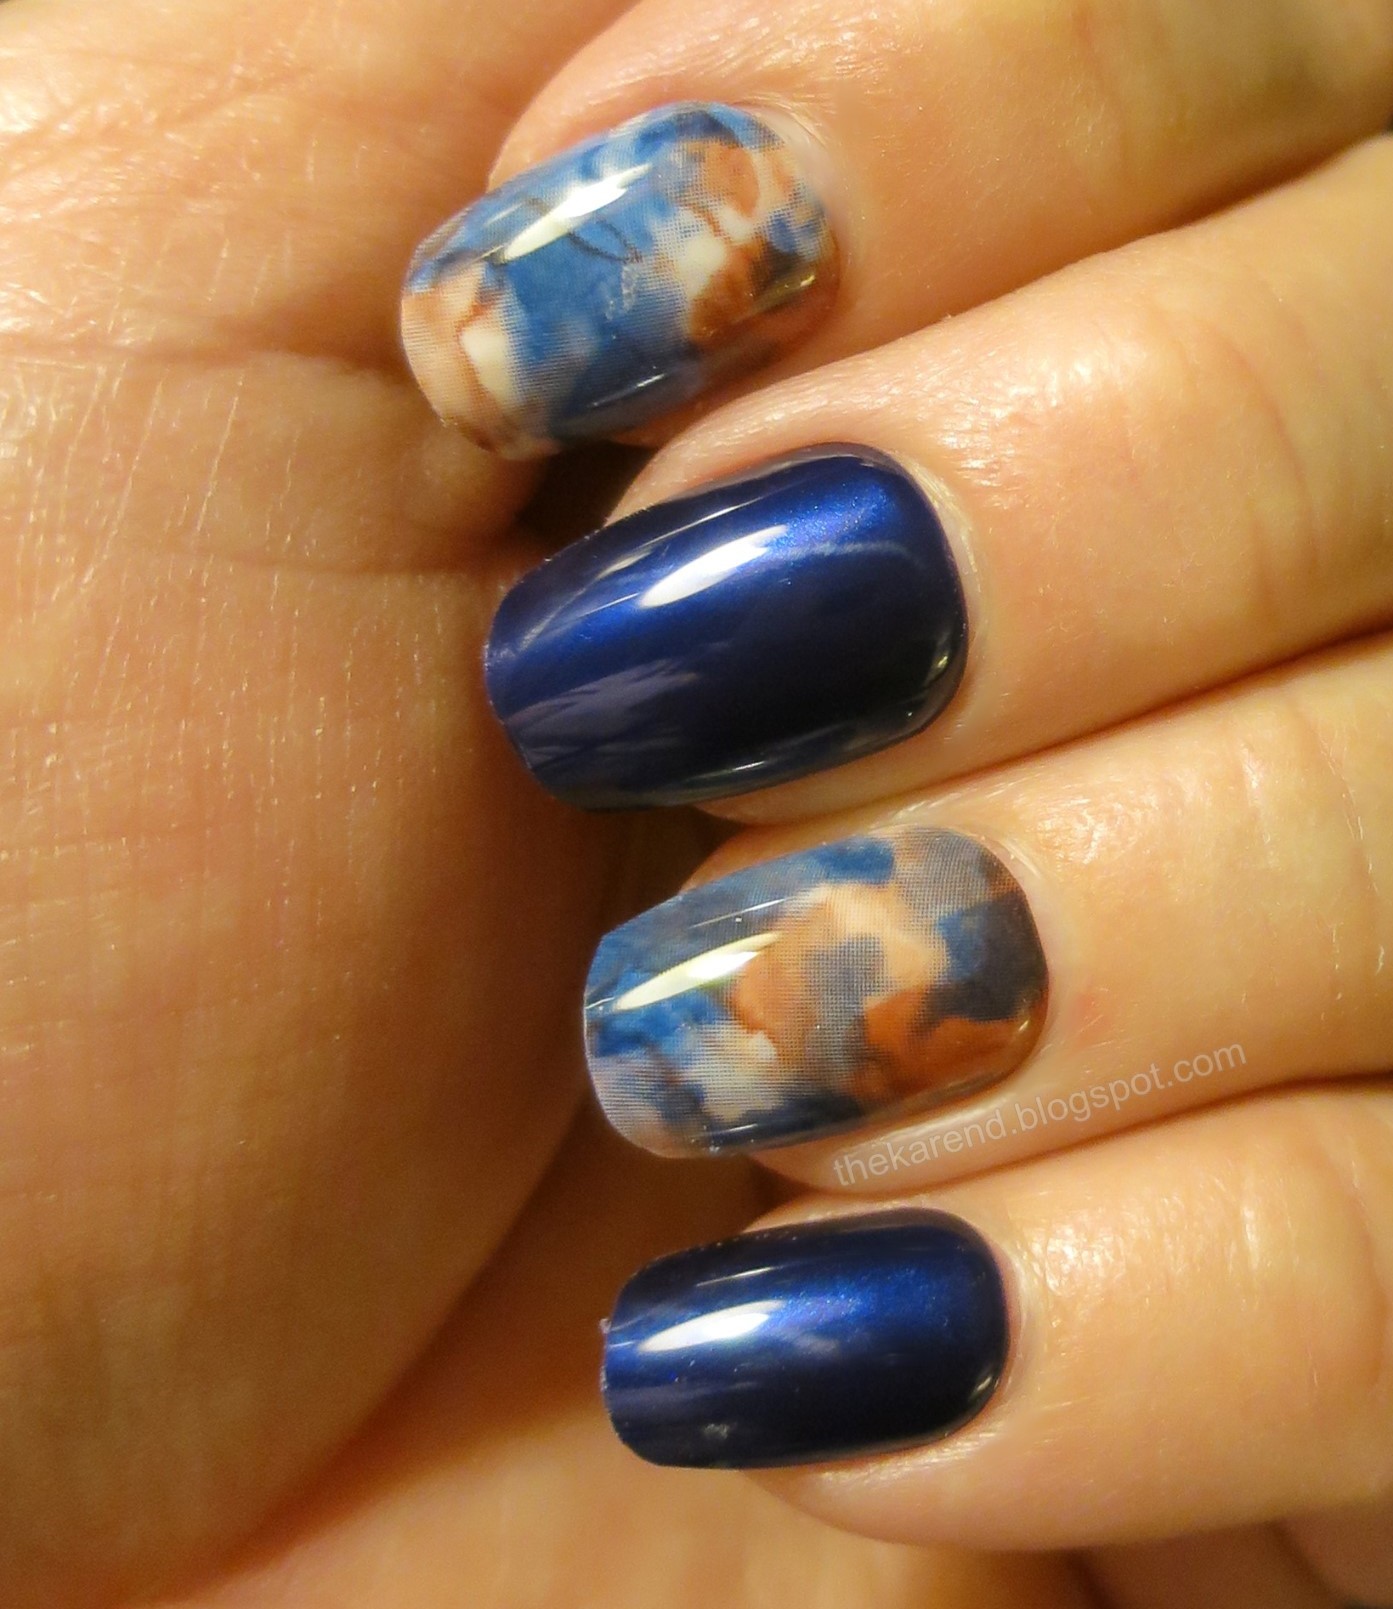
And after clipping and filing to reshape to look more like my natural nails:
 
imPress press on nails in Indigo Autumn, a navy with brown/blue/cream accents
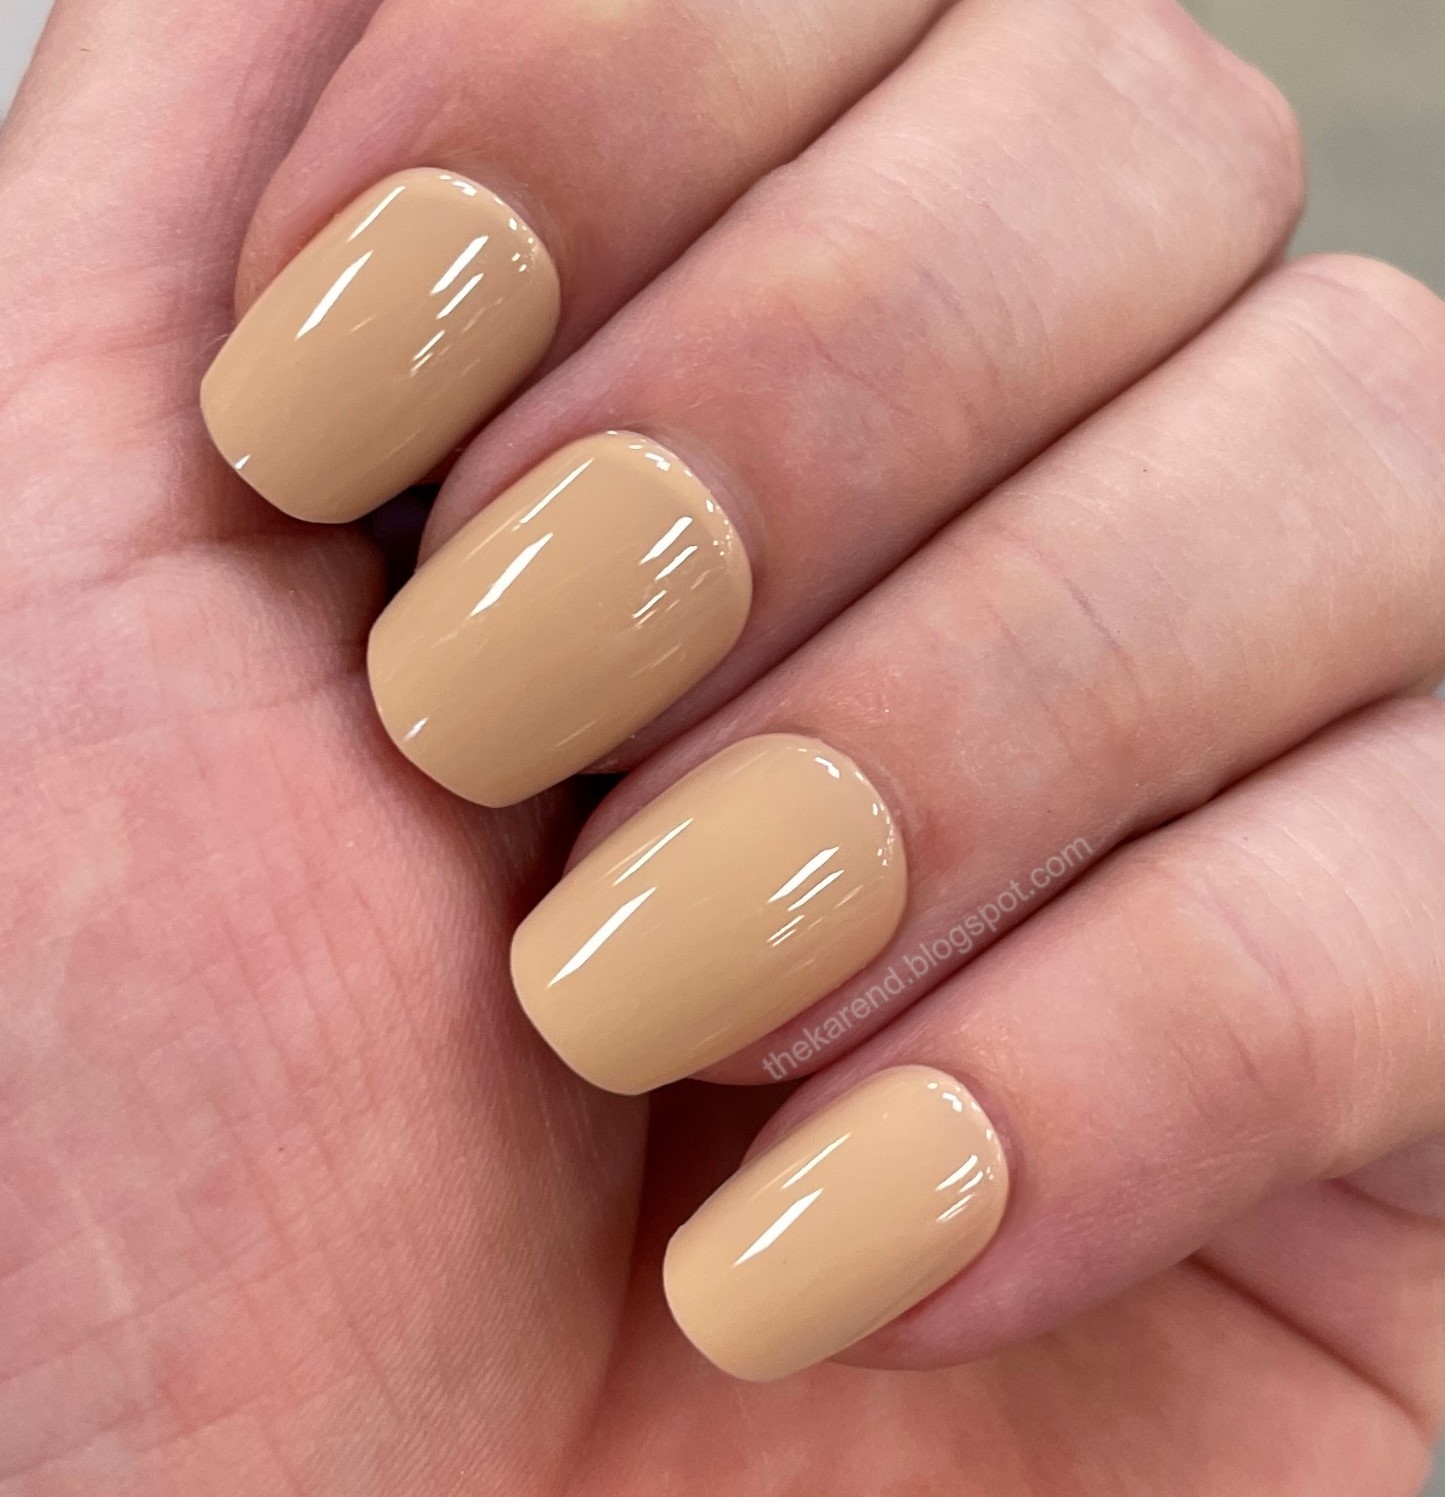
For a palate cleanser, I used imPress Color in Sweet Love. These are clipped and filed to be less coffin-y:
 
imPress press on nails in Sweet Love, a plain light camel brown
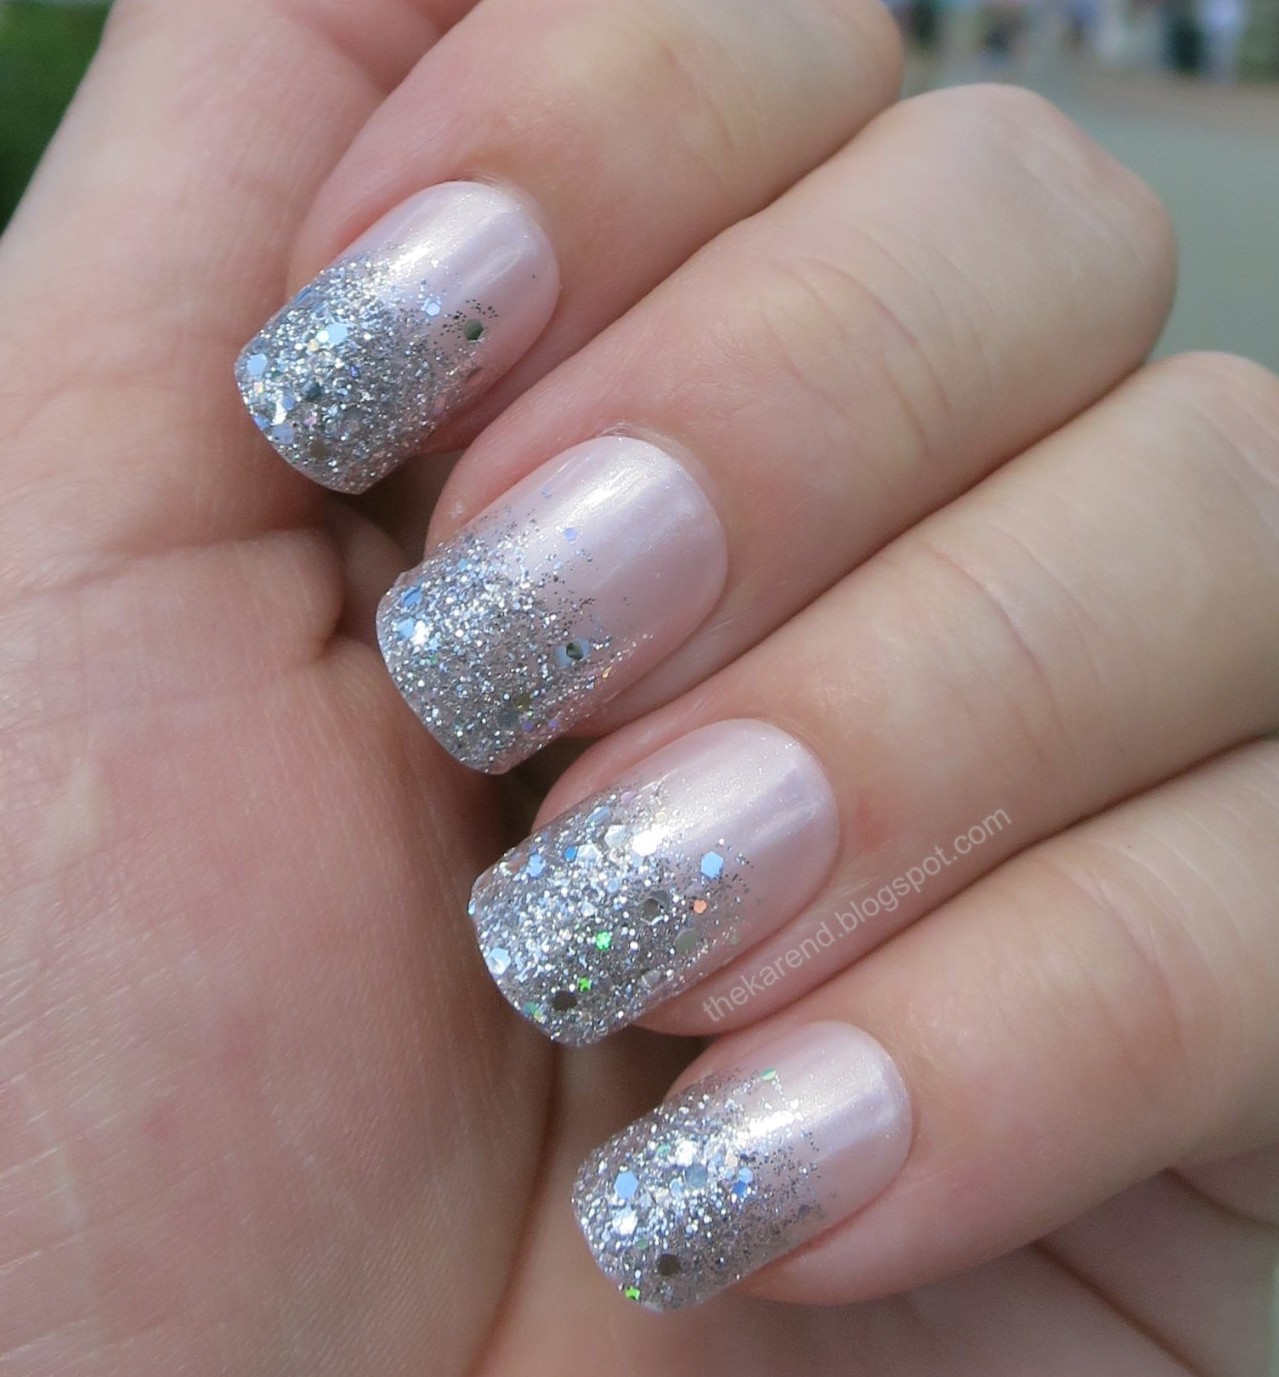
On my nails right now I have a set of Kiss Gel Fantasy in a pink and silver glitter design. I don't have to clip this length shape that much; usually I just do my thumbs and middle fingers since those see disproportionately long for some reason (maybe because those are the fingers I tend to break the nails on most when I'm not wearing fakes). I like this more square shape since it protects the sides and corners of my natural nails better but they're harder to find in medium length than the coffins and other pointy shapes.
 

I haven't given up on regular polish, it's just the fakes are so easy to deal with when traveling or short on time at home. And no chipping to worry about, just losing nails once in a while and replacing them is fast and easy (less so when I actually lose the nail and have to clip and file the replacement, but still, easier than dealing with redoing liquid polish away from home.

Friday, August 26, 2022

Recent NOTD: imPress Press-On Manicure Happy Pride

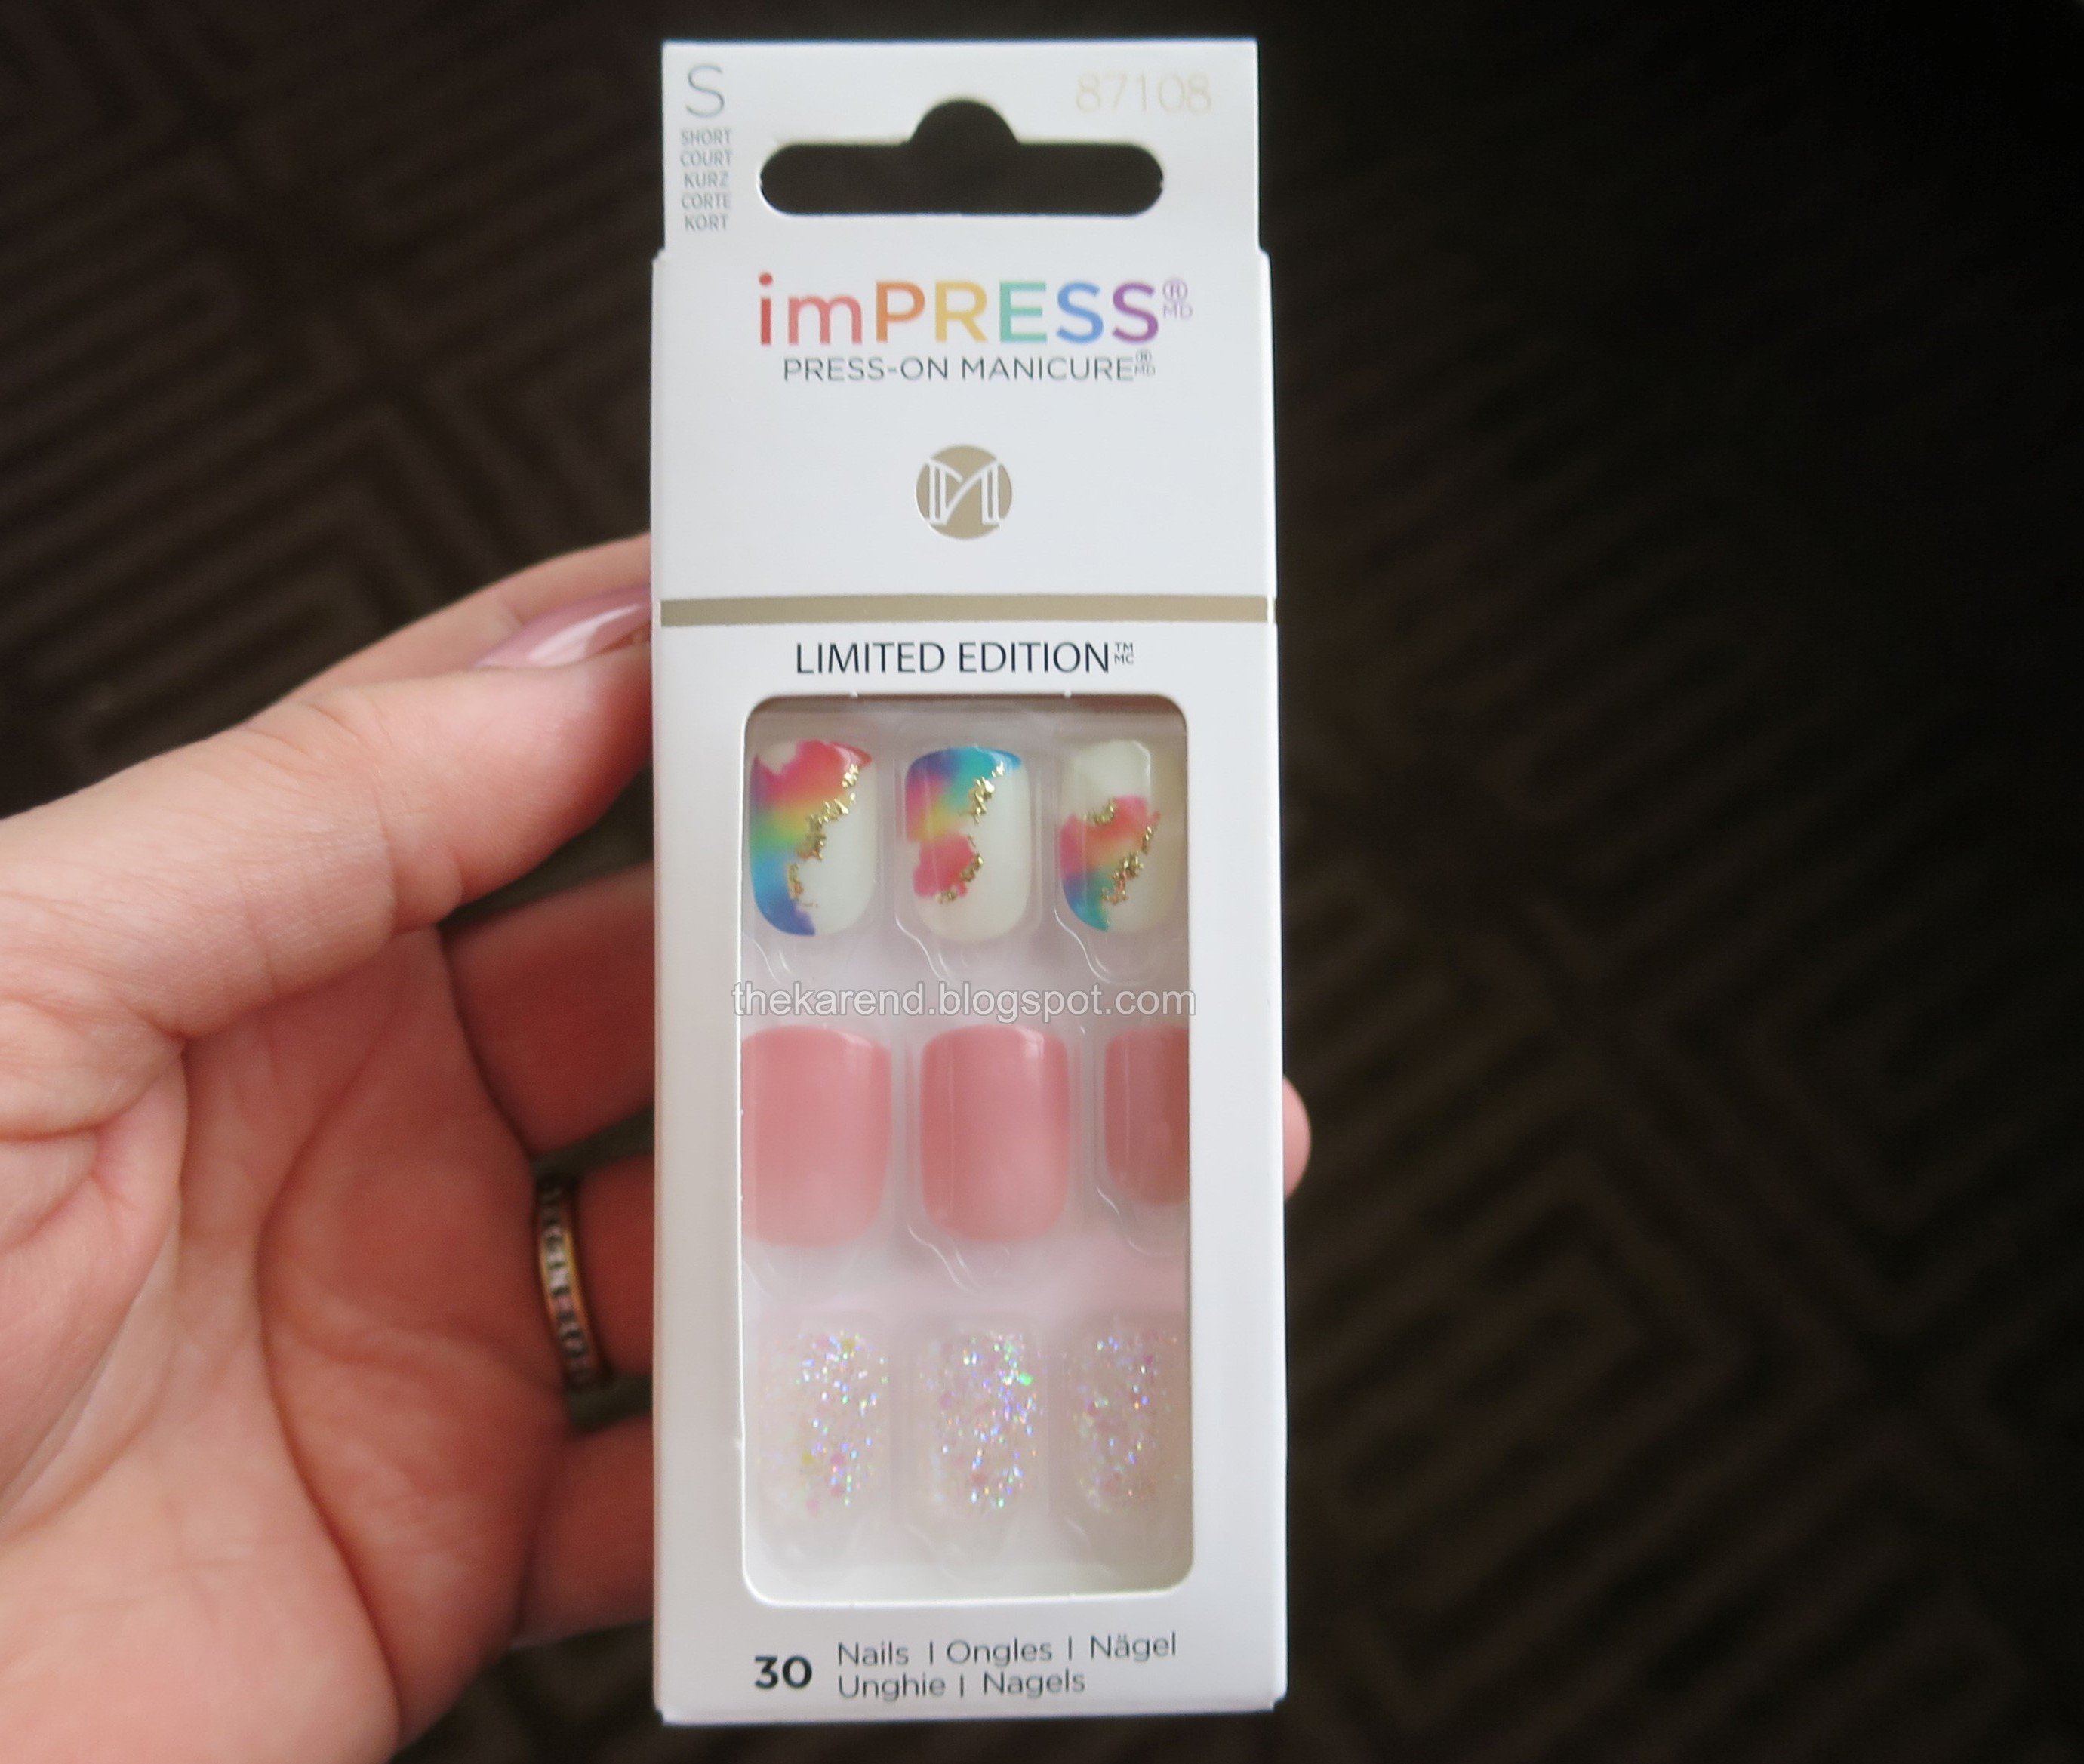
I've been continuing to wear fake nails between swatching sessions. For a fair bit of the summer, I wore one design over and over: the limited edition imPress set called Happy Pride.Despite buying at least four of these sets at retail stores, I don't seem to have gotten a photo of the display. No idea what's up with that. Here's the box:
 
imPress Press-On Manicure Happy Pride
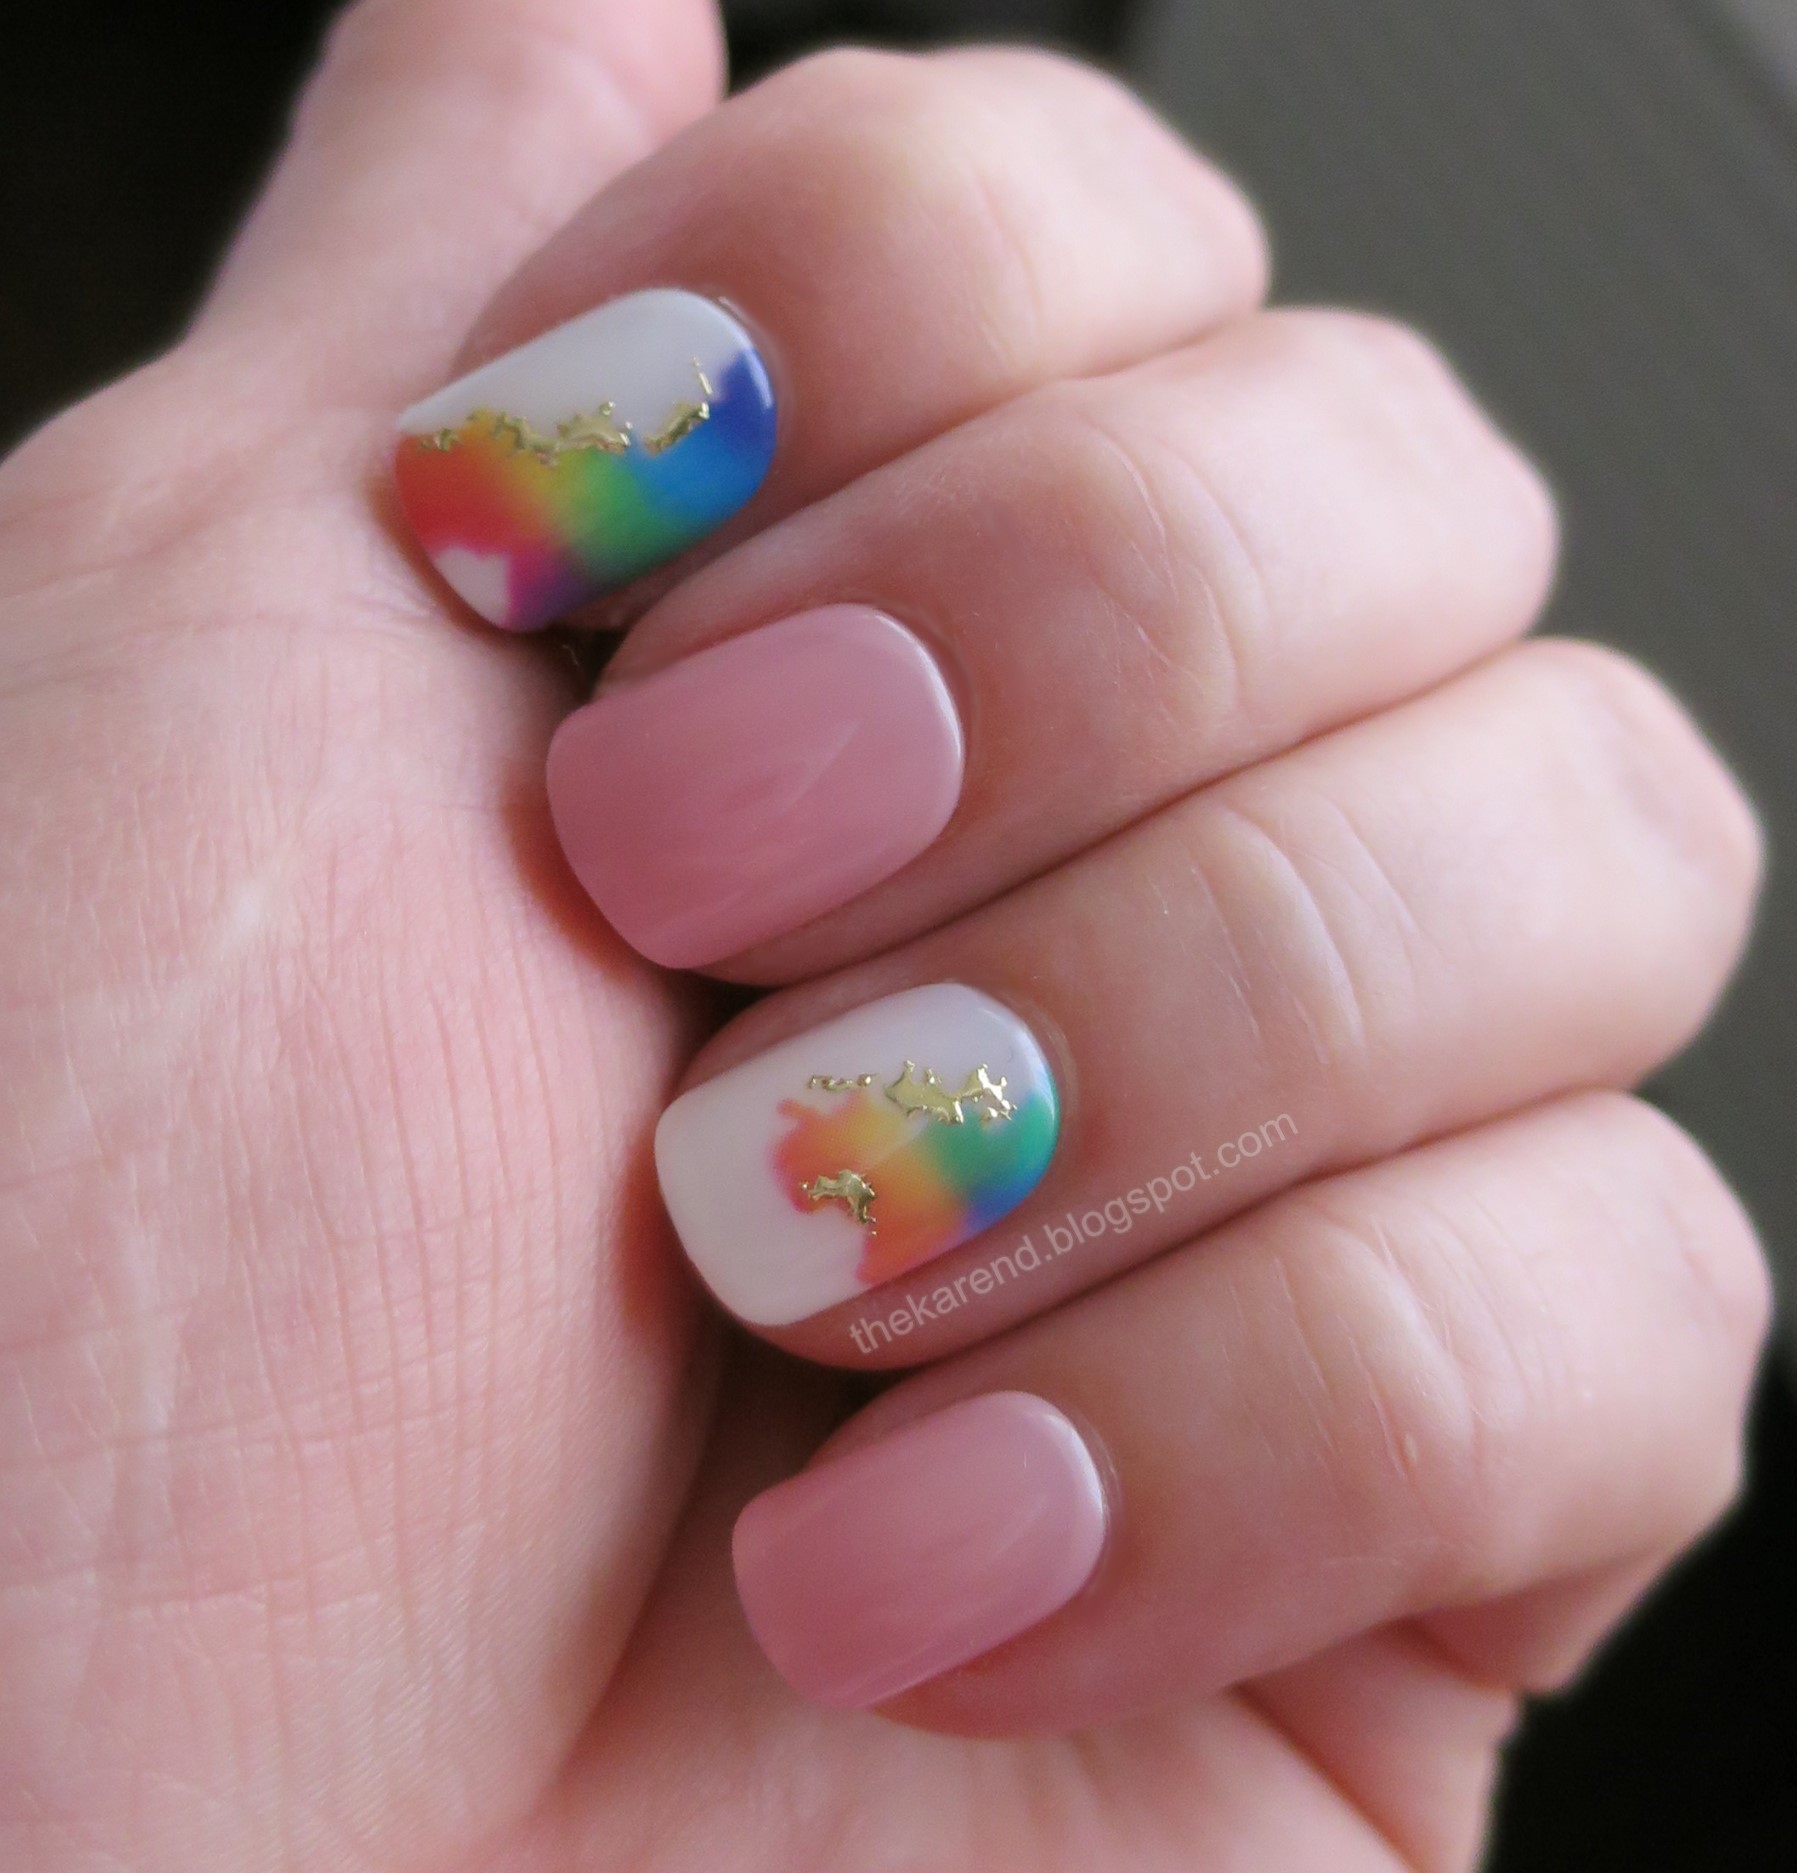
These are short and square and have accent nails with soft rainbow colors highlighted with gold on a white background, plain warm pink nails, and crystal iridescent glitter secondary accent nails. The first time I wore them, I just used the rainbow and pink nails.
 
imPress Press-On Manicure Happy Pride
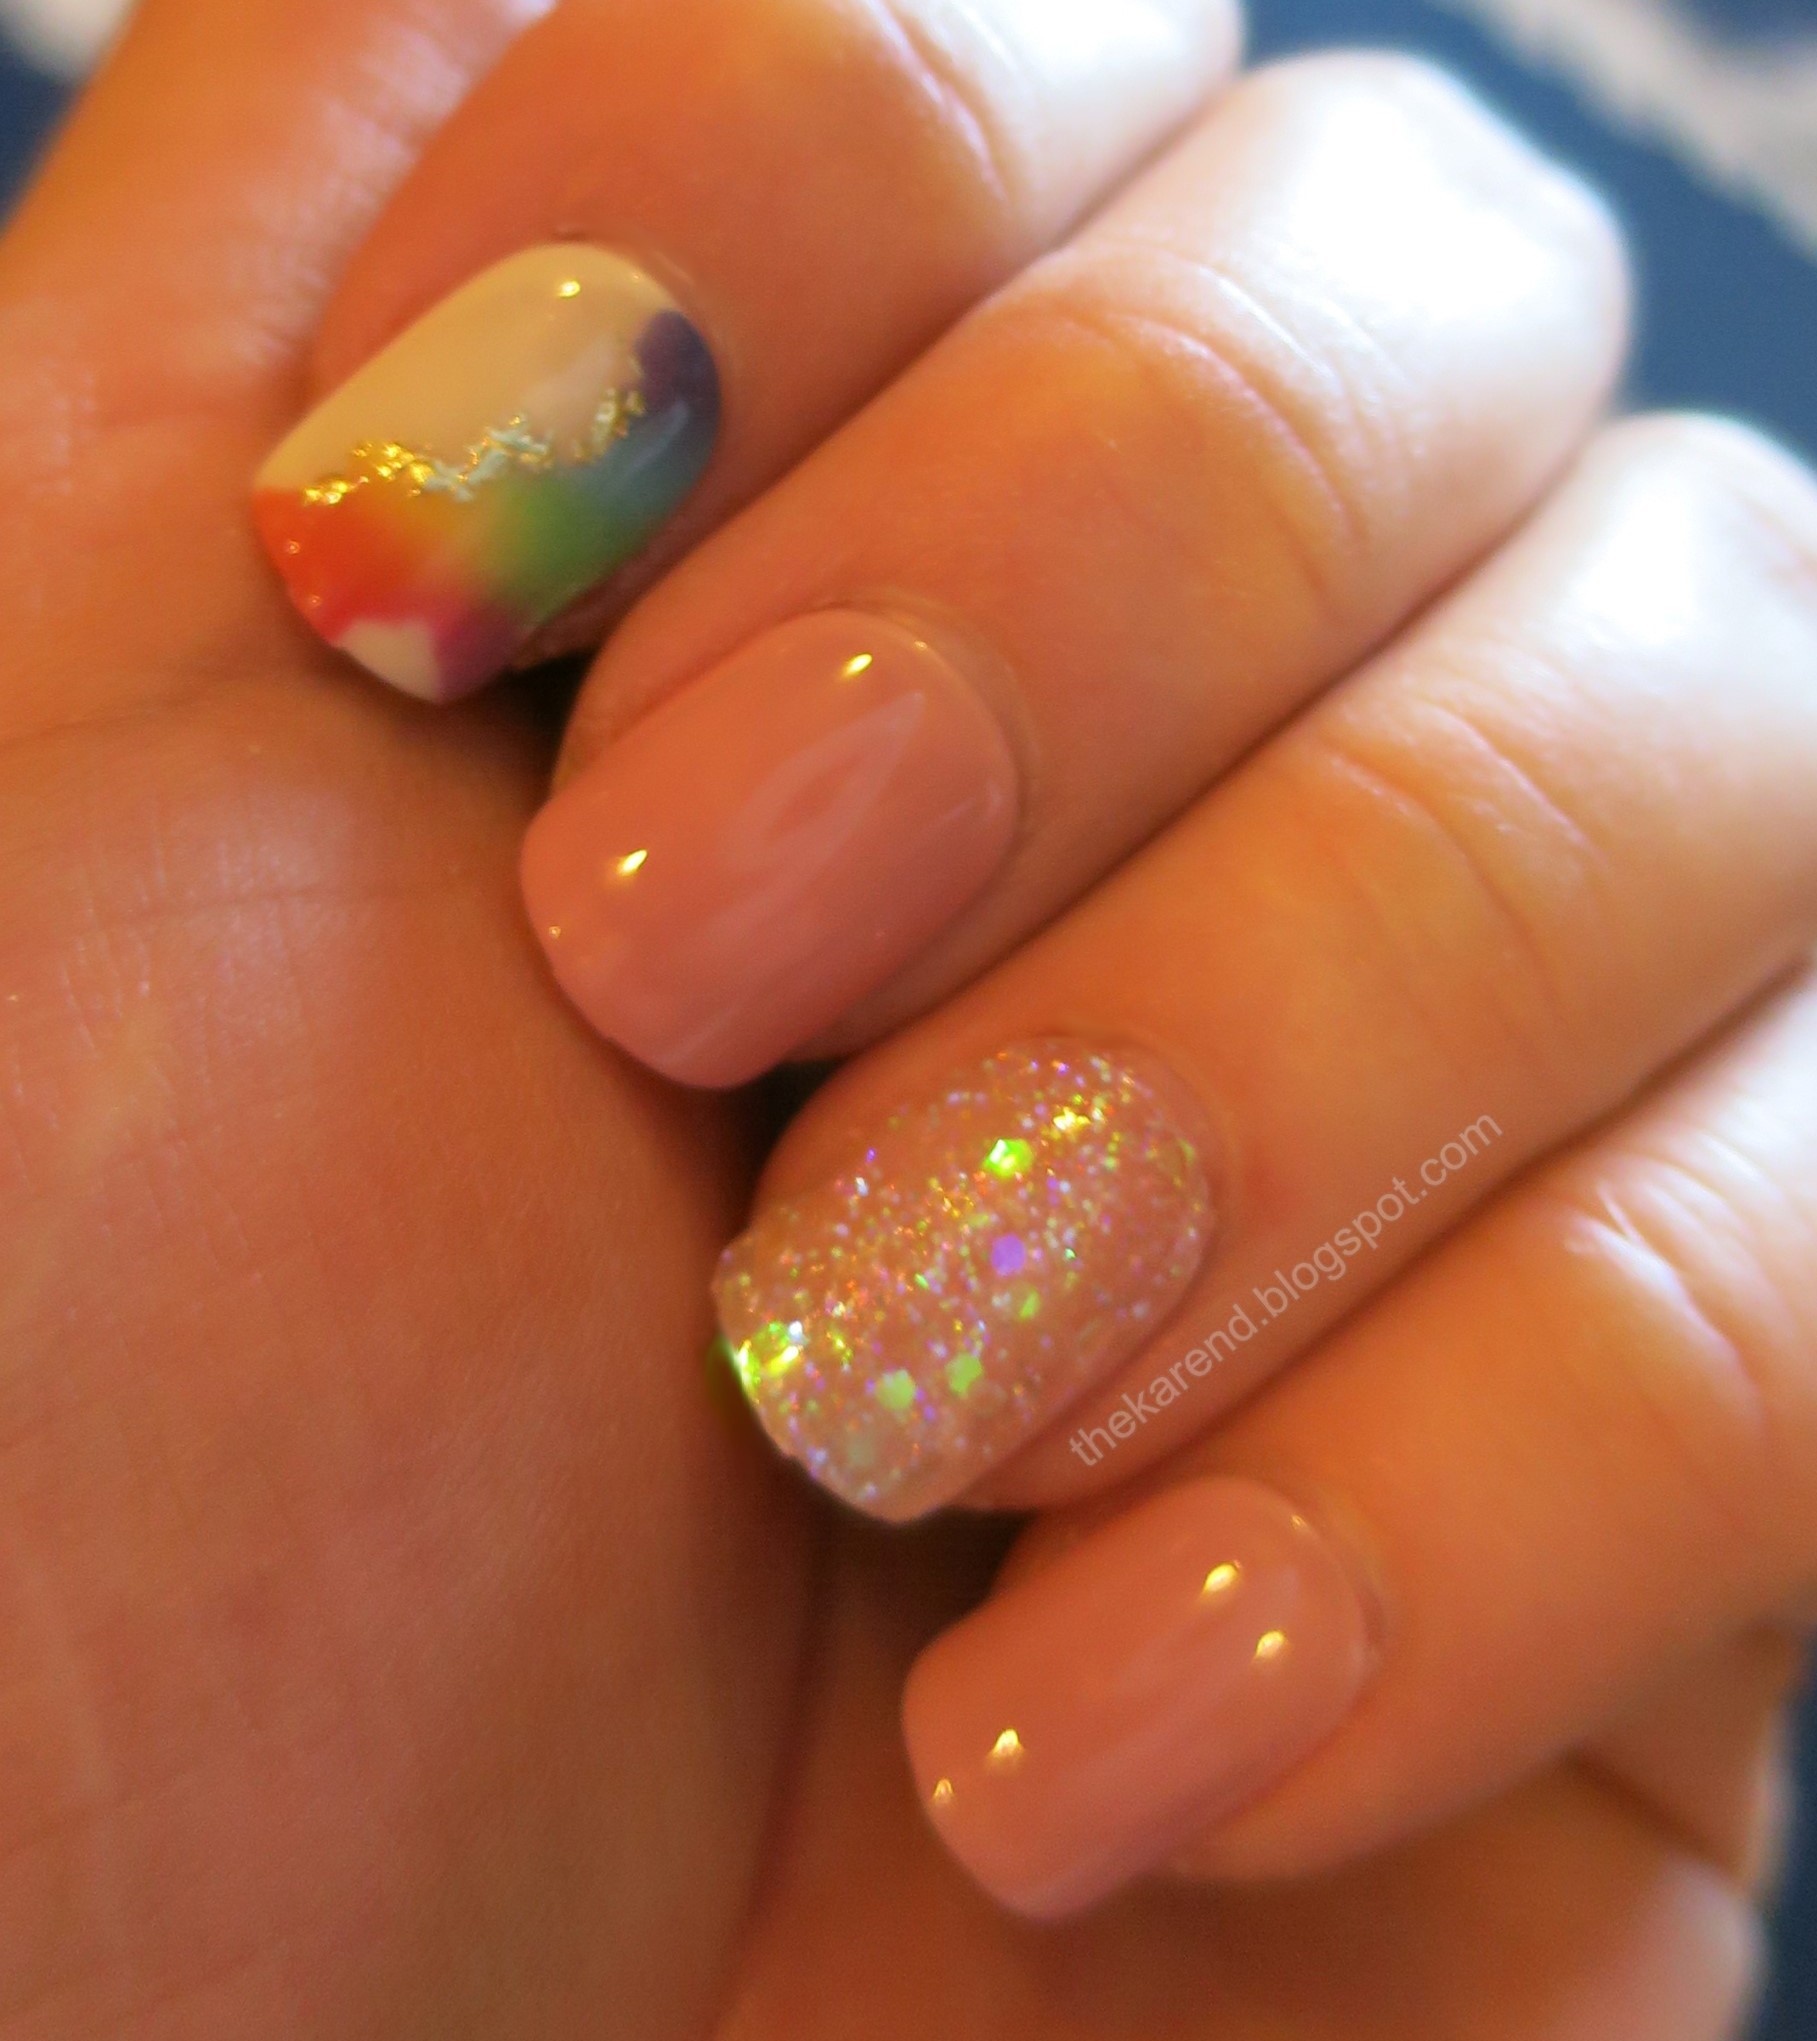
The second time, I used all three varieties:
 
imPress Press-On Manicure Happy Pride
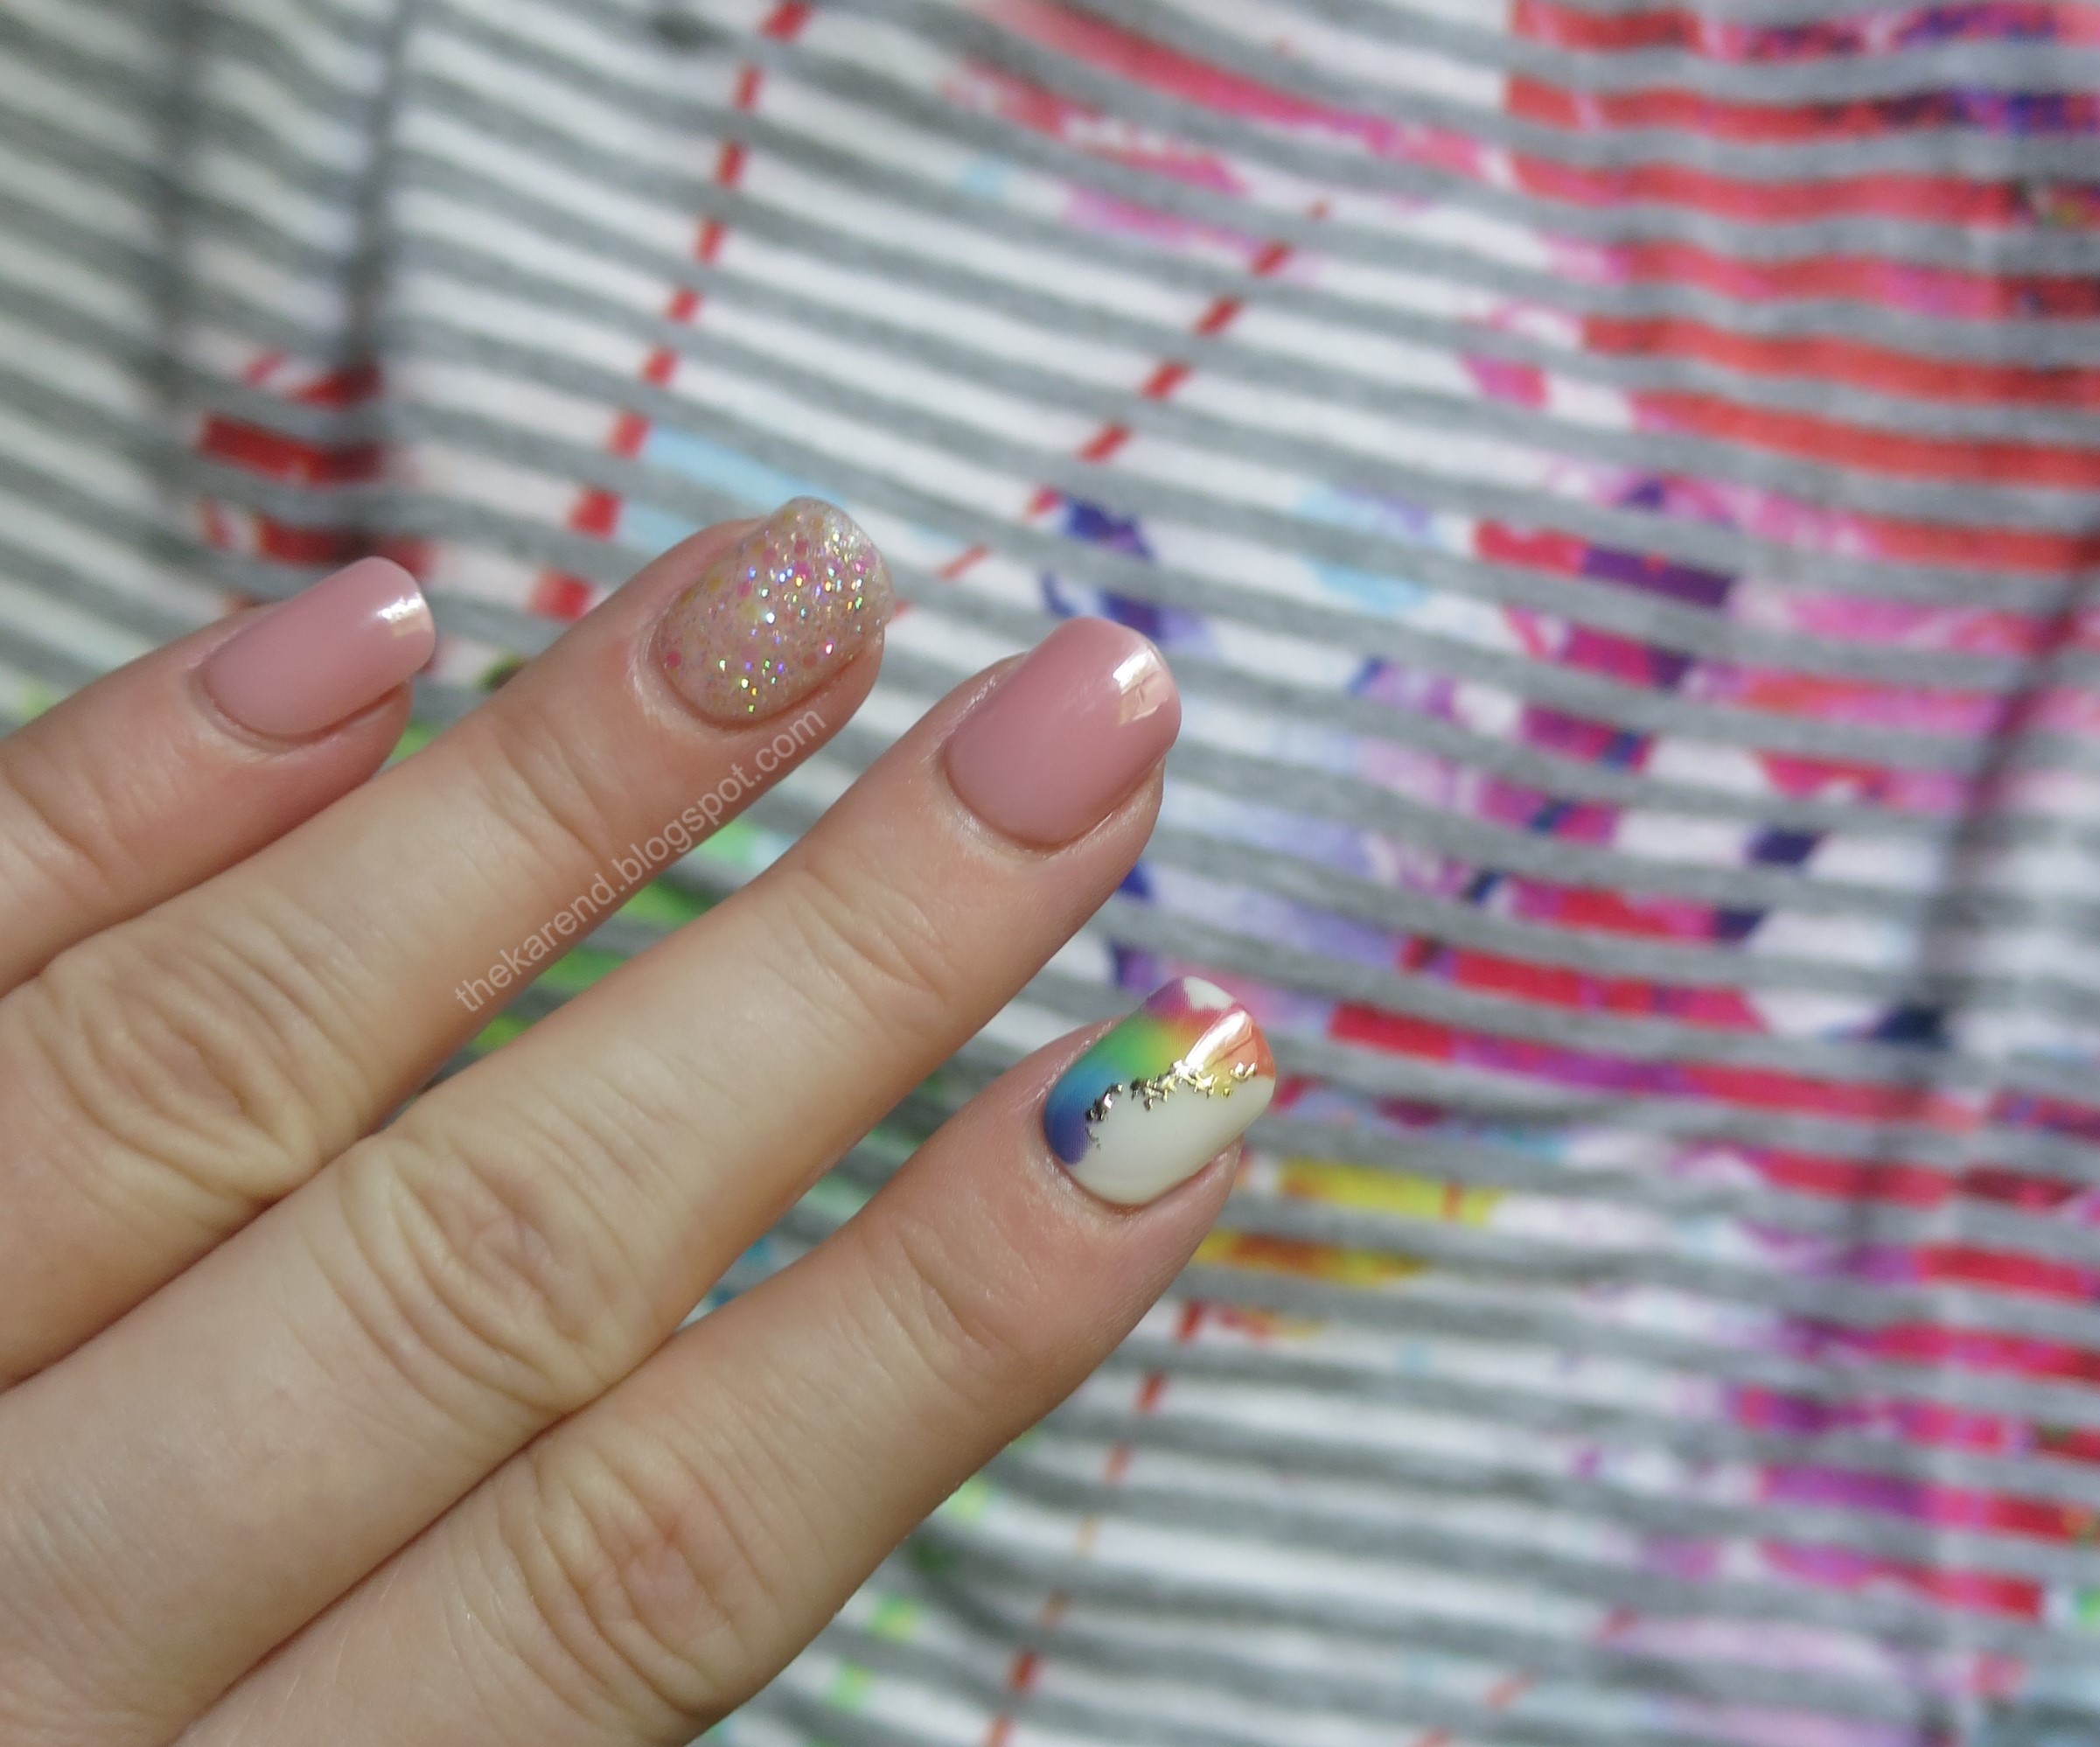
I was tickled at how well the rainbow nails coordinated with one of my favorite tops:
 
imPress Press-On Manicure Happy Pride
Third time I wore them, I went with pink and glitter:
 
imPress Press-On Manicure Happy Pride
 
imPress Press-On Manicure Happy Pride
I haven't seen the display for these in a while since they were for Pride in June, but I did pick up a couple more sets when I ordered from imPress online recently. They just go with so many of my outfits and seeing the colors and the glitter on my nails makes me smile.

Monday, August 8, 2022

Essie Roll With It Collection

I can buy nail polish way faster than I can swatch it, which means bottles get stuck in my swatch boxes and eventually I have too many swatch boxes, so I go through them to move things to the "put on nail wheels" shelves. Sometimes I find things that catch my eye all over again so before they get moved, they get swatched, months and months (somtimes years?) after I bought them. Today's example: Essie's Roll With It Collection, which I believe was released for fall 2020 and which I bought in fall 2021. There are six shades, all shimmers with a scattering of holo microglitter: Sequin Scene, Roll With It, Let's Boogie, Whirl 'n' Twirl, Lace Up & Get Down, and Head Over Wheels.
 
Essie Roll With It collection
 
Essie Roll With It collection
These looked like two distinct trios to me, so I swatched them that way, starting with the more neutral hues: Let's Boogie (pewter-leaning silver), Roll With It (pinkish taupe-leaning silver), and Sequin Scene (brown-leaning orange). I did a sponge gradient with them on my index finger, then Let's Boogie on my middle, Roll With It on my ring, and Sequin Scene on my pinky. All of these were three coats for me.
 
Essie Let's Boogie, Roll With It, and Sequin Scene
The difference between the two silvers on the nails is more subtle than it is in the bottles. Roll With It is a touch cooler-toned and seems to have a slightly less dense shimmer base. I wish instead of one of these, they'd done a deeper grey, not quite charcoal. Or a teal.
 
Essie Let's Boogie, Roll With It, and Sequin Scene
I topcoated the gradient, and should have topcoated the other nails, as these do have a slightly gritty look without it. Still, the holo microglitter catches the light very nicely, distracting from what might be too much brushstrokey-ness otherwise for some of the shades.
 
Essie Let's Boogie, Roll With It, and Sequin Scene
Then I took the same approach with the more vibrant shades. A gradient on my index, then Whirl 'n' Twirl (blue) on my middle, Lace Up and Get Down (purple) on my ring, and Head Over Wheels (hot pink) on my pinky. Whirl 'n' Twirl was three coats and the others were two. Again, I added topcoat just to the gradient. I loved how these shades blended.
 
Essie Whirl 'n' Twirl, Lace Up & Get Down, and Head Over Wheels
 
Essie Whirl 'n' Twirl, Lace Up & Get Down, and Head Over Wheels
Lace Up & Get Down seemed to have the densest shimmer, with fewer holo bits showing color in it that the others, though a few did pop through at some angles.
 
Essie Whirl 'n' Twirl, Lace Up & Get Down, and Head Over Wheels
 
Essie Whirl 'n' Twirl, Lace Up & Get Down, and Head Over Wheels
The sun came out while I had this last trio on, so I hustled over to the window and was rewarded with this glowy-ness:
 
Essie Whirl 'n' Twirl, Lace Up & Get Down, and Head Over Wheels
If I had to choose just one of these (and at some point I might, as I cannot move into assisted living someday with thousands of bottles of nail polish), it'd be the blue, Lace Up & Get Down.

Wednesday, July 13, 2022

Wheel S15: Pink Cremes

As with many of my creme wheel's, some of the pinks I have today for Nail Wheel Wednesday wander off the brief. There are a few pastel peaches and some mauves, but I'm more concerned about keeping this project moving forward than perfection.
 

1. China Glaze Let's Chalk About It (3 coats)
2. Ciate Amazing Gracie (3)
3. Sally Hansen Complete Salon Manicure In the Flesh (3)
4. Revlon Parfumerie Pink Pineapple (3)
5. Butter London Happily Ever After (3)
6. SinfulColors Mad Matter (2)
7. Sally Hansen Xtreme Wear Femme Feather (2)
8. Morgan Taylor Plumette with Excitement (2)
9. Nails Inc. Mayfair Lane (2)
10. Bonita Salon Sweet Ever After (3)
11. Sally Hansen Complete Salon Manicure At First Blush (2)
12. Sally Hansen Xtreme Wear Berry Juicy (2)
13. SinfulColors Baewatch (2)
14. Studio M Vintage Couture (3)
15. American Apparel Coney Island (3)
16. Deborah Lippmann Marine (3)
17. Sephora by OPI XOX Betsey (2)
18. Kiko Smart Fast Dry 129 (2)
19. Kiko Velvet Satin 689 Vintage Rose (2)
20. Zoya Satin Brittany (2)

Bottles 1 through 5:
 

6 through 10:
 

11 through 15:
 

16 through 20:


Tuesday, July 12, 2022

Salon Perfect Dippin' Dots Collection

Continuing the "Easter in July" Skittles theme I started last week with Sally Hansen x Peeps, today I have the Salon Perfect Dippin' Dots colors, which caem out around the same time. These aren't necessarily Easter, though the palette does resemble candy eggs. I'm pretty sure I have similar colors from any one of a number of "soft neon" or "pastel neon" or "sunwashed neon" collections that have come out over the years, but the Dippin' Dots tie-in got me. It's been ages since I had any of that delightful ice cream of the future, so having the nail polish to look at is good. Top: Banana Split, Orange Creme, Strawberry Swirl, Birthday Cake. Bottom: Berry Freeze, Cotton Candy, Cool Mint, Lime Ice.
 
Salon Perfect Dippin' Dots nail polish
I wanted to try these over white, so I first grabbed two of the colors to try that. Left to right: Banana Split (2 coats), Banana Split (1 over white), Lime Ice (2 coats), Lime Ice (1 over white). The white made a slight difference, brightening the color a touch. The formula on these was a bit tricky; definitely pigmented but also a bit runny and didn't self level as well as I'd like. Still, not too hard to work with.
 
Salon Perfect Dippin' Dots nail polish
Then I got to Skittling, without the white base. Top to bottom: Banana Split (2 coats), Orange Creme (2), Strawberry Creme (2), and Birthday Cake (1 thick).
 
Salon Perfect Dippin' Dots nail polish
 
Salon Perfect Dippin' Dots nail polish
Now the cooler shades (all 2 coats): Lime Ice, Cool Mint, Cotton Candy, and Berry Freeze.
 
Salon Perfect Dippin' Dots nail polish
 
Salon Perfect Dippin' Dots nail polish
I don't think any of these are must haves, but I can see wearing them for summer pedicures.