Showing posts with label c: skintone. Show all posts

Tuesday, February 18, 2014

Nicole by OPI Carrie Underwood Collection, Part One

I mentioned in my display post last week that the first seven colors in the Nicole by OPI / Carrie Underwood collaboration are now showing up in the stores. I was fortunate to receive them for review so today I've got swatches. There are seven more Carrie Underwood colors that I haven't seen in stores yet; I'll have swatches of those in a separate post later this week.

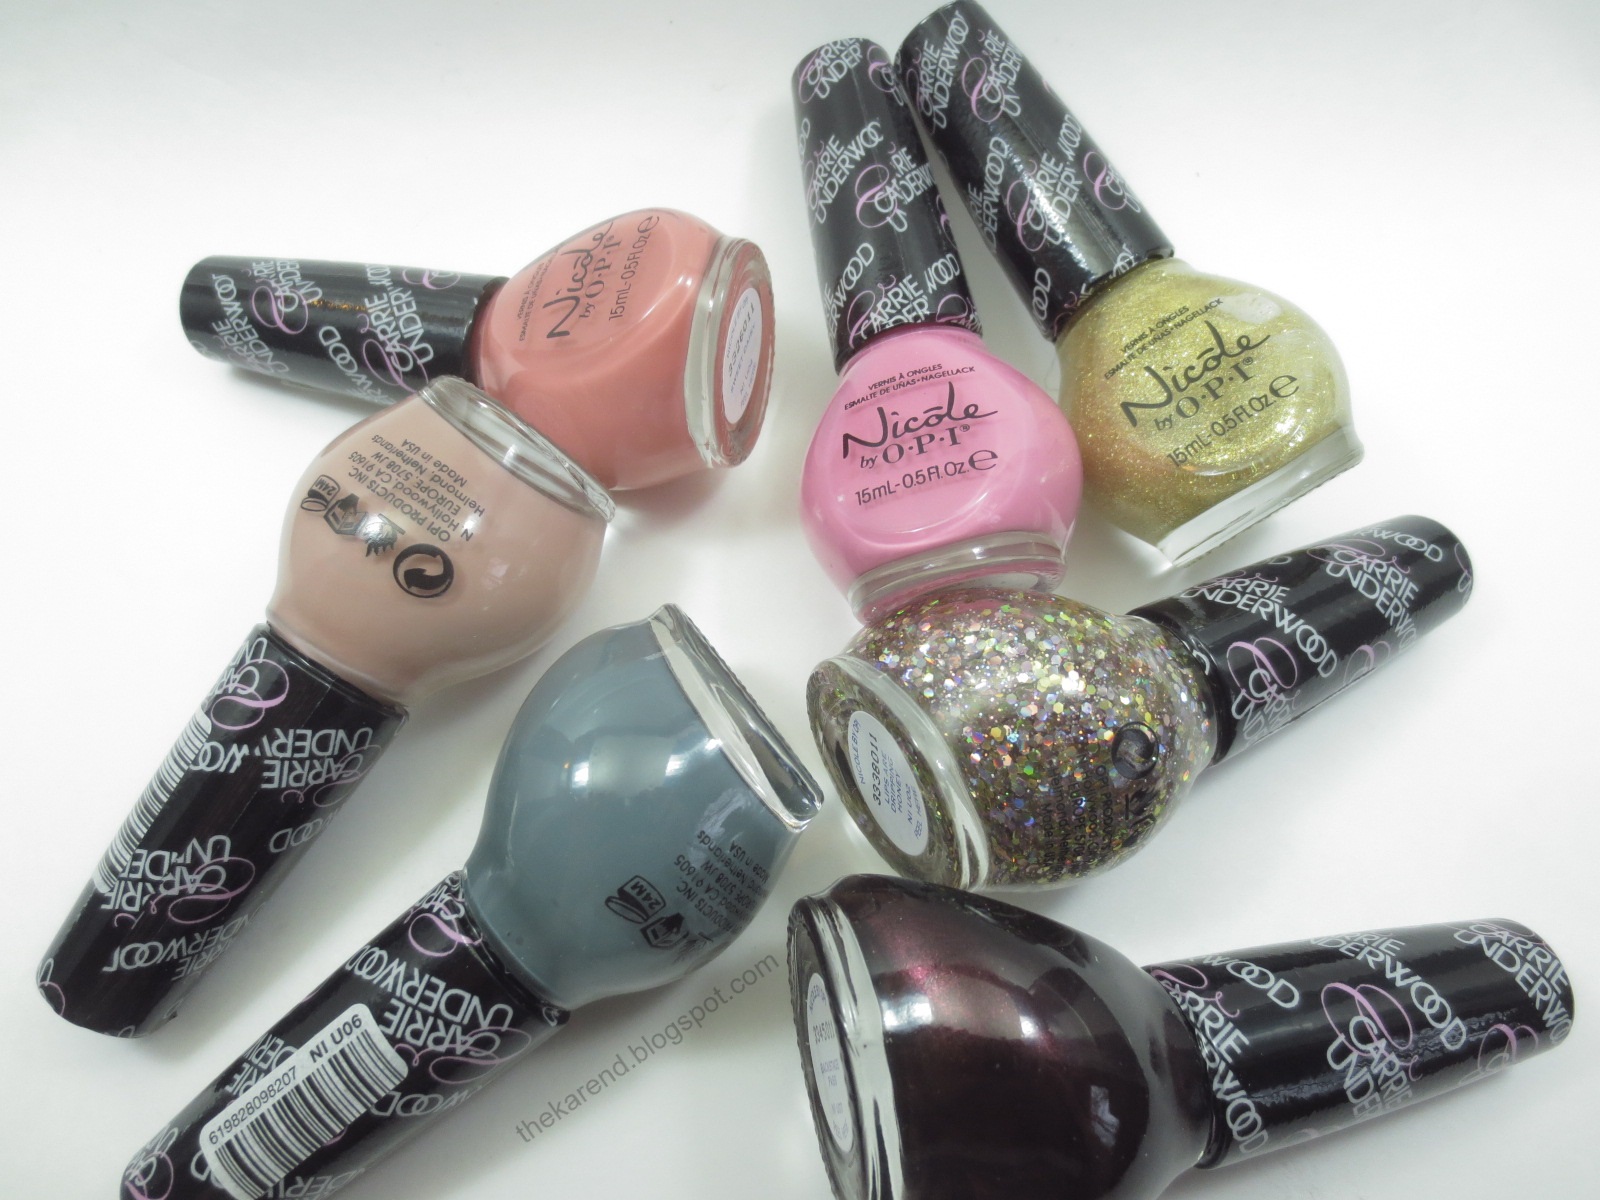
I got frustrated trying to arrange the bottles neatly for their group photo, as my little lightbox is not quite wide enough for seven of these bulbous bottles to sit side by side, so I gave up and went with a much more casual arrangement. You can see there's a variety of finishes here. The hues are mostly warm tones.


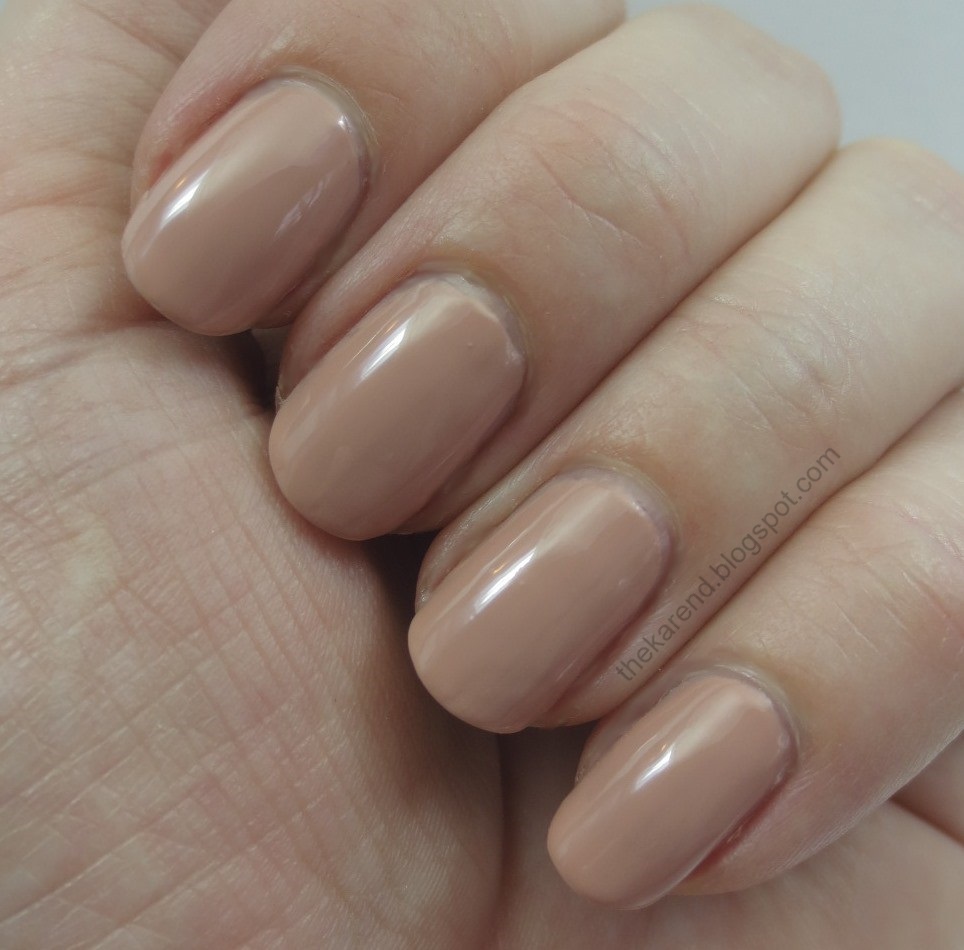
Southern Charm is a peachy skintone nude creme (for certain values of "nude", of course). This blended pretty well with my skintone; I can see myself using it as netural base color under sheers. If Zoya ChantalI used three coats for my swatch.


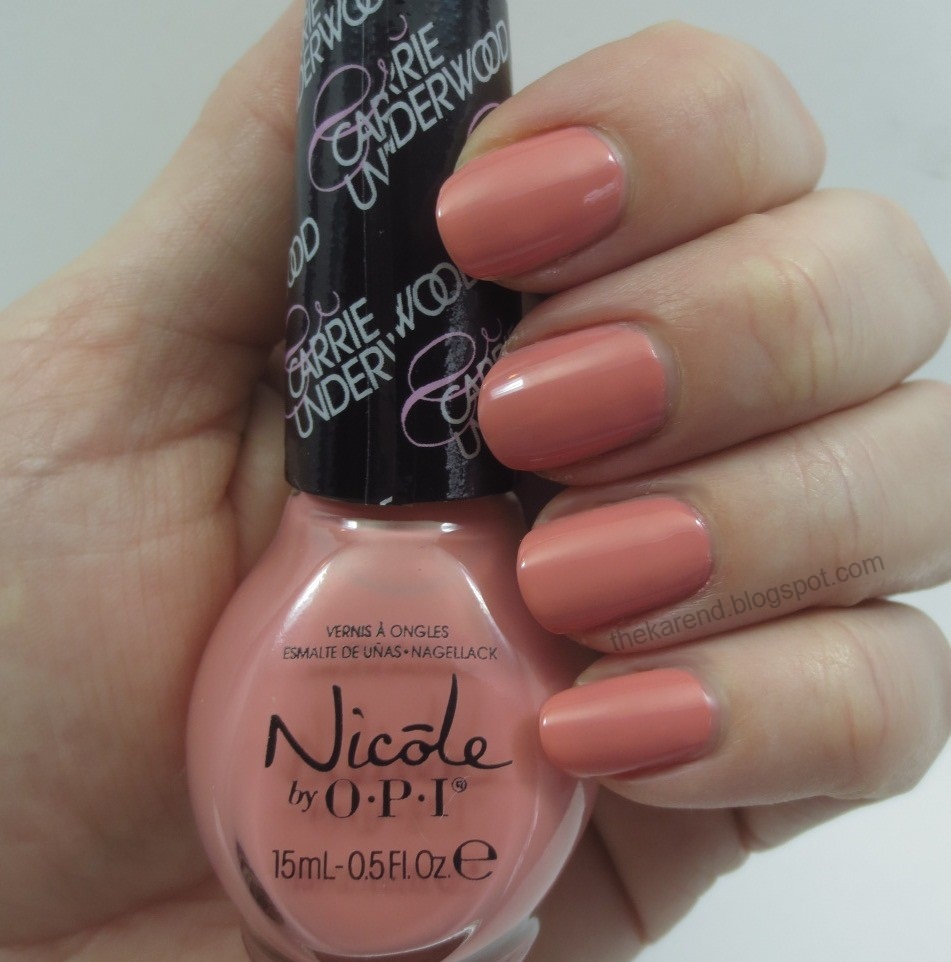
Sweet Daisy is a light but not pastel reddish orange creme. I used three coats of this one as well. I wasn't crazy about how it looked with my skintone but it's a nice soft spring color in and of itself.


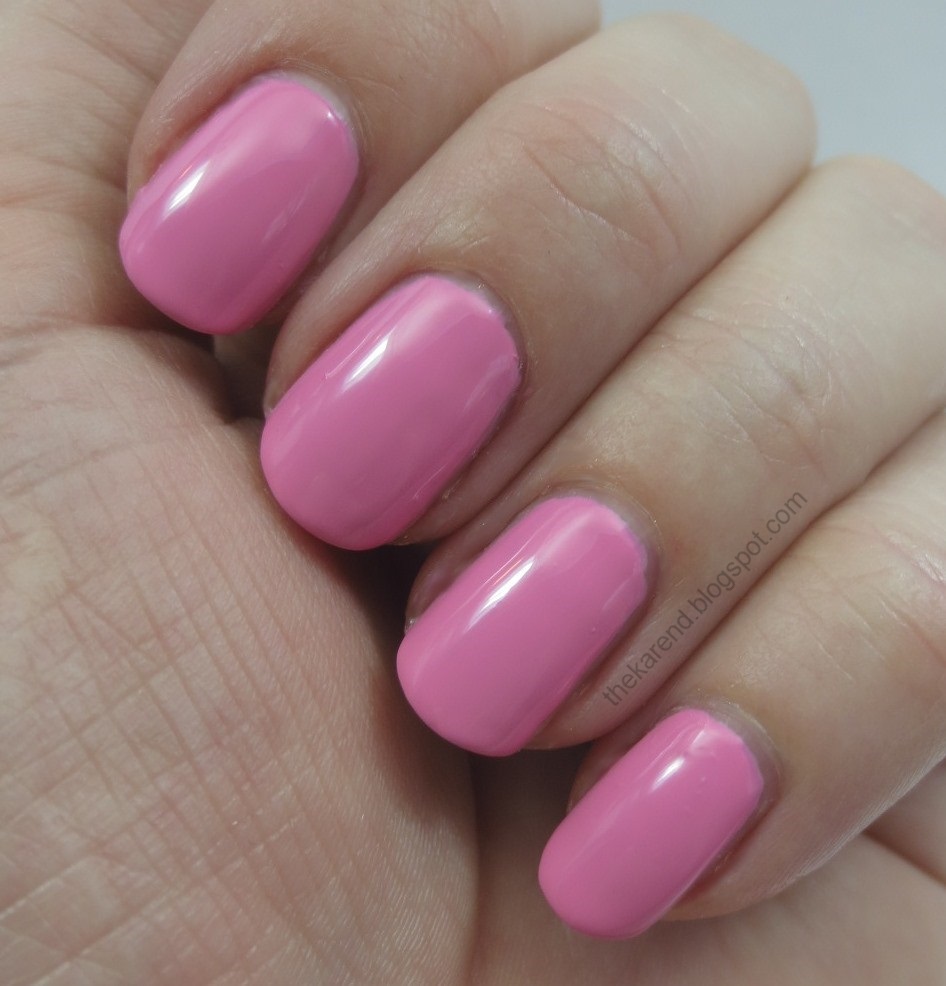
Carnival Cotton Candy is a vibrant blue-based pink creme and yes, another three coater for me. If you don't already have a bright and happy pink creme in your stash, this would fit the bill.


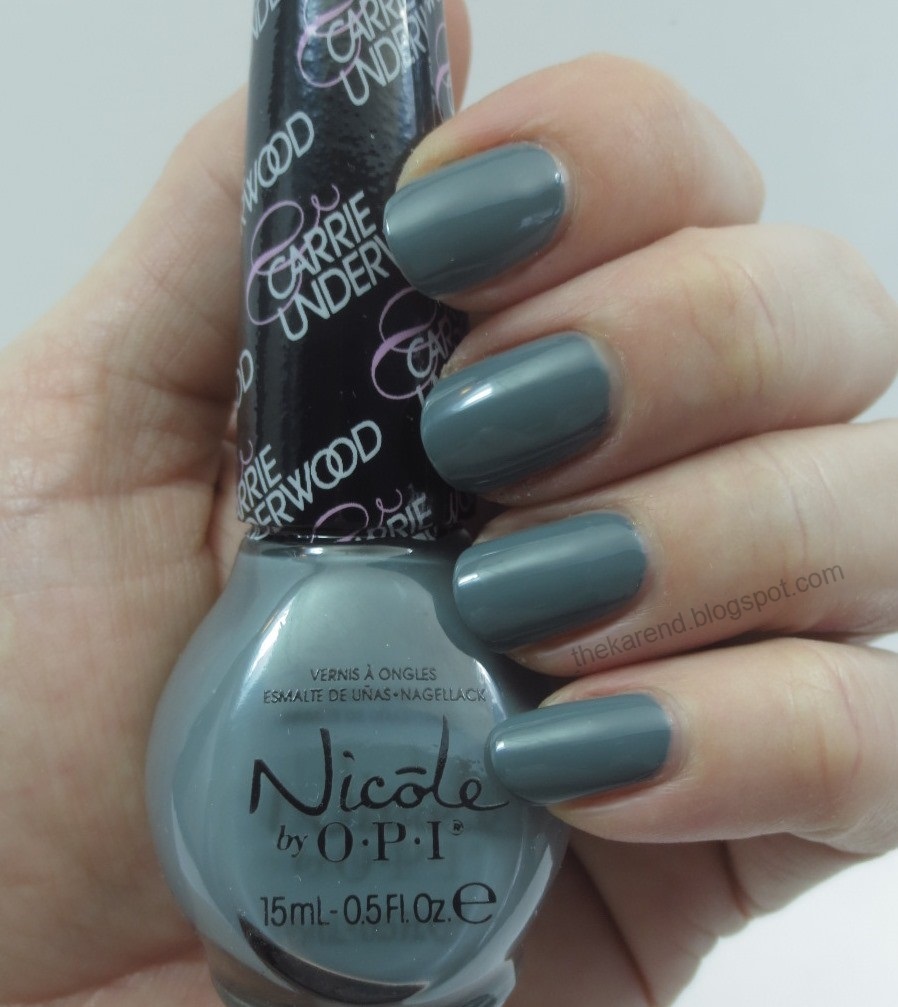
Goodbye Shoes is the final creme in the group and the coolest-toned shade of them all. It's a dusty blue-leaning green. Two coats of color was plenty for full coverage from a visible nail line perspective, but not quite enough to camoflage all the imperfections in my nail bed, so I added topcoat to this swatch.


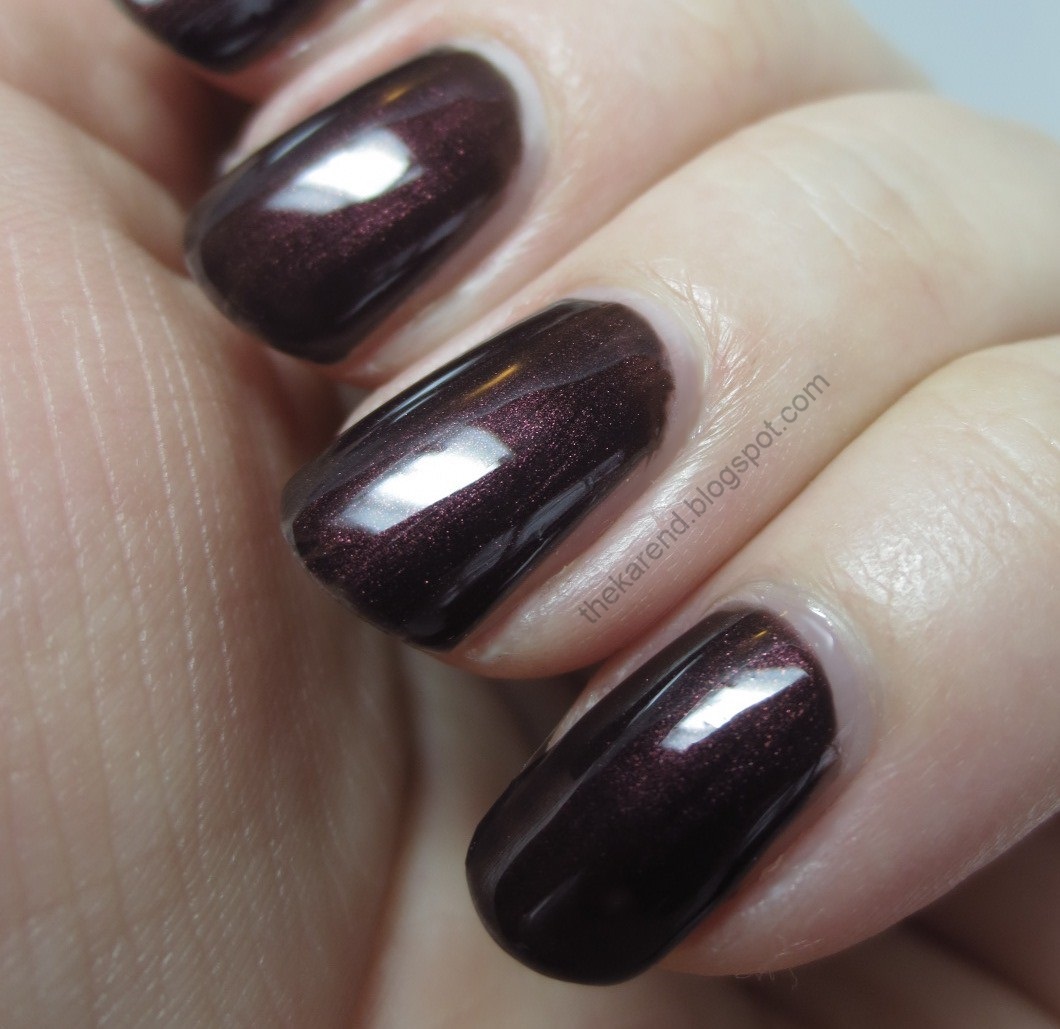
Backstage Pass is a very deep brown-leaning wine with subtle shimmer. This is sort of shade I expect to see in fall collections; it's somewhat unexepected here in a group released in the pre-spring period. I used two coats plus topcoat for this swatch as well.


The shimmer in Backstage Pass showed up a bit better in more direct light.


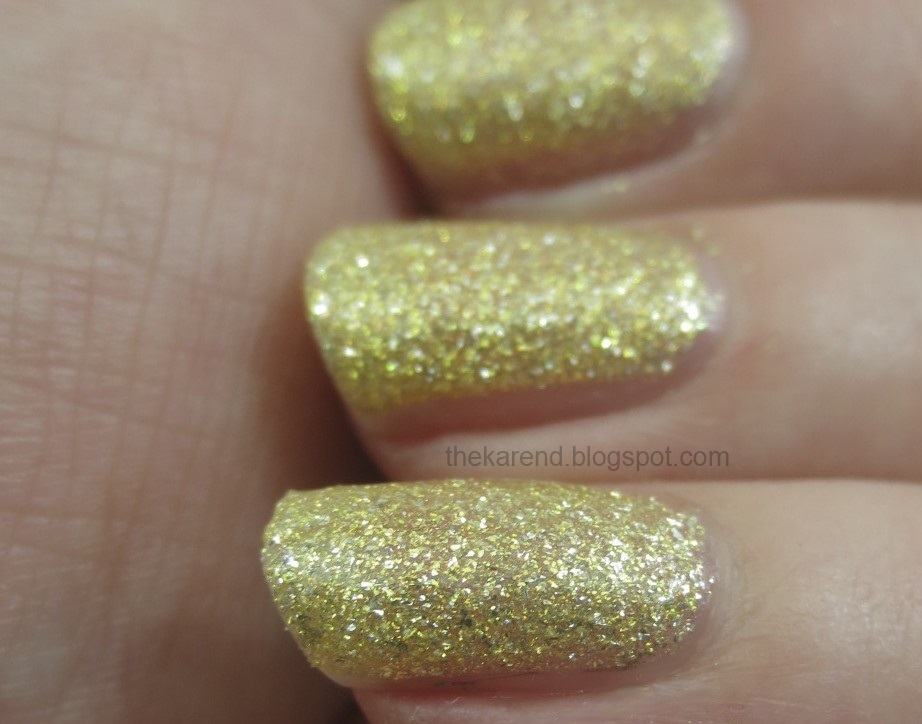
Carrie'd Away is a gold flecked shimmer in a slightly sheer base. I used three coats and still saw a hint of visible nail line. It is definitely not my color, though I think it would look great some of my friends.
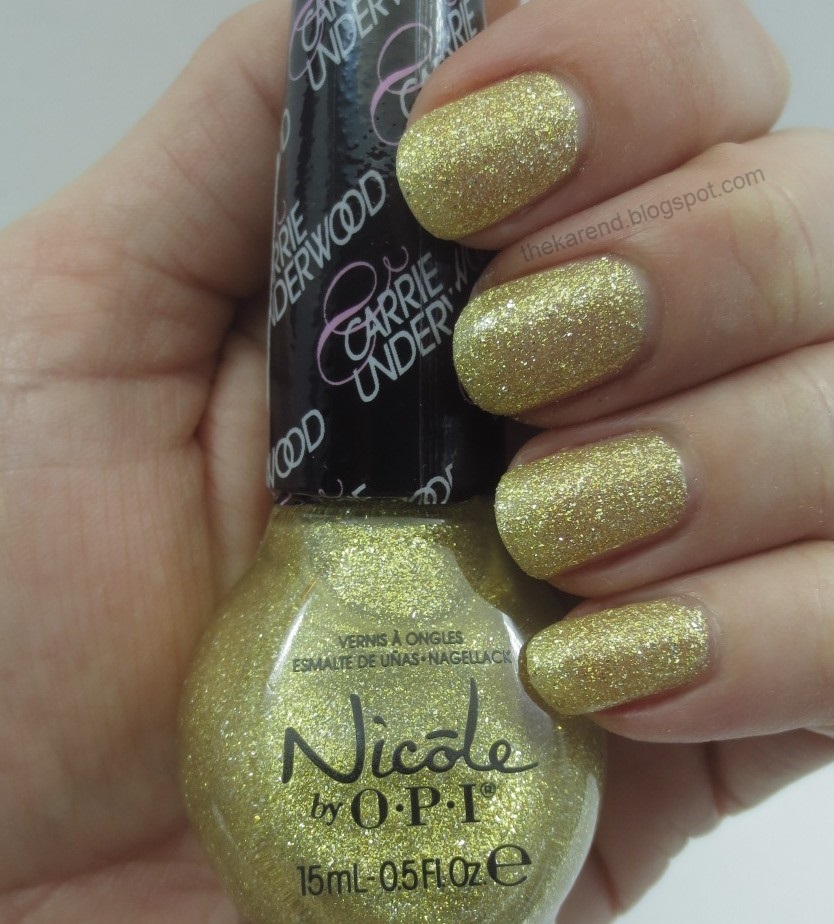


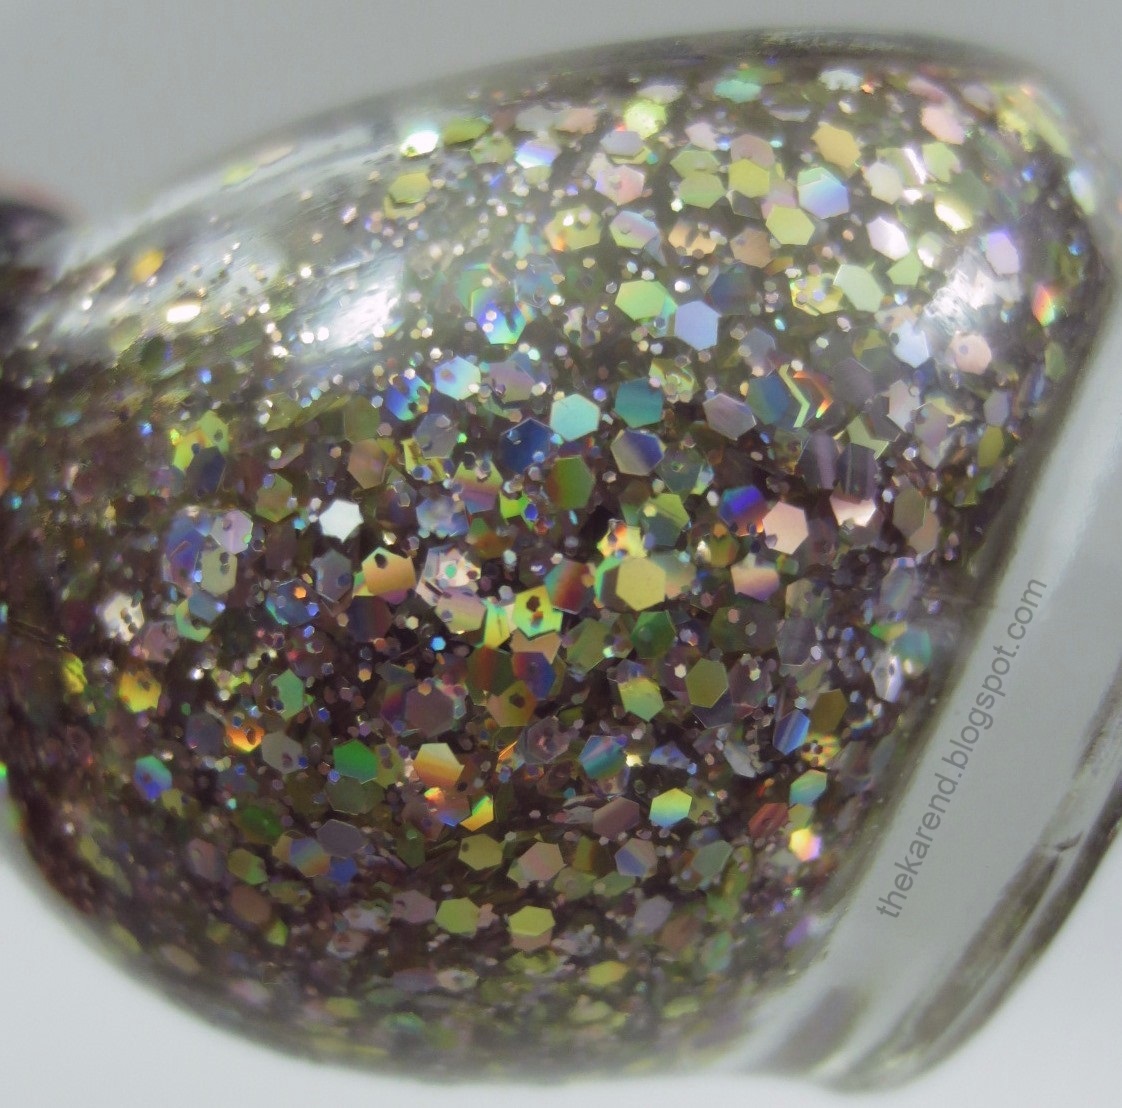
Finally we come to the only glitter in this group, Lips Are Dripping Honey. This has golden holo glitter in two sizes in a clear base.


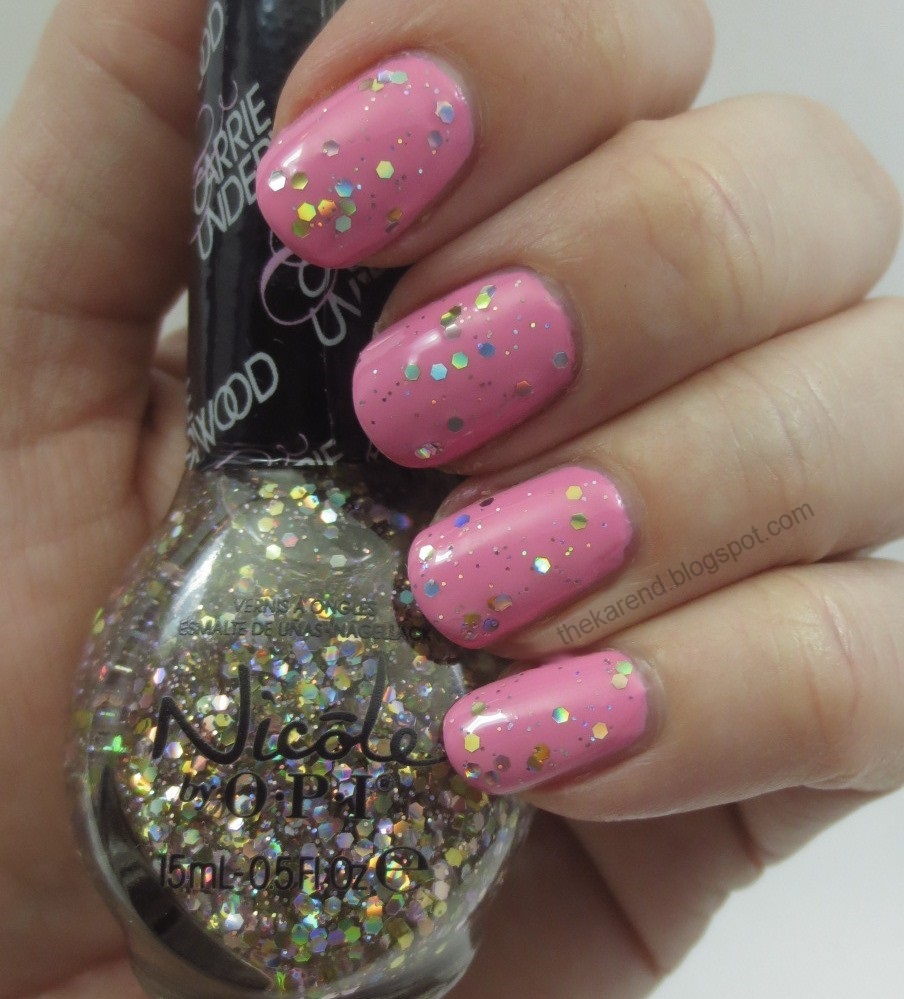
I put one coat of Lips Are Dripping Honey over Carnival Cotton Candy and quite liked the combination.


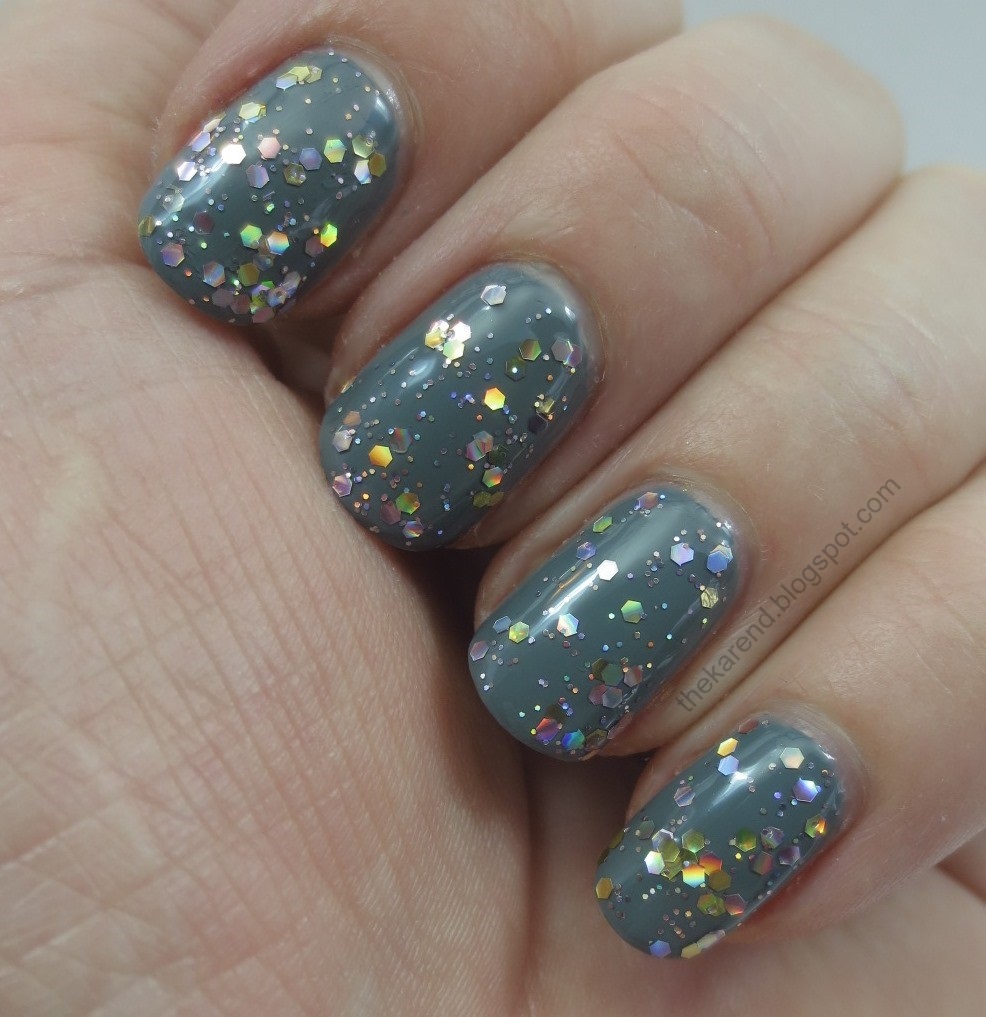
Then I tried two coats of Lips Are Dripping Honey over Goodbye Shoes and liked that combination even more. Such glitter. So rainbows. Wow.
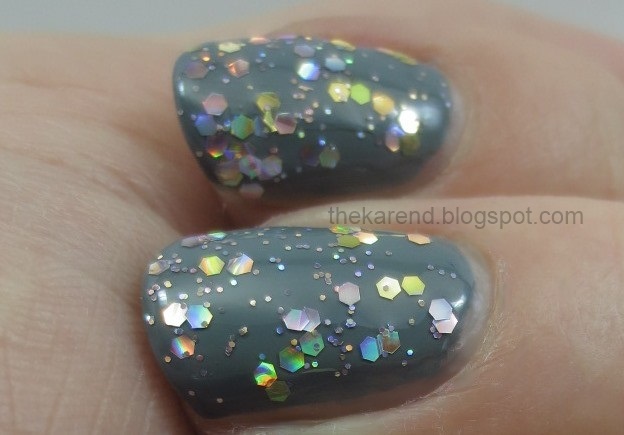


Next it was Backstage Pass's turn to get the Lips Are Dripping Honey treatment; this time I put Carrie'd Away on an accent nail before I laid down the glitter.
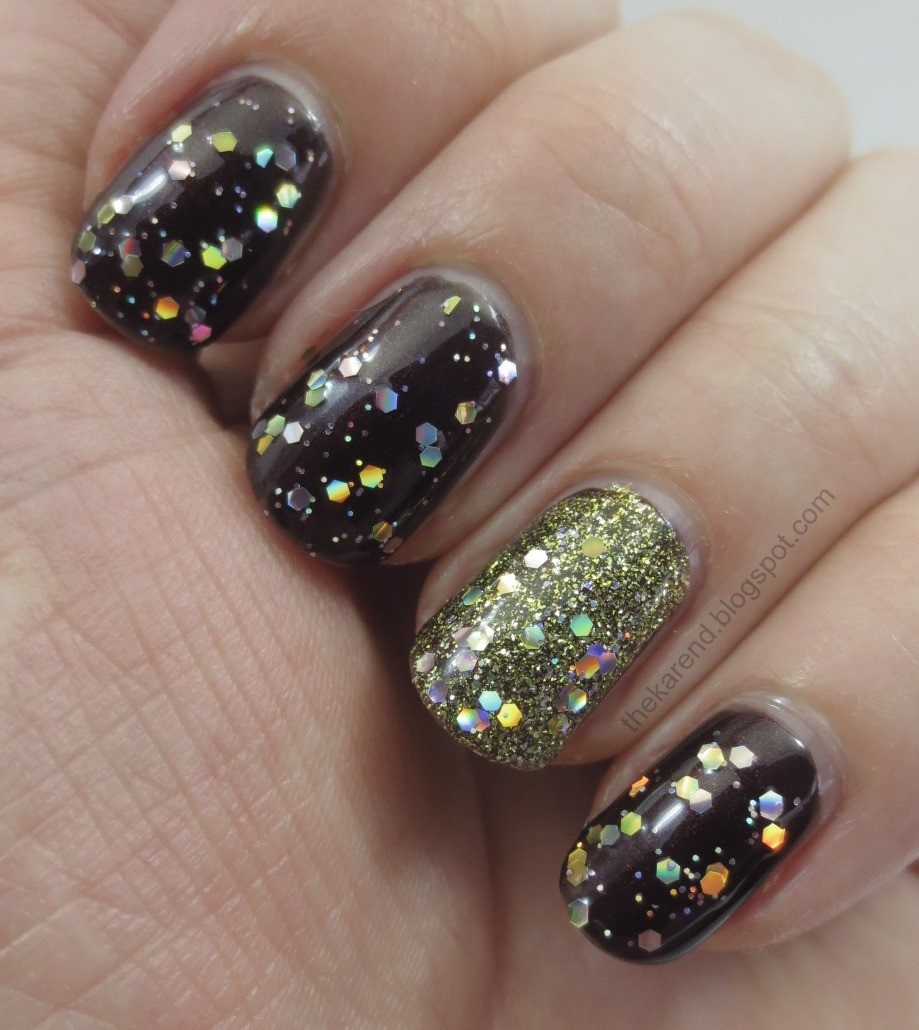


I wanted to try Carrie'd Away layered over something lighter, too, so I laid down a base of Sweet Daisy and then added 1 coat of Carrie'd Away to all but an accent nail.


A gradient with Carrie'd Away and Lips Are Dripping Honey on a base of Southern Charm is the last look I have to share today.
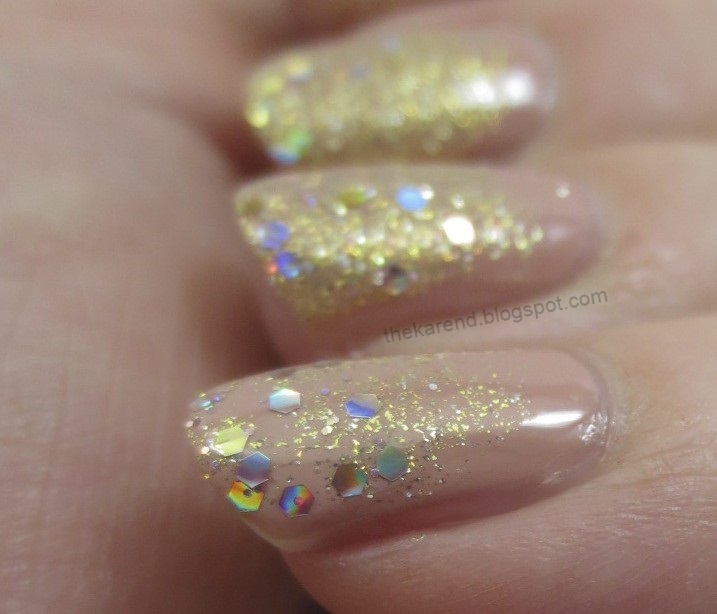


The Nicole bottles are never going to be my favorite, but the polishes inside are perfectly fine. This particular group has a nice range of colors and finishes, and as you can see, I had fun playing with them.

The polishes shown in this entry were provided free for review purposes. The content of the entry was not dictated by the provider.

Thursday, July 25, 2013

Recent NOTD x3: Essie Sleek Sticks

I've posted display photos of Essie's entry into the nail strip category, Sleek Sticks, but it took me a long time actually buy any because unlike other brands, they don't seem to go on sale. Then one day I was wandering through Kohl's and saw them there; I guess I sort of knew Kohl's had Essie but there's so much else to attract my attention there (costume jewelry on clearance especially) that it didn't really register that I could use my Kohl's coupons to get the Sleek Sticks. They didn't have the largest selection there, or any of the newest designs, but since I hadn't tried any that didn't matter to me.

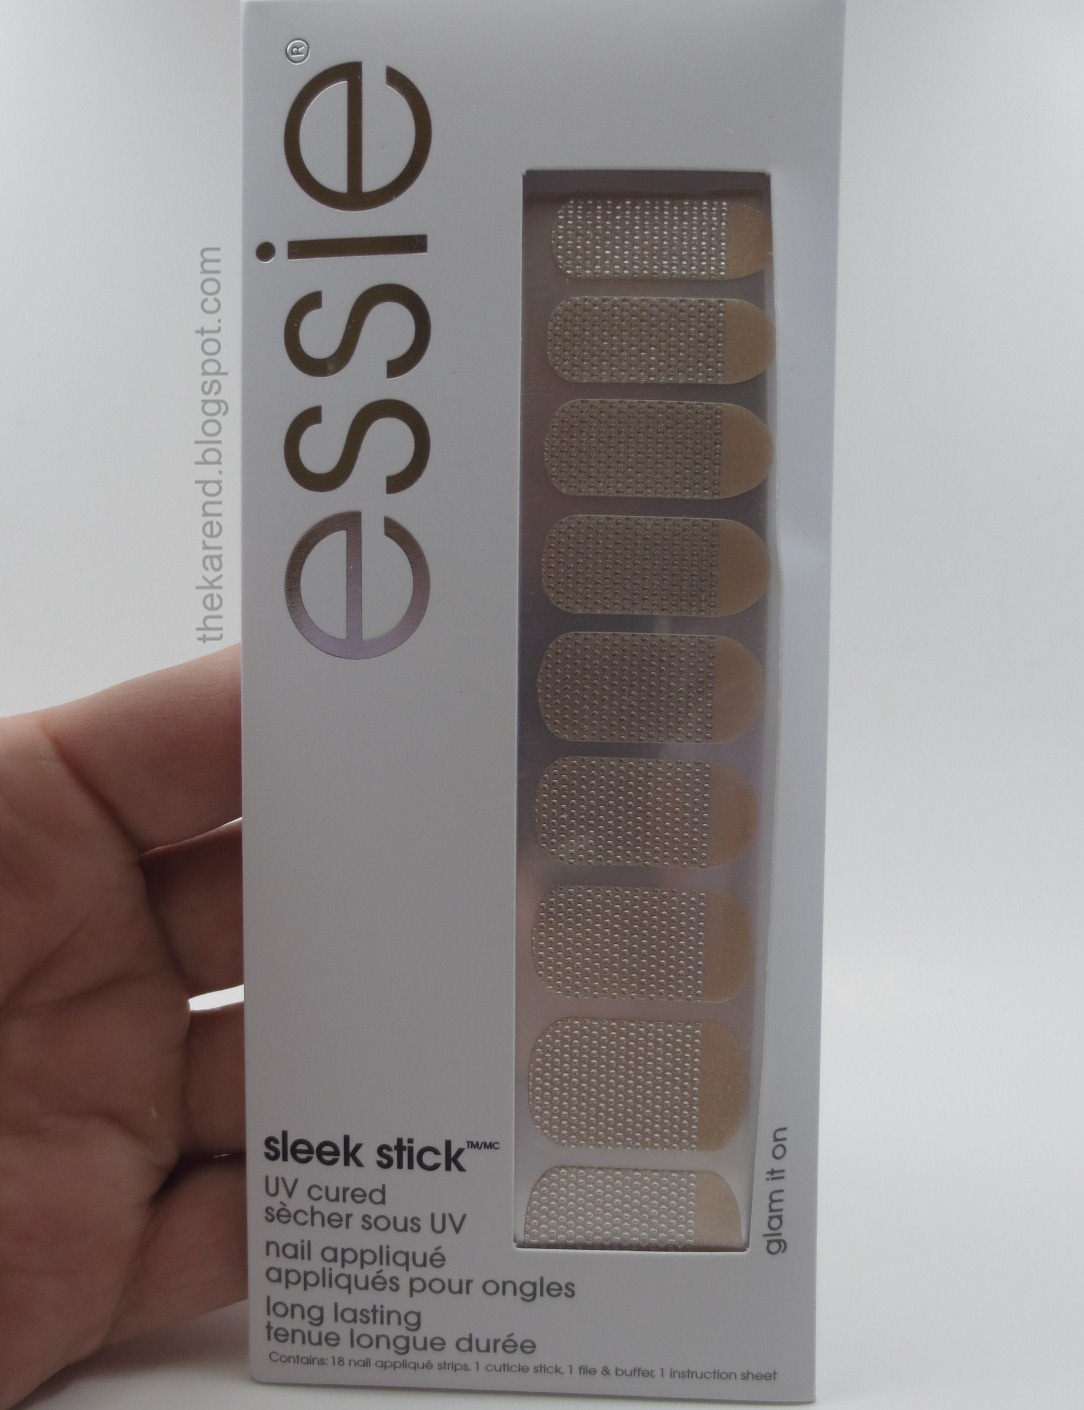
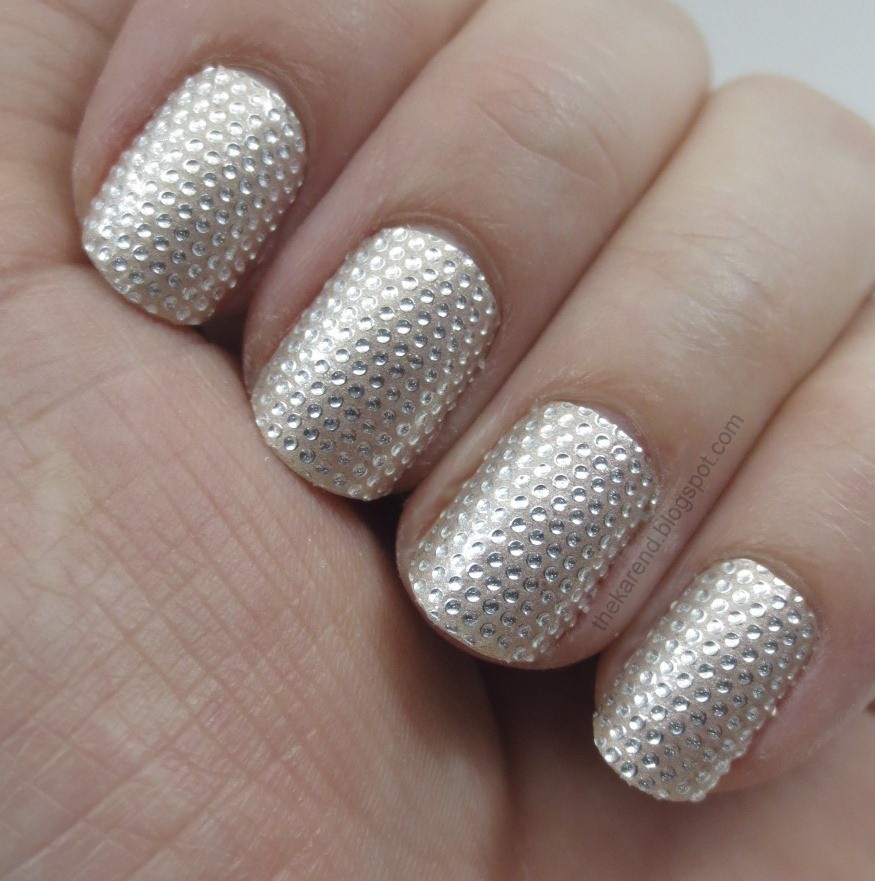
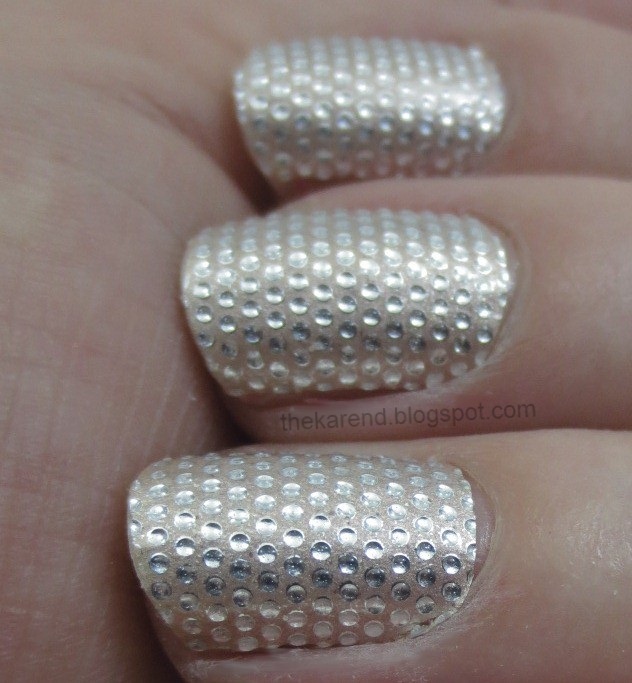
I chose Glam It On for my maiden voyage with these strips. This design has raised silver dots on a peach background.


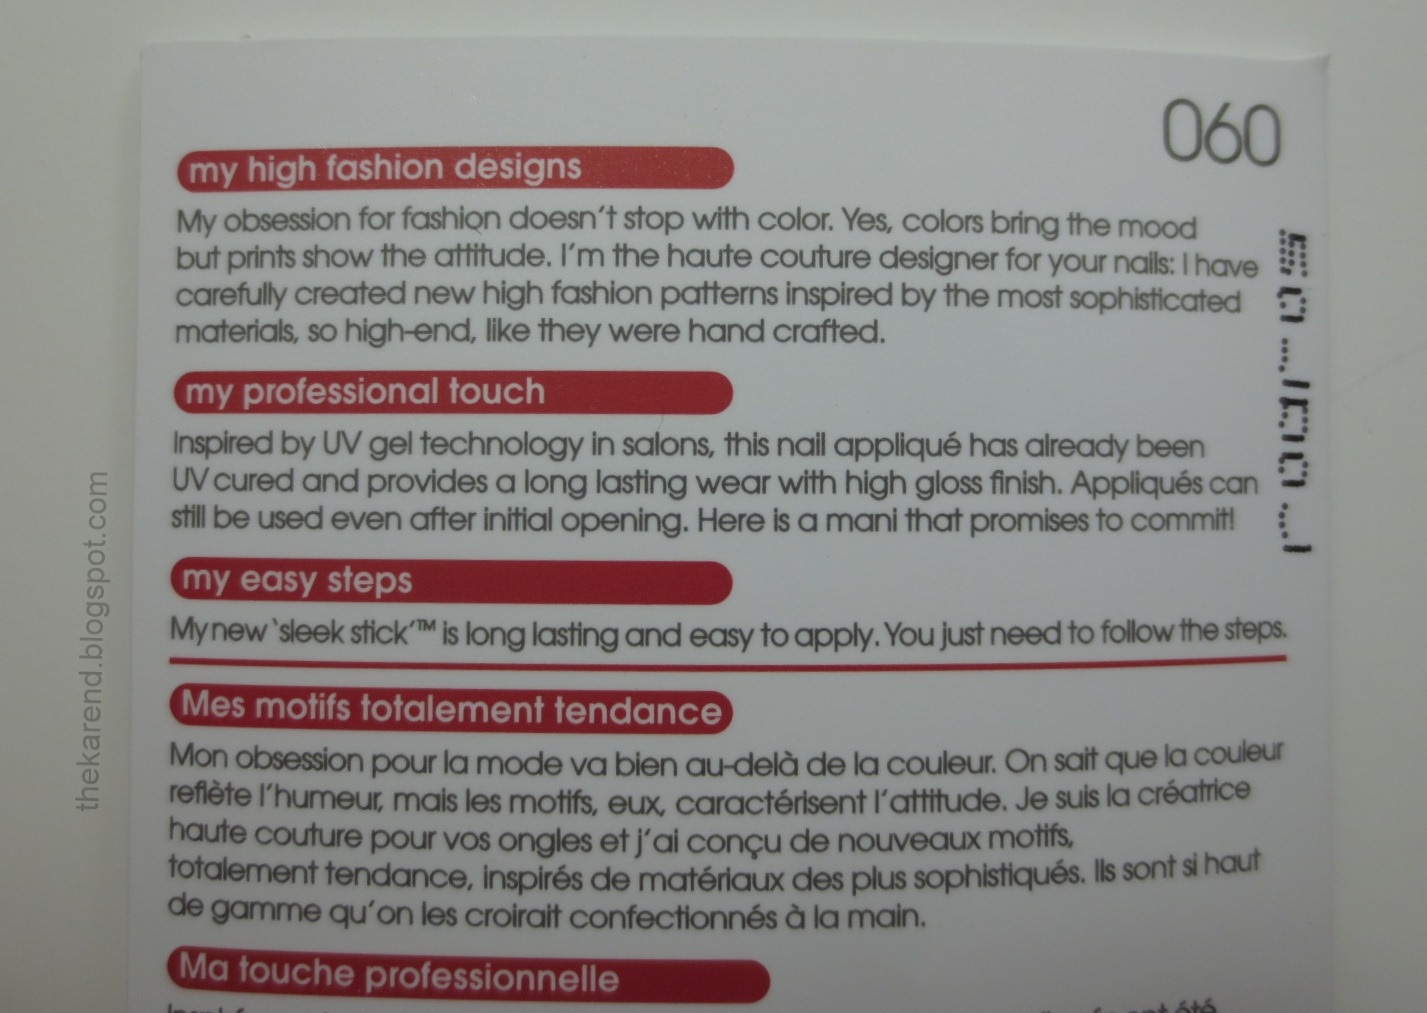
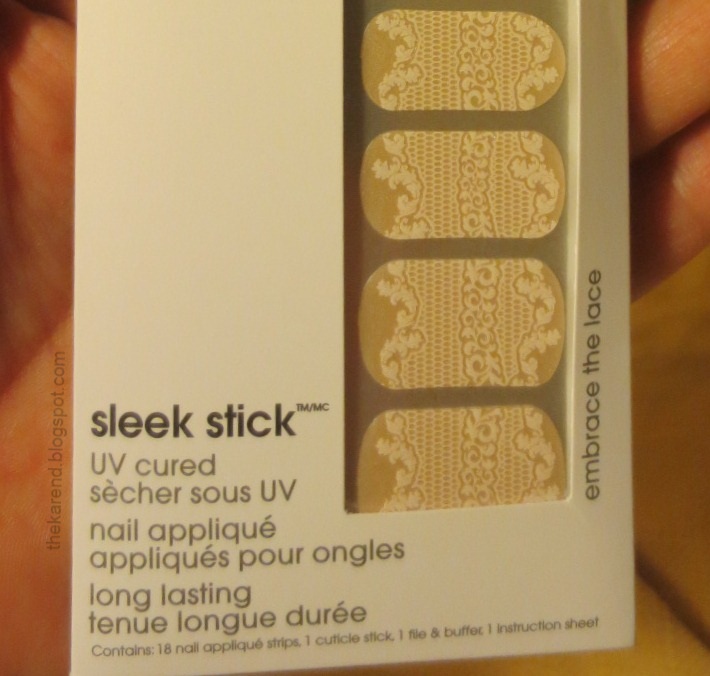
The outside of the package touts that these nail appliqués are "UV cured" and that this "provides a long lasting wear with a high gloss finish".


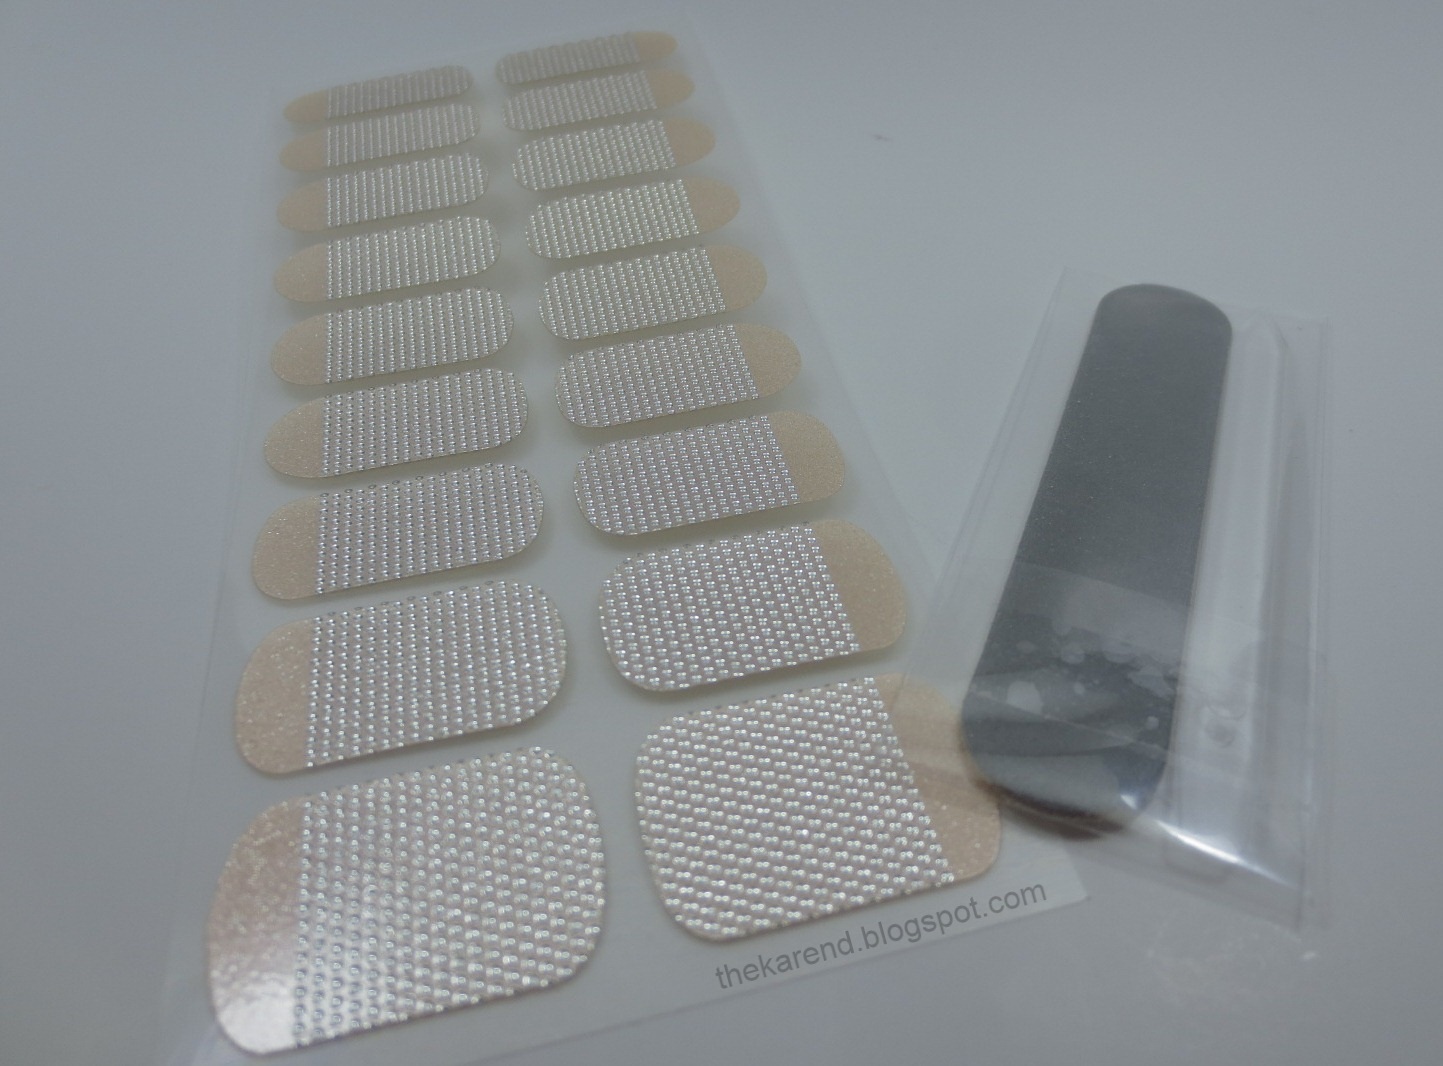
The package contains a sheet with 18 stickers, a small file, and a clear plastic cuticle stick. There is also an instruction sheet (not pictured).


Application of these was similar to other nail strips, though these are the thickest and most textured I've used. They felt (and smelled) a little rubbery. Due to the thickness, it was a little harder to remove the excess at my tips and along the sides but also meant they were a little easier to handle when putting them in place because they weren't as floppy as some of the thin strips made from nail polish can be. I wasn't sure which way these were supposed to go on: with the bare peach section at the base of the nail like a straight half moon? or was that part a sort of handle to grab the strip by when applying? I held the strips up to my nails and saw the dots would cover them if I used the plain part as a handle instead of putting by the base of my nail, so I went with that. I was impressed with how shiny the silver dots were; the overall effect was classy bling.


The curve at the end of the strips was too square to be a good match for the curve at the base of my nails, so there are some oddly shaped gaps here in my first go round with these.


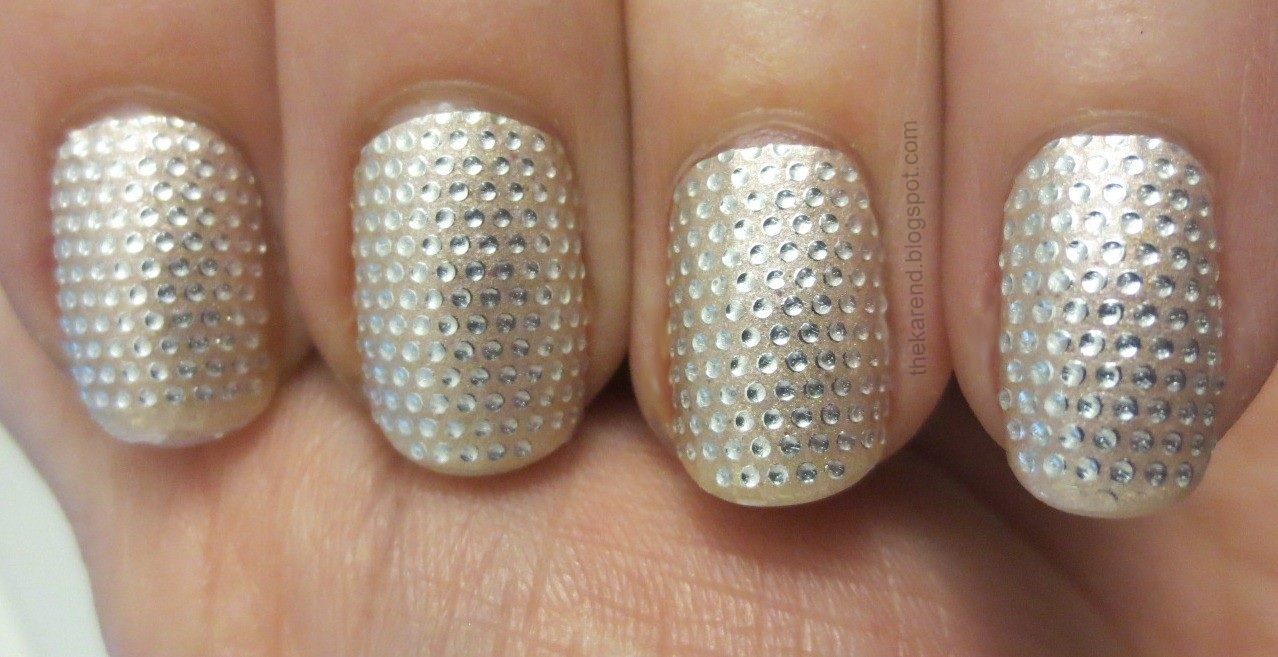
I was sad when the dots started to wear off at the tips of my nails. Here's how they looked on day 3:


Here's day 4:


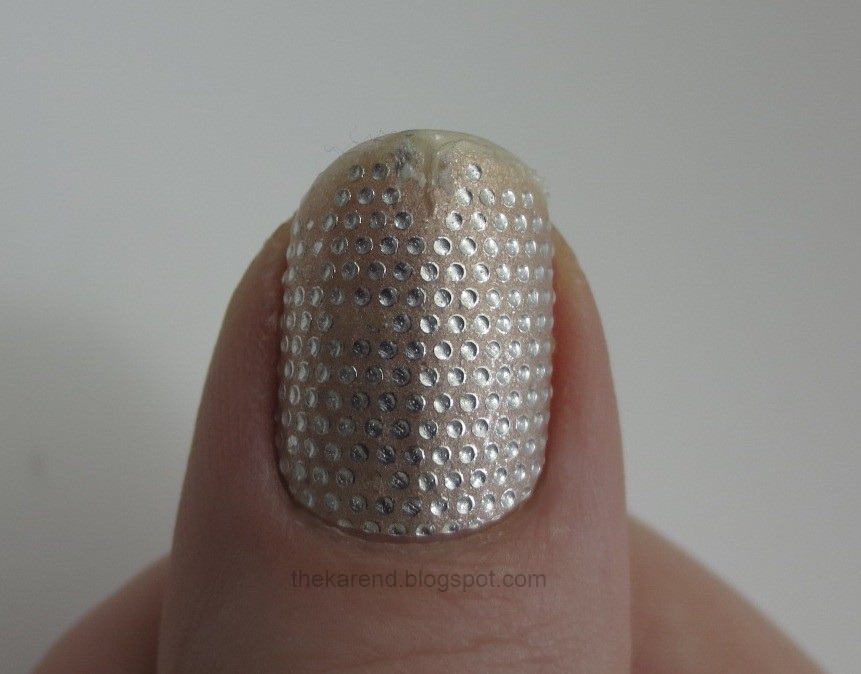
I got a wrinkle in the sticker on my right thumb when I applied them and couldn't smooth it down (the thickness of the strip conspired against me here). Along the high spot of that wrinkle, the dots not only disappeared but the strip wore through (it probably didn't help that the wrinkle felt weird so I kept poking at it).


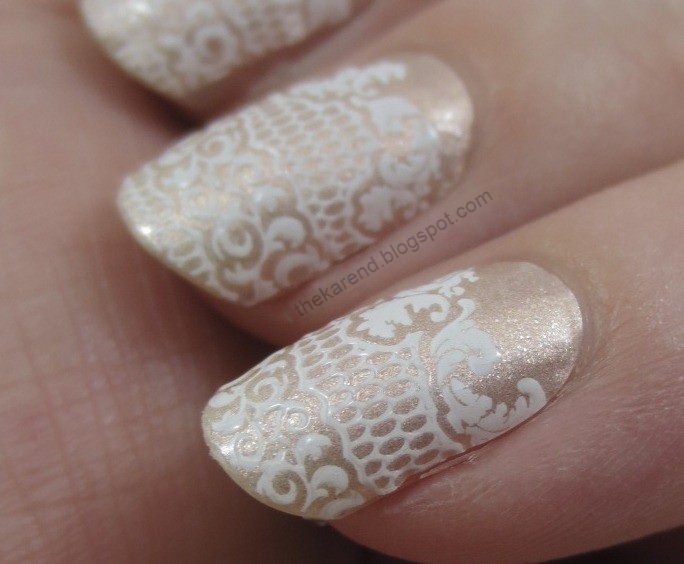
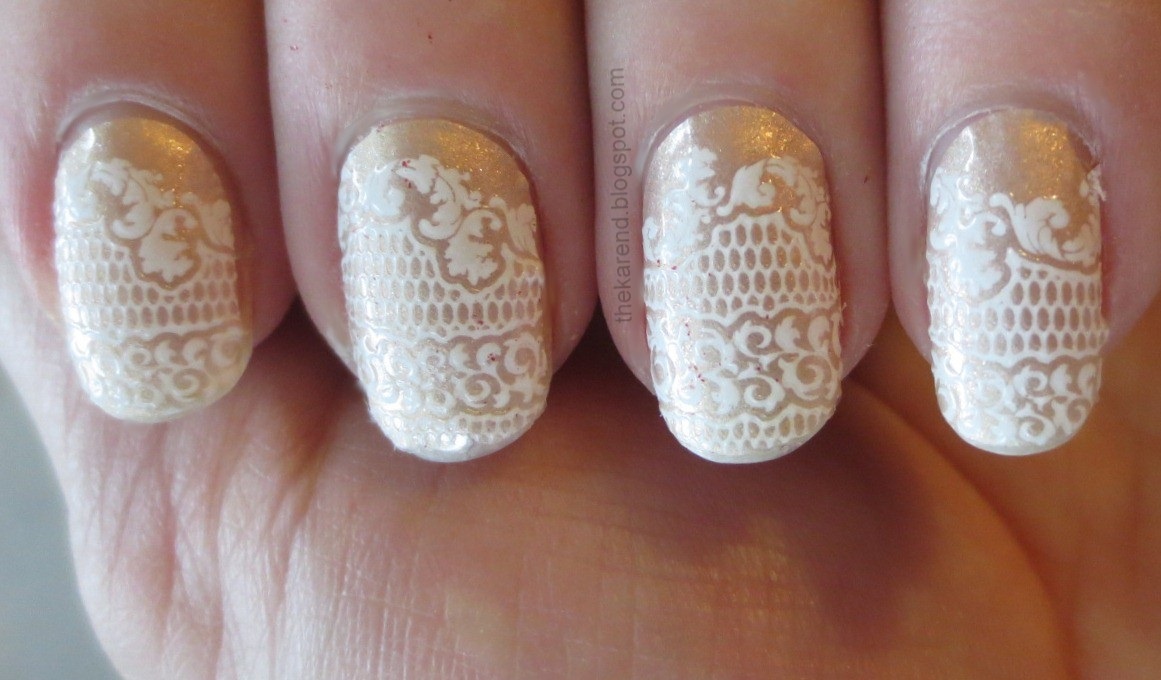
The next time I tried Sleek Sticks, a couple weeks later, I chose Embrace the Lace, which has a textured white lace design on a shimmery peach background.


I got these to fit my nails better at the base; they had a plain background on both ends of the strip, so I think that helped since it was easier to stretch that part, and I also did a bit of trimming to make them rounder. I was happy I didn't end up making weird and lopsided shapes, then having to trim more, then ending up with a sticker entirely too short for my nail.


Here's the wear on day 4 (I'm not sure what the red dust is on some of my nails or why I didn't notice it when I was taking photos):


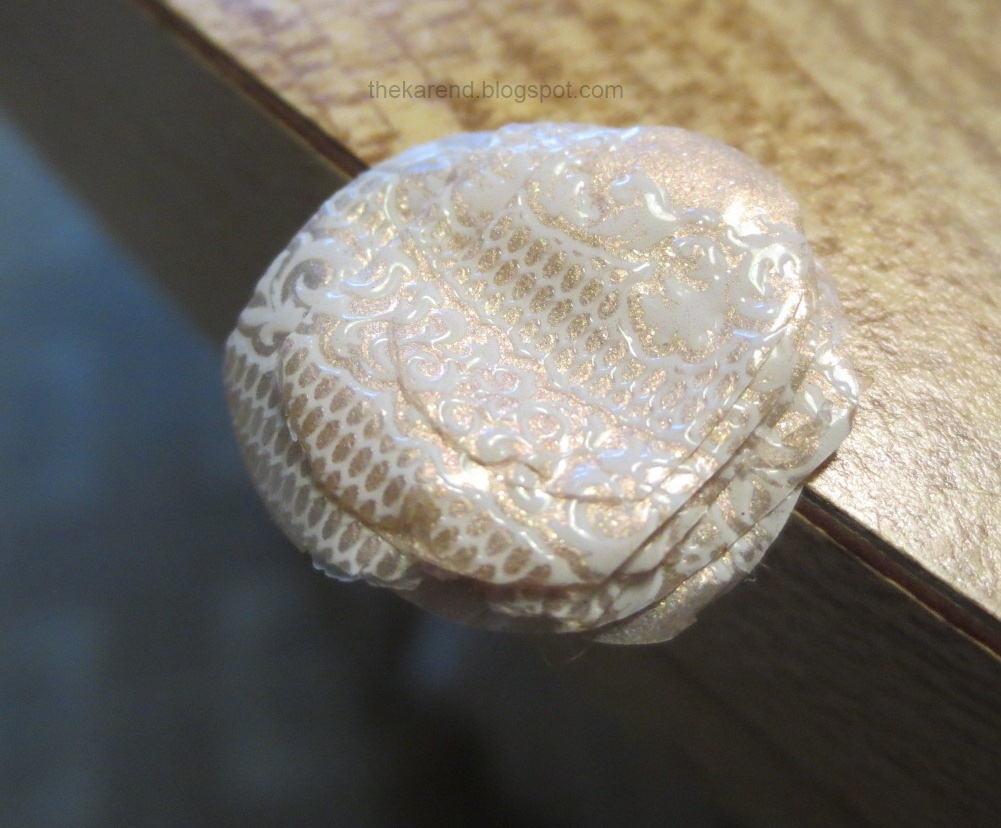
Because these are stickers, not nail polish, they peel right off and don't need remover. I wore them over a treatment base to protect my nails, but I didn't notice any instances of that base peeling off with the sticker. If anything, they left a slight adhesive residue on the nail, which is far better than pulling up parts of the nail with the sticker.


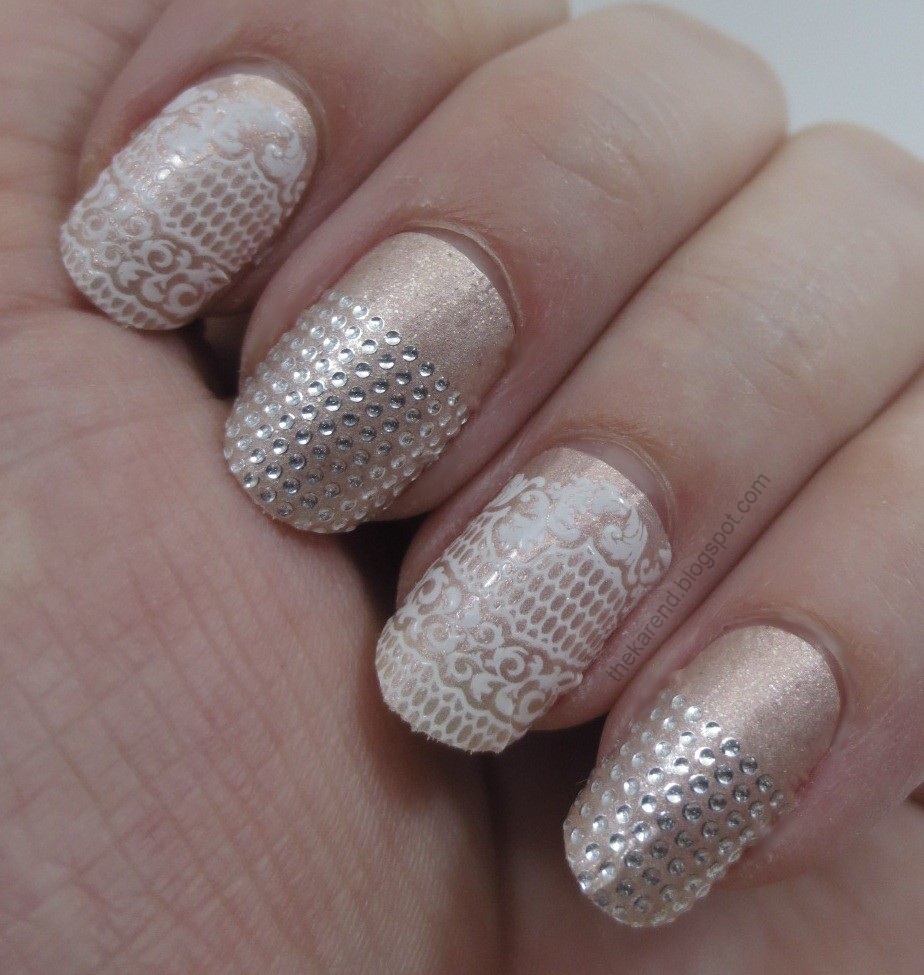
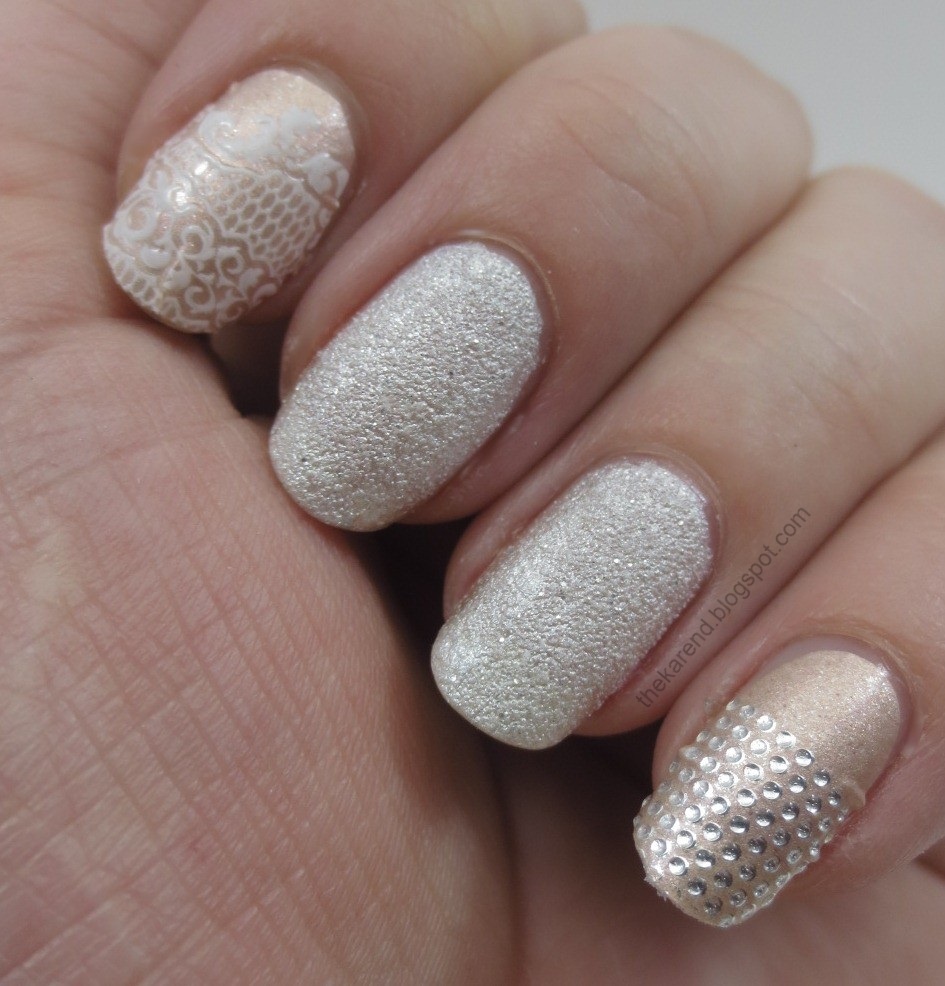
Also because they are sticker and not nail polish, they don't dry out. A couple weeks after I wore Embrace the Lace (so at least a month after I wore Glam It On), I combined the leftovers from both of my first two Sleek Sticks experiences into one look that alternated the two designs. I put the Glam It On ones the other way round this time.


I peeled off the left hand to do some swatching and was was surprised that the stickers on my right hand held up quite well through holding remover saturated cotton pads as I changed colors on my left hand multiple times. When it was time to go out the next day, I used the last of the Sleek Sticks to redo my left hand (filling in with OPI Liquid Sand Solitaire when I ran out).


Actually the place I went out to wearing this frankenmani was the lunch I mentioned in my last entry. Talking about our nails, Tracey mentioned that she'd tried using topcoat on these Essie strips and it did not go well, so there goes my idea for getting them to wear longer.

I think these stickers will be nice as a change of pace when I want something easy that I know I won't need to wear for a full week (for that I'll use actual nail polish strips). The texture on them can be a bit distracting, in that I'm tempted to rub my fingertips over them, similar to when I wear textured polish. I am easily distracted, though. Since they don't dry out, they'll make good accent nails, too.