Showing posts with label t: marbling. Show all posts

Friday, August 14, 2020

Bee's Knees Lacquer Acotar Agaaaiiiiin

With so much extra time at home and on the computer thanks to the pandemic, I've been seeing more indie polish swatches and that's lead to buying more. Today's post is about some of my latest acquisitions from Bee's Knees Lacquer. Left to right: Night Triumphant, Feyre Darling, Welcome to the Family, I Was a Survivor and I Was Strong, A Dreamer Born Into the Court of Nightmares, When I Kill I Do It Slow, Only You Can Decide What Breaks You, and Truth Is Your Curse. All are from the Acotar Agaaaiiiiin collection, (mostly Part 2, which was released at the end of July; Truth and I Was a Survivor are from Part 1 which was out at the end of June but is still available).

Bees Knees Acotar Agaaaiiiiin

Because one of the reasons I was inspired to buy these was a post in the brand's fan group showing some of them used for water marbling over black, that's what I did first, starting with the four cool hues: I Was a Survivor and I Was Strong, Welcome to the Family, Feyre Darling, and Night Triumphant.

Bees Knees Acotar Agaaaiiiiin

I laid down a black creme base first then dove right in to marbling. I hadn't done it for ages, but some of my nails turned out pretty well. The polish is so pretty it distracts from my ooopsies in marbling. I did add a clear topcoat as well to smooth things over.


Bees Knees Acotar Agaaaiiiiin

Bees Knees Acotar Agaaaiiiiin

Bees Knees Acotar Agaaaiiiiin

Bees Knees Acotar Agaaaiiiiin

Then it was the warm hues' turn: A Dreamer Born Into the Court of Nightmares, When I Kill I Do It Slow, Only You Can Decide What Breaks You, and Truth Is Your Curse.

Bees Knees Acotar Agaaaiiiiin

Bees Knees Acotar Agaaaiiiiin

Bees Knees Acotar Agaaaiiiiin

Some of these are shifty, too, so that added to the entertainment.

Bees Knees Acotar Agaaaiiiiin

Bees Knees Acotar Agaaaiiiiin

Also, sparkles showed up in the sun:

Bees Knees Acotar Agaaaiiiiin

Looking at these pics again to do this blog post, I'm feeling like I might need to pick up the colors I didn't get so I can have even more fun. Maybe I'll reward myself with that after I do proper swatches, at least Skittles of the ones I have.

Friday, October 25, 2019

LA Colors Creamy Neon Collection

I was glad to see the LA Colors Color Craze Gel Creamy Neon colors show up again in the Halloween display for a selfish reason: I'd swatched them this summer after they first came out but never did a blog post using those swatches for some reason I can't recall (or figure out now). There are eight shades here: Chill Out, Splashy, Jazzy, Girl Talk, Gossip, Good Vibes, Day Glow, and Lucky.

LA Colors Color Craze Gel Creamy Neon nail polish

I swatched these over a white creme base, as is my habit with neons. In retrospect, I should have tried these without the base, as the light and bright colors of the Glow shades worked just fine on their own. Ah well. I will have to try them that way next time ... if there is a next time; it's hard to get back to things when there are always new things to try. I was inspired to try water marbling with these as well (also over a white base) since the colors looked so nice lined up next to each other.

First up: Jazzy (pastel purple), Splashy (pastel blue), and Lucky (pastel green). I did a marble on my index finger with all three shades, though Jazzy sort of got pushed out of the spotlight by the other two. I did two coats of the solids over the white, though might have been able to get away with only one.

LA Colors Color Craze Gel Creamy Neon nail polish

LA Colors Color Craze Gel Creamy Neon nail polish

The next set I pulled was Good Vibes (pastel orange), Day Glow (yellow), and Chill Out (pastel teal).

LA Colors Color Craze Gel Creamy Neon nail polish

LA Colors Color Craze Gel Creamy Neon nail polish

That left the two pinks, Gossip (warmer pink) and Girl Talk (cooler pink). On my index finger, I marbled Gossip, Day Glow, and Splashy. On my pinky, the marble was Girl Talk, Jazzy and Chill Out.

LA Colors Color Craze Gel Creamy Neon nail polish

LA Colors Color Craze Gel Creamy Neon nail polish

I was having so much fun playing with these that I did another four marbles with various combinations (these are all over a white base as well).

LA Colors Color Craze Gel Creamy Neon nail polish

LA Colors Color Craze Gel Creamy Neon nail polish

I'm glad they brought these back for a rerelease; they're fun to play with. I don't know about the neon part, as they don't dry particularly matte or satin as I expect o neon pigments but they're definitely creamy.

Tuesday, April 21, 2015

Morgan Taylor Core Sample

Sample provided for review

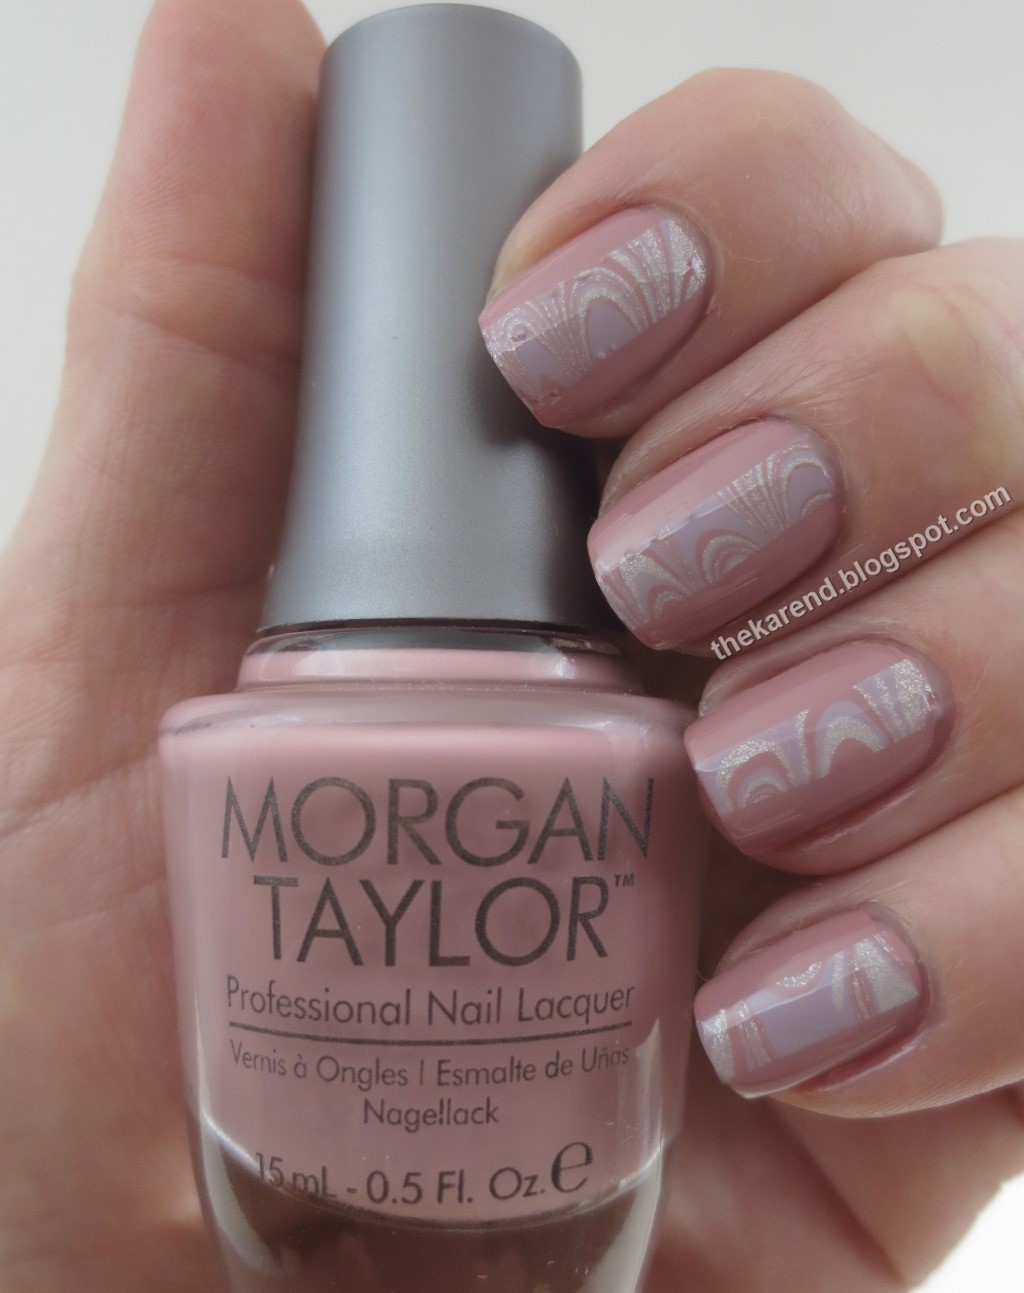
Recently I was fortunate to receive a sampler of Morgan Taylor core colors for review: Coming Up Roses, Wish You Were Here, All Dolled Up, Scene Queen, Mint Chocolate Chip, and Nautically Inclined.


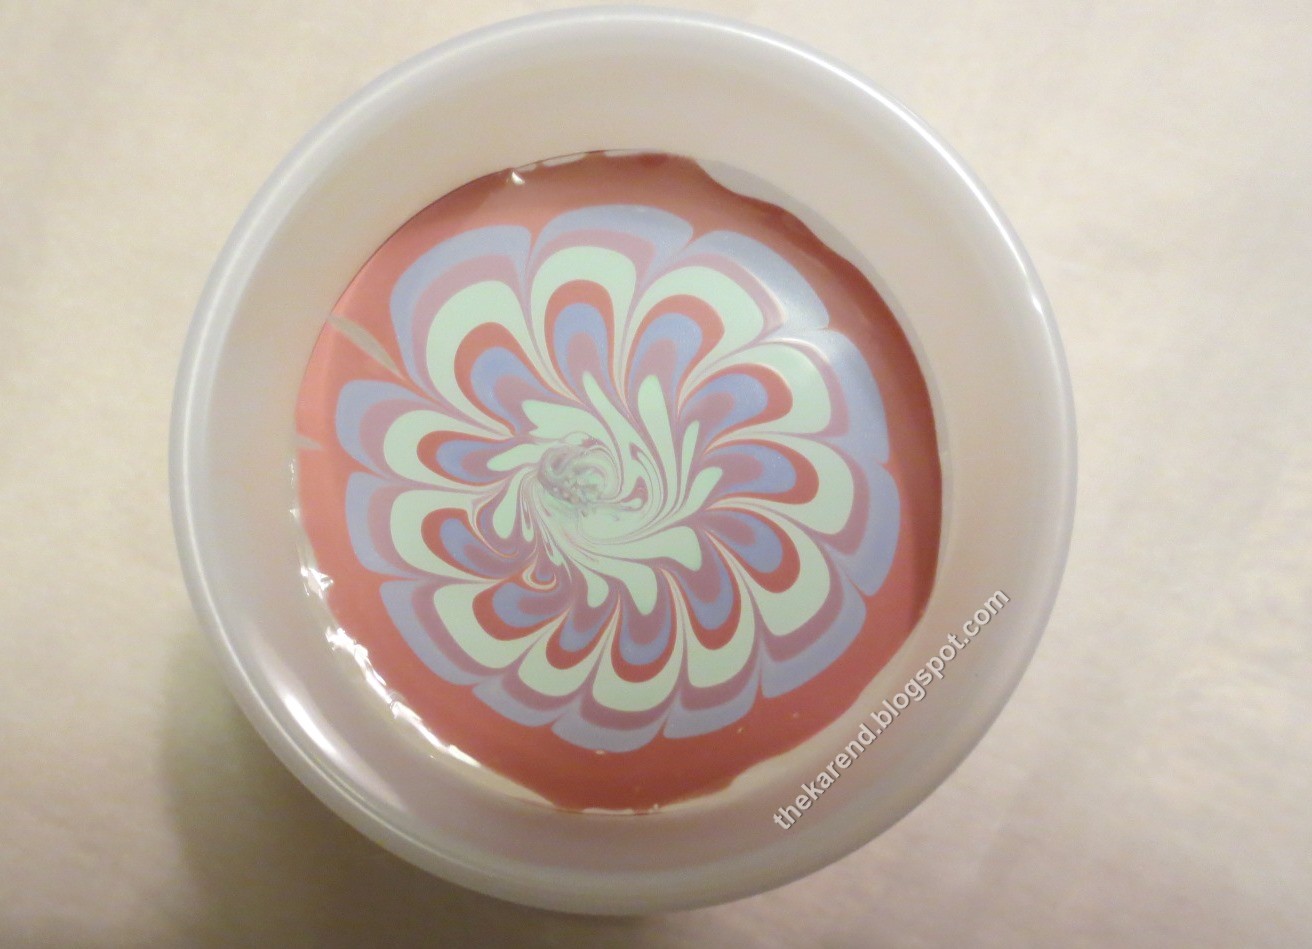
I decided these colors would be ideal for trying out the "dry water marble" or "no mess water marble" technique I'd seen around the blogosphere, so I pulled up the tutorial from Alps Nail Art and started playing. The basic idea is instead of dipping your fingers in the water to get the marbled design on them, you let the design dry a bit in the water then carefully lift it out and use like a decal. (Confusingly, "dry water marble" is also used to describe a technique where no water is involved at all; I call that "dry marbling".) I started this adventure with the four cremes in the group; when it was dry enough, I slid my fan brush underneath and transferred the circle to a napkin to absorb the water clinging to it.


I did two coats of Mint Chocolate Chip, a mint green creme, on all my nails, then applied the water marble decal to three of my nails. This was so much easier than wet water marble, with minimal cleanup needed and one cup's worth of marbling able to cover multiple nails. I added topcoat to smooth over the decals; they weren't too bumpy but since it was my first time trying this method, I didn't get them quite as flat against the base color as I'd like.


I combined the two shimmers in my next marble. Scene Queen is silver flecked shimmer; All Dolled Up is a bright pink pearly shimmer. I should have used Scene Queen as a base under the marble; I did not, so you can see some of my natural nail color showing through weak spots in the marble. I didn't make that mistake again. I did two coats of All Dolled Up as my accent nail here.


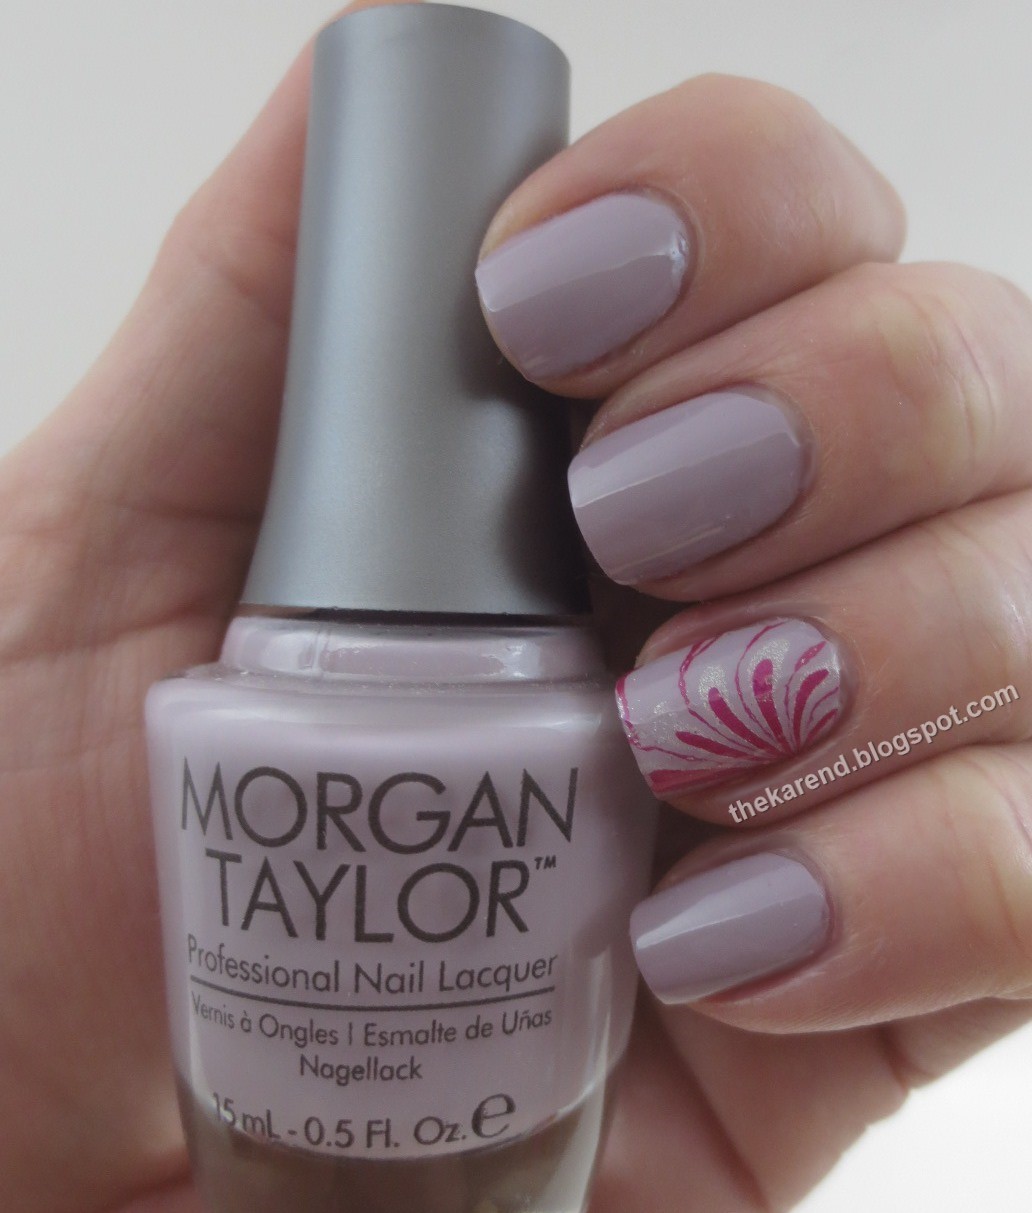
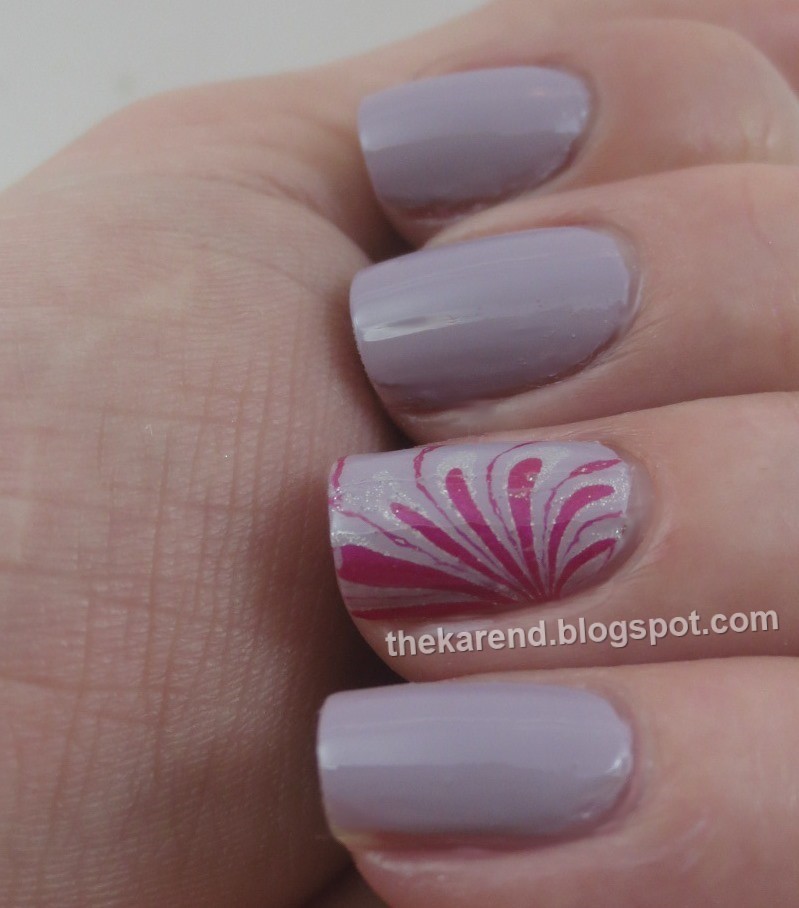
I used marbling on just an accent nail for the next look featuring Wish You Were Here, a dusty lilac creme.


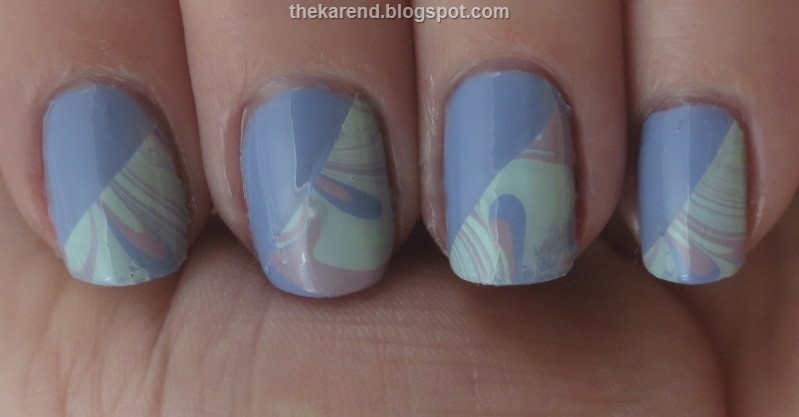
Around this point, I decided it was easier to cut the marble circles into sections before putting them on my nails, rather than placing the whole circle on the first nail and trying to be careful not to wrinkle up the leftover section to use on later nails. This opened up the possibility of doing color blocking with the marbling, which is what I tried over Nautically Inclined, a perwinkle blue creme (I thought I spotted some shimmer in the bottle but it disappeared on the nail).


I went with stripes of marble for the next color, Coming Up Roses, a dusty rose creme.


Scene Queen, the silver shimmer, got both marble stripes and a full marble accent nail.


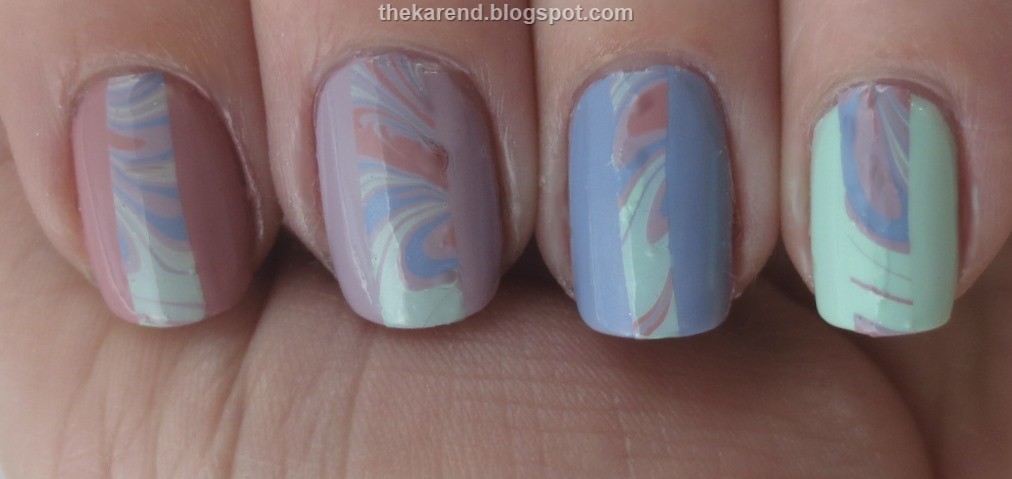
I did one last look with these colors, Skittling Coming Up Roses, Wish You Were Here, Nautically Inclined, and Mint Chocolate Chip before adding marble stripes containing all four shades.


The formula on all the Morgan Taylor colors was great. Two normal coats were ample for full coverage both for the cremes and the shimmers; I didn't have to concentrate and do thicker coats to be able to stop at two. I haven't found a local source for this brand yet; the ones I've bought were in beauty supply stores in Las Vegas and Wisconsin. It looks like they can be purchased from a link on the Morgan Taylor website. There's also some information on local salons to purchase from; maybe I should check out some of those salons first, since I do like to ponder colors in the bottle before I buy when possible. Individual bottles are $8.50, which I think is a good value considering the bottles are a full 15ml and they're two coat colors. I noticed they have a matte topcoat, so I definitely need to get that at some point.

The polishes shown in this entry were provided free for review purposes. The content of the entry was not dictated by the provider, and I get to keep the polishes for my own use.

Friday, November 7, 2014

Pale Jellies from Wet Paint Nails

Sample provided for review

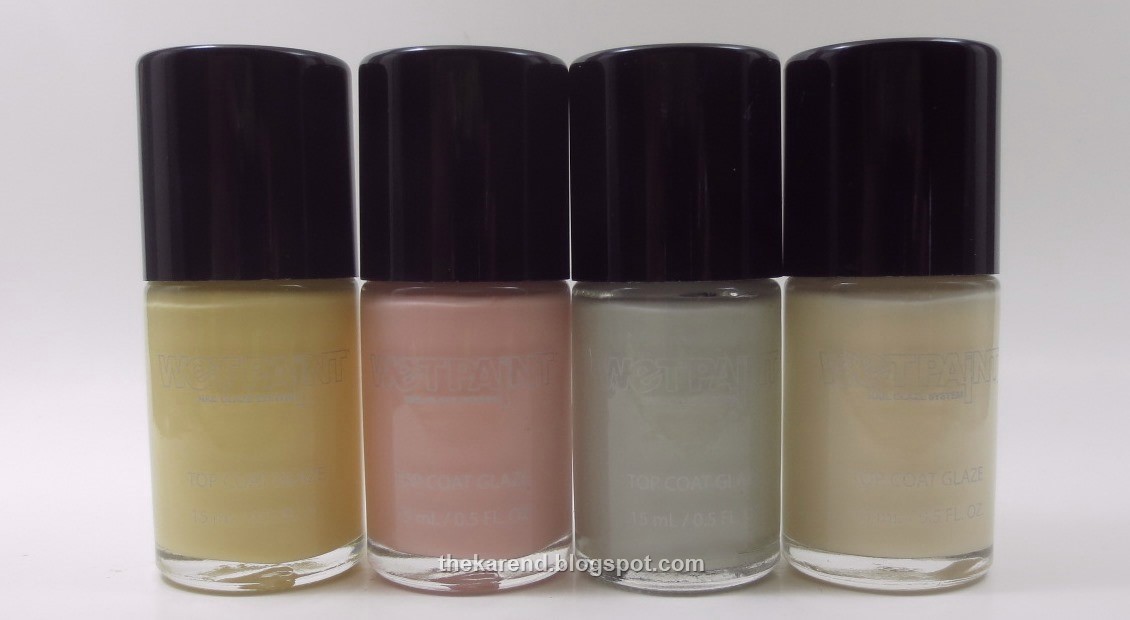
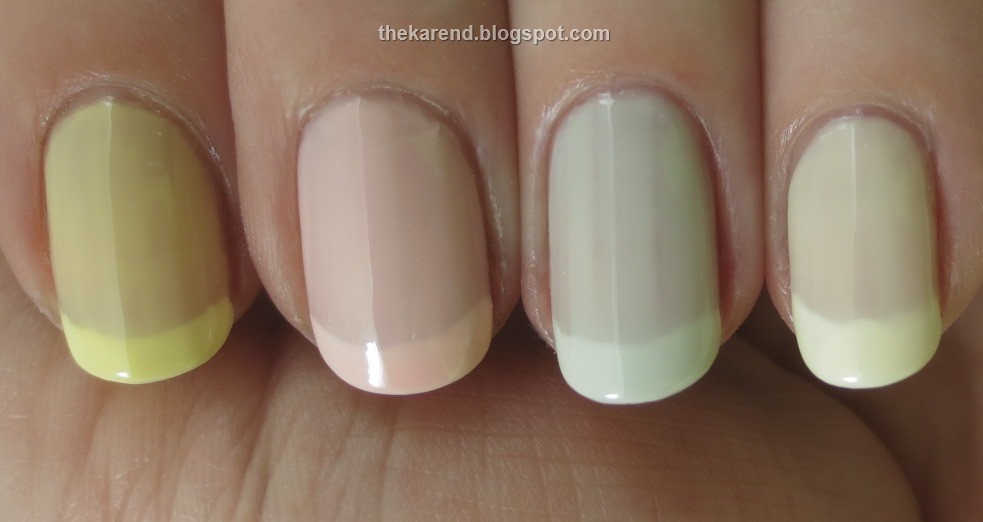
I was once again fortunate to receive some pretties from Wet Paint to play with, and once again I'm going to spread them out over a few posts because they're so much fun. Today I have four pastel jellies: Part-Time Blonde, Cameo Blush, Bluesy Woozy, and Villa Blanca.


My first thought with pale sheers is a French manicure, so I freehanded some white tips (with Sally Hansen Insta Dri OMGhost) and then did three coats of the Wet Paint colors, starting with the pastel yellow Part-Time Blonde on my index finger (top in photo below), then the pink Cameo Blush, pale blue Bluesy Woozy, and ivory Villa Blanca on my pinky. (What looks like streaking on my ring finger is just my ridges—I didn't do a base coat and that finger is more ridgey than the others. I also got a little sloppy on my pinky and globbed along one side.) I think this mani would be perfect for spring; it looks like Easter candy to me.


These shades also reminded me of watercolor paints, so I thought I'd try layering and blending them with each other. On my index finger, I did four coats of Cameo Blush and foudn that pretty much made it opaque, so definitely these are buildable. On my middle finger, I did two coats of Cameo Blush, one of Part-Time Blonde, then another one of Cameo Blush, which game me a pale peachy pink. On my ring finger, I did one Cameo Blush, two Part-Time Blonde, then one more Cameo Blush; this was a touch warmer peachy pink than on my middle finger. My pinky got three coats of Part-Time Blonde and one of Cameo Blush, which resulted in a pinky peach. The layerings of pink and yellow made me think of the pearly colors inside some seashells; I wish I'd thought to work one of the shimmery toppers into the mix—maybe I'll remember to do that in a future play session.


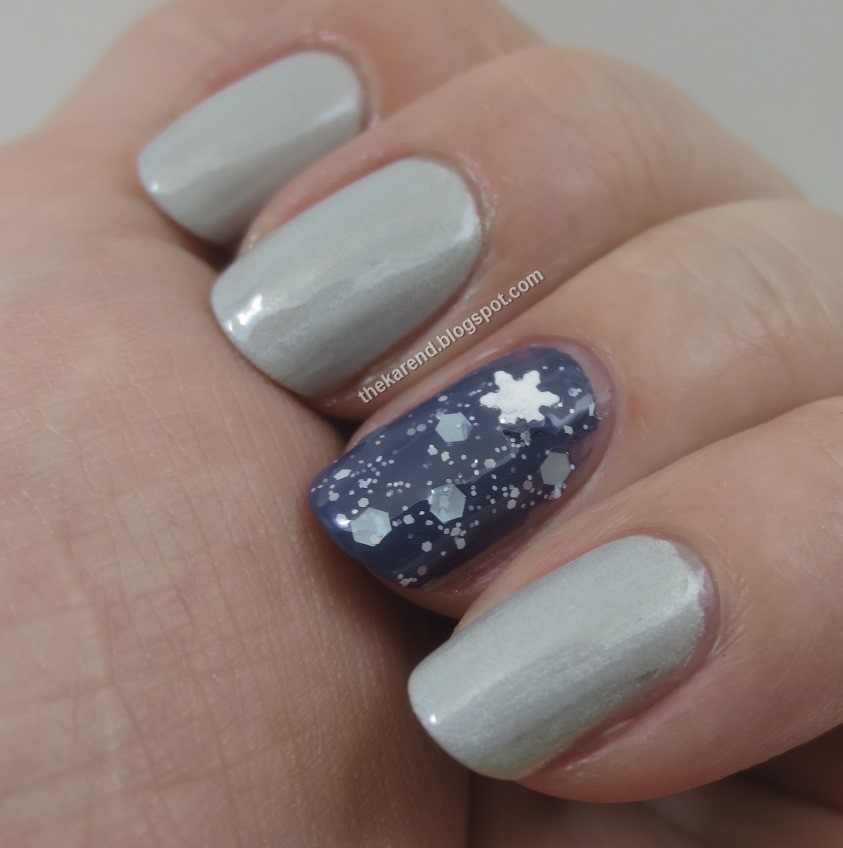
I decided to try a wintery look next, starting with two of the Wet Paint base colors that joined my stash previously. The silver metallic Always Buy Platinum went on most of my tips, with the deep blue creme Bimini Blue as an accent nail. I then put one coat of Bluesy Woozy on the silver nails and one coat of Funky Fingers Elsa plus clear topcoat on the accent. The combination of the silver base and light blue glaze yielded a slightly greyish blue shimmer effect that coordinated quite nicely with the light blue matte glitter hexes in Elsa.


In direct room light, the shimmery effect was stronger:


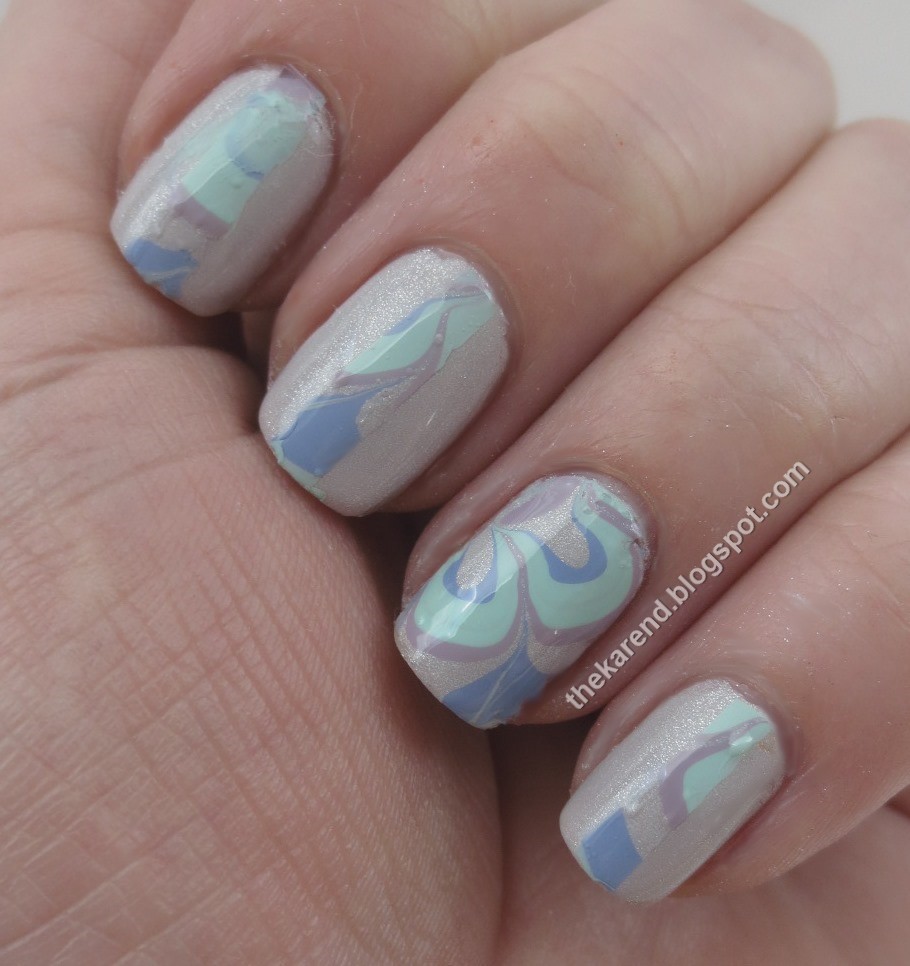
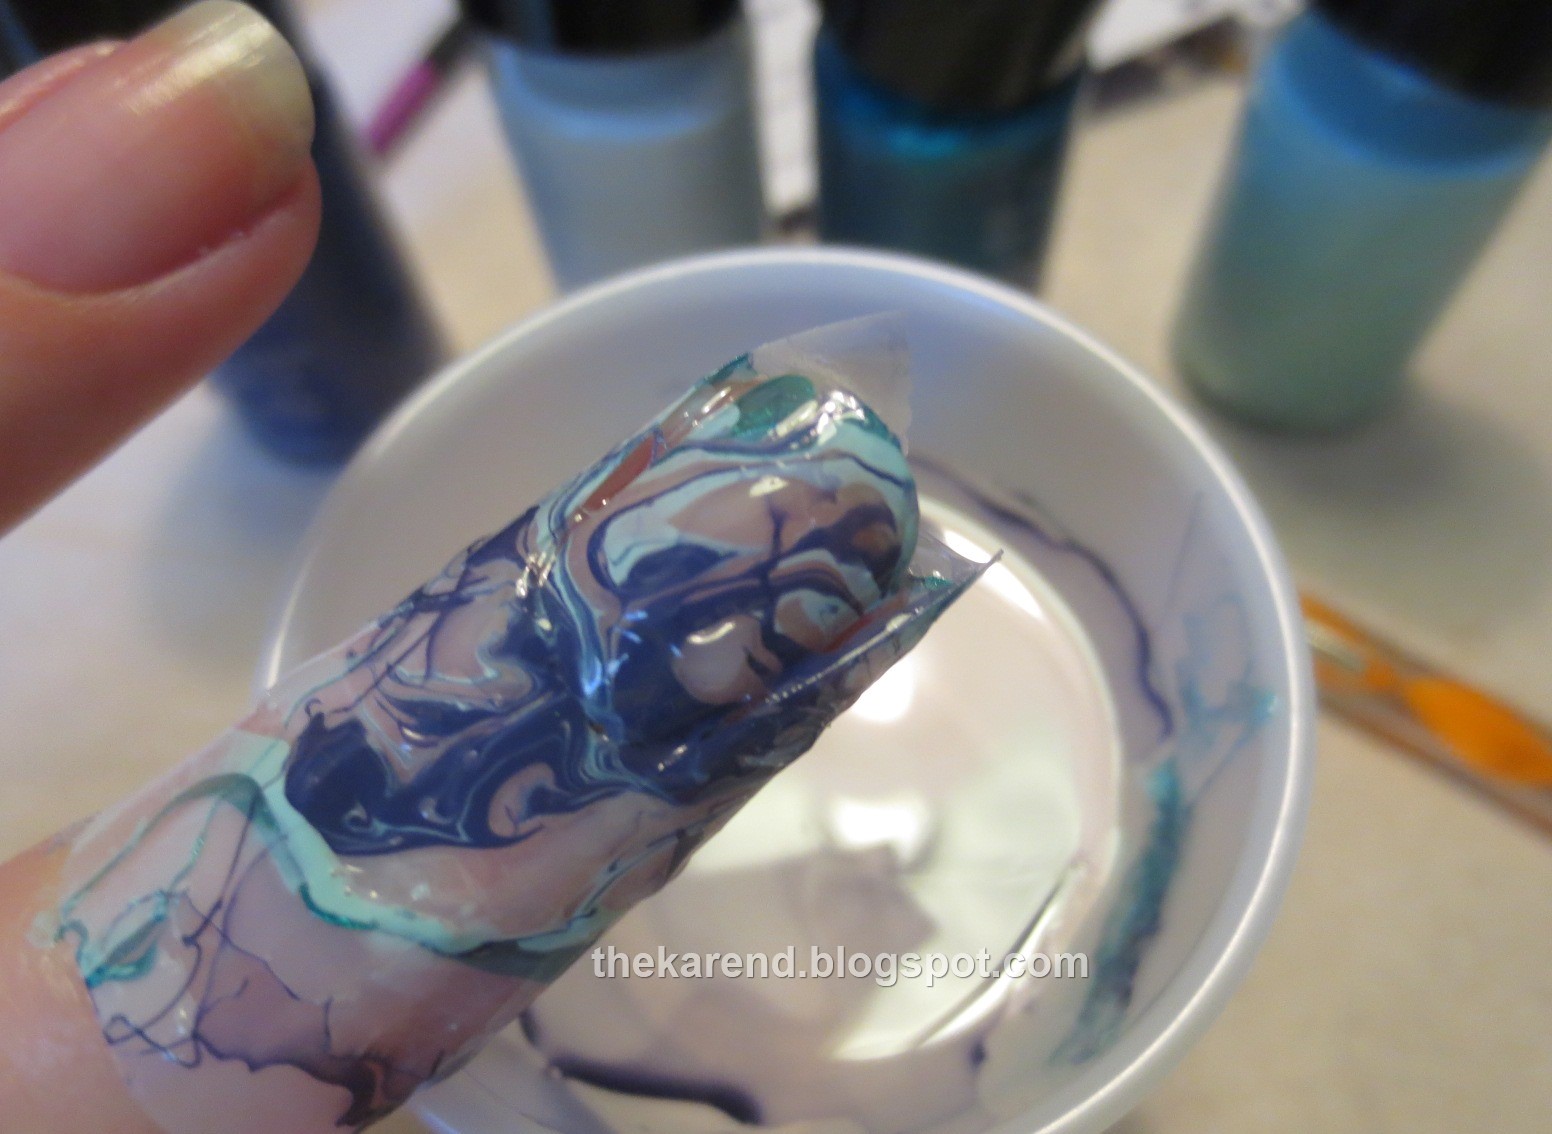
This next segment is the "well, that didn't work" portion of our program. I got it into my head to try water marbling again, thinking using one of these sheer polishes would add an interesting aspect to the design. This despite not having attempted it for a few years, nor did it even occur to me to go back and read my notes from the last time I tried it. So I grabbed a little plastic cup and started dropping polish in. Bimini Blue went first, then Bluesy Woozy, which dispersed like whoa. Teal Me I'm Pretty, Villa Blanco (which didn't disperse so wide as Bluesy Woozy had), and Shock & Aqua followed.


After some swirling and dunking, I ended up with this mess on my middle finger (most of which cleaned up quick, since I'd at least remembered the part about taping off my skin):


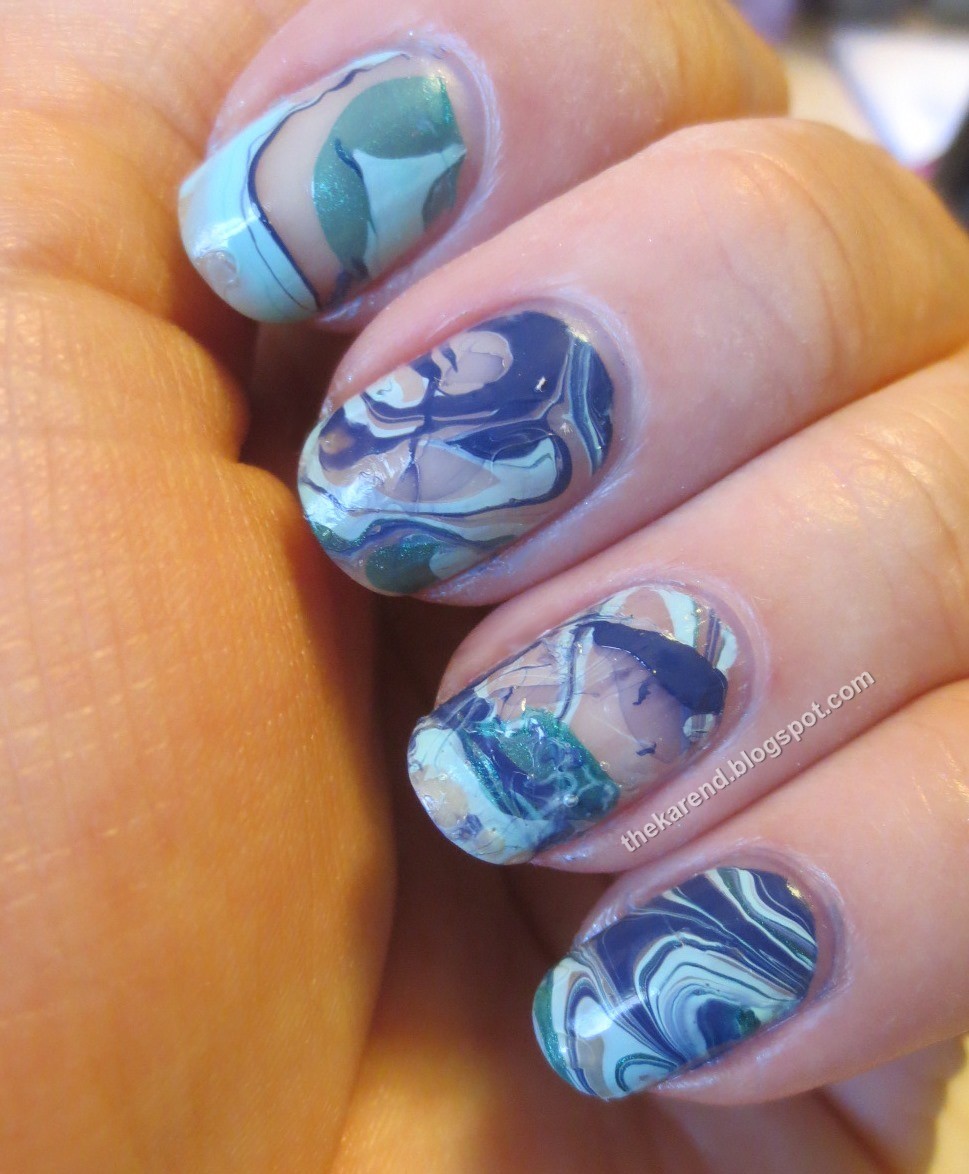
Since I already had the stuff out, I went ahead and did this three more times, using varying amounts of the colors, sometime with more rings in the cup, sometimes fewer. About the best thing I can say about my efforts is it's on trend, what with negative space manicures being hot now.


Here's my favorite nail, the pinky, with one coat of Bluesy Woozy on top to soften the contrasts:


I will try water marbling again; I'll just attempt to remember to study up a bit first.

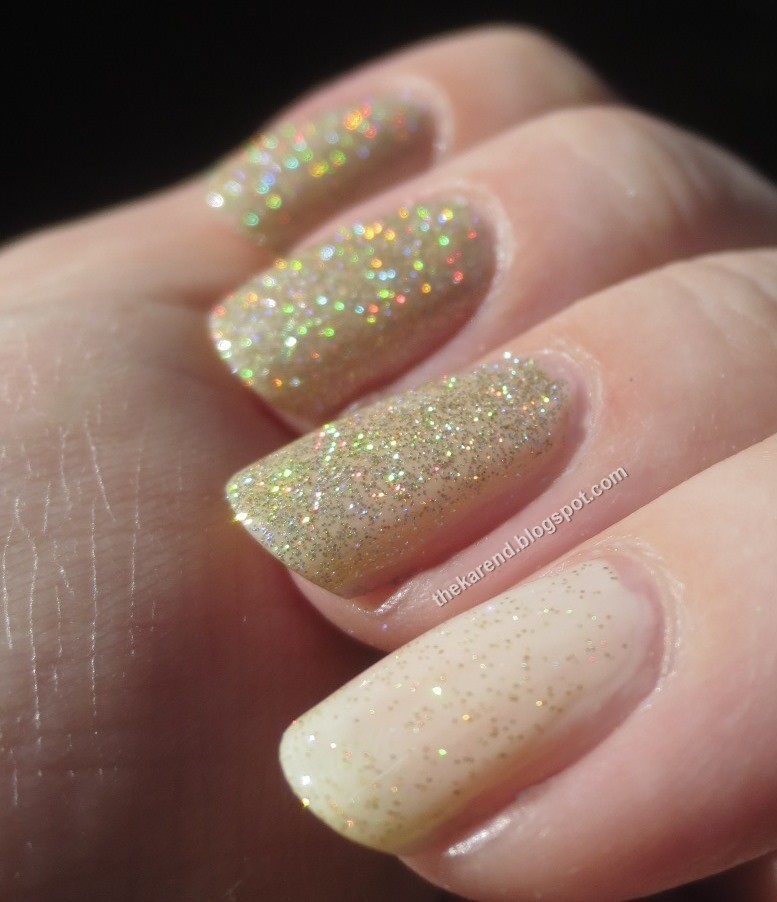
I went back to familiar ground for my next look: glitter toppers. These pale jellies are designated as Topcoat Glazes, but I used two coats Villa Blanco as a base for the golden holo microglitters in the line. I used one coat of Crystal and one coat of Stardust on three of my nails, topping my pinky with two coats of Stardust by itself. All nails got clear topcoat for extra shine. These two Special Effects toppers are definitely related, just Crystal is more dense and Stardust more delicate.


You can, of course, use these pastel jellies for glitter sandwiches. I used Cameo Blush as the "bread" and the black and white Novelty Polish 807 as the "filling" for this look (the Novelty is one of my Minsk souvenirs):


I sandwiched the silver shards of Sally Hansen Complete Salon Manicure Shattered Stars with Bluesy Woozy (two coats of it, then one of the glitter, then one more jelly layer).


You can buy these jellies from the Wet Paint website, which also has links to their Facebook, Twitter, Instagram, Pinterest, and YouTube pages. The jellies and special effects are $8 a bottle while the bases are $6. I am looking forward to doing more playing with their polishes soon, as I have such fun with them.

The Wet Paint polishes shown in this entry were provided free for review purposes. I had complete control of the content of the entry, and I get to keep the polishes for my own use.