I do have photos today, though, ones I took of my nails of the day after I dug out my backup camera (which I'd gotten as a service award gift from my former employer) and bought a memory card for it. This is the first manicure I've done in ages which is more than just treatment or treatment covered in strips or fake nails. There's nothing wrong with any of those things, of course; I'm just happy to be breaking out of my rut.
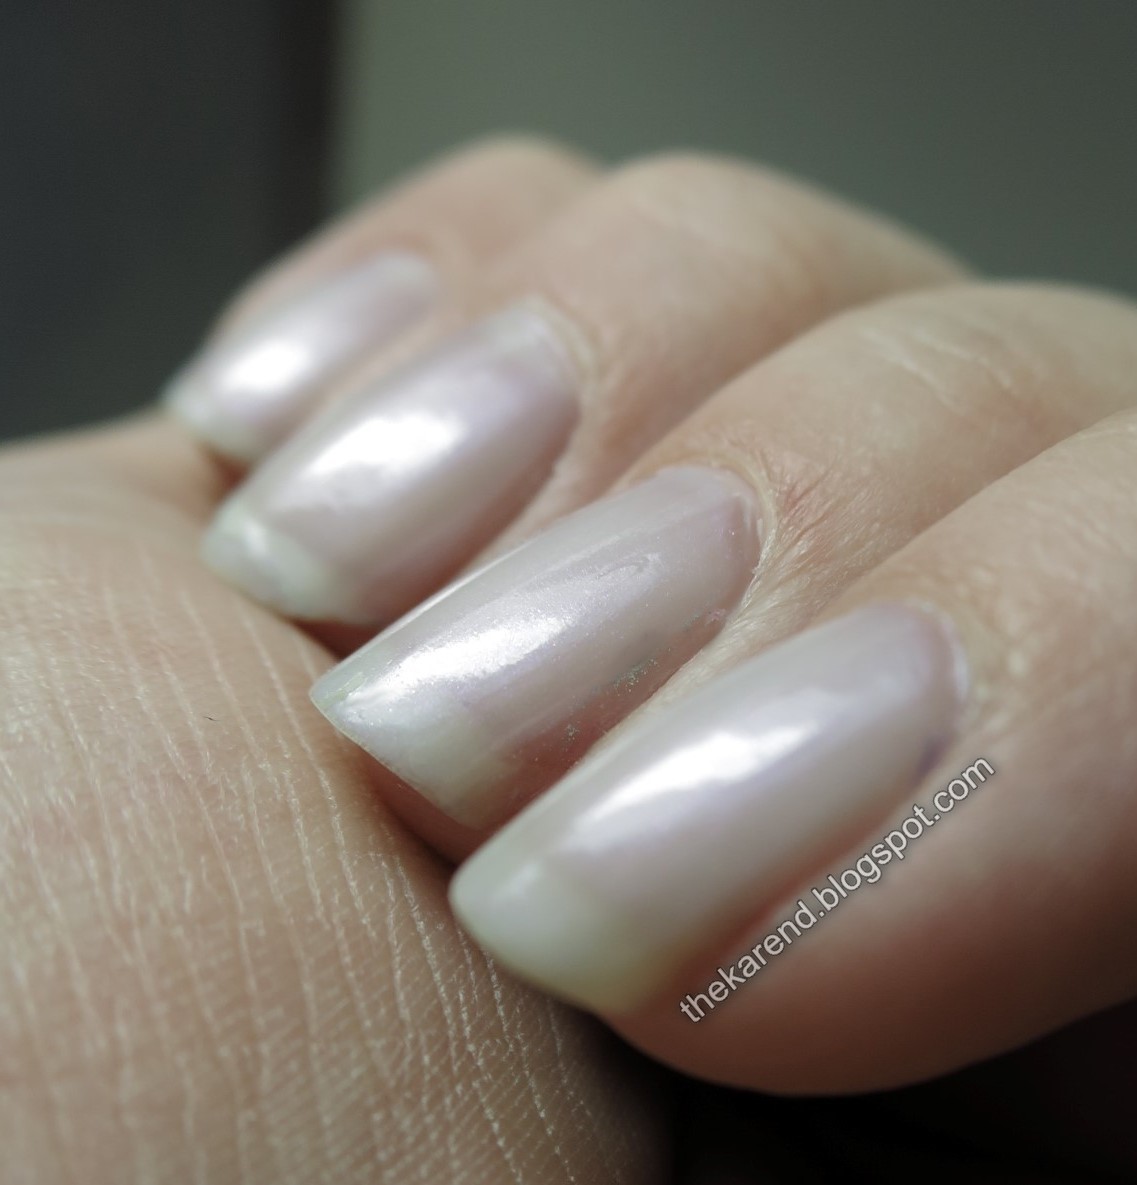
This manicure did start with treatment, though, because my nails are still in bad shape from the rigors of winter. It is a new to me product, though, so that's still sort of rut-busting. I found some shades of Essie Treat Love & Color on clearance at a Walgreens, so picked up the super pale purple Laven-dearly. It's a one-step product, so I just did two coats and called it good. It's designed to be sheer, so it self levels pretty well even at two coats, though I did see some issues on the two of my nails that are naturally more ridged, as I haven't been buffing them down lately so as not to risk weakening them further. I have been buffing down my peelies when I just can't bear to lose more length, and this sheer formula didn't cover that quite as well as I'd hoped.

This does have some very fine, subtle pink shimmer in it, but I didn't manage to get it to show up in any of the photos I took.
After a couple days with just the TLC, I decided to add one of the Sally Hansen Salon K-Design nail art stickers I'd picked up from that display. I thought the silver holo of the Diamond design would go well with the pale purple.

The directions seemed straightforward:
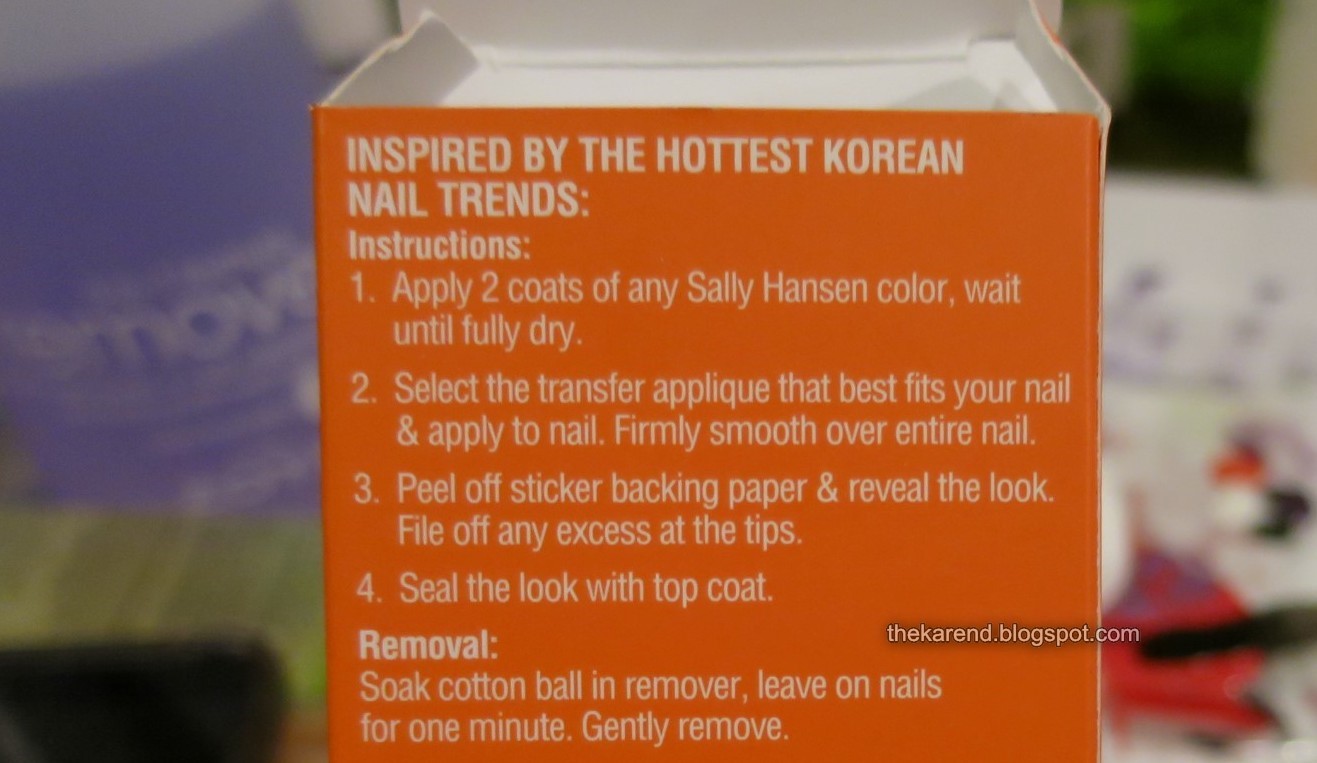
Inside the package there are two folded strips with eight decal sections a piece (the sections are perforated):

The directions in step 2 don't explicitly say to remove the decal from the plastic backing, but you've got to in order to free the very thin decal to put it on the nail.

Because these aren't see through and the black area around the design is rather wide, I had trouble judging where to place the decal. On my first nail, one of the segments extended beyond the end of nail, so I had to lift it off with a manicure stick and move it to a better location.
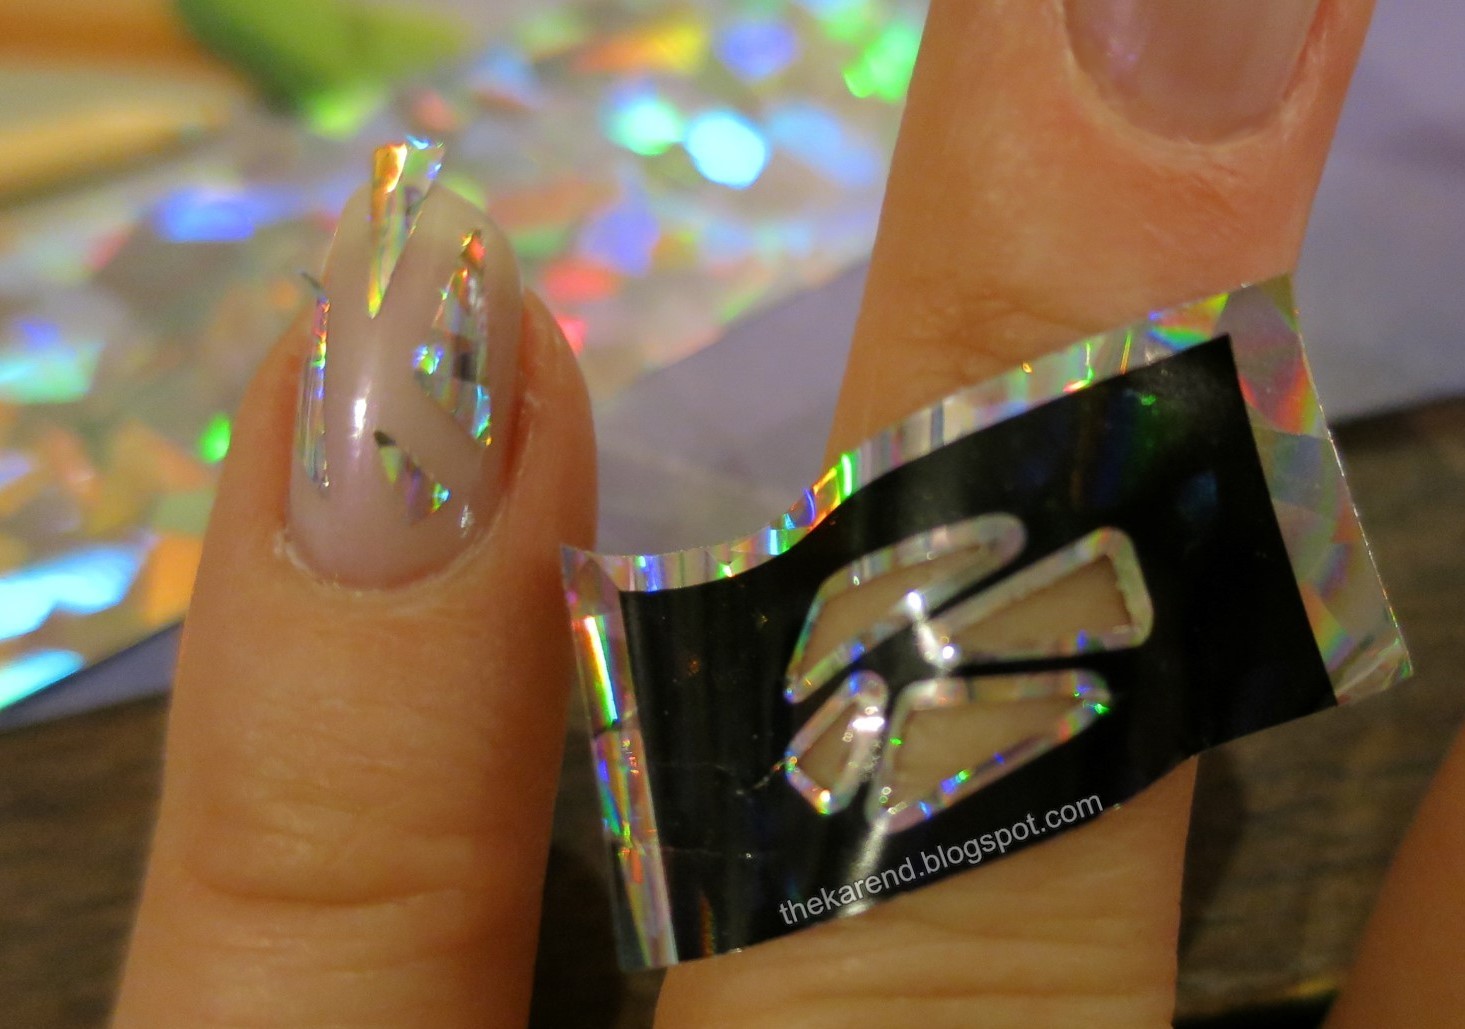
After that struggle, I hit on the idea of trimming one end of the decal so it would better match the curve at the base of my nail, which made it easier to put in the right place. I found it easiest to do the trim before I peeled the decal off the plastic backing.

Peeling the background off was generally pretty easy. I had a few individual shards either get stuck in the background or have the sticky layer separate from the holo foil layer but was able to remedy by trimming my own shapes from the margin left around the black section on the strips.
I used one coat of Sally Hansen Diamond Flash topcoat to seal these; that seemed sufficient to smooth over the decal shapes.
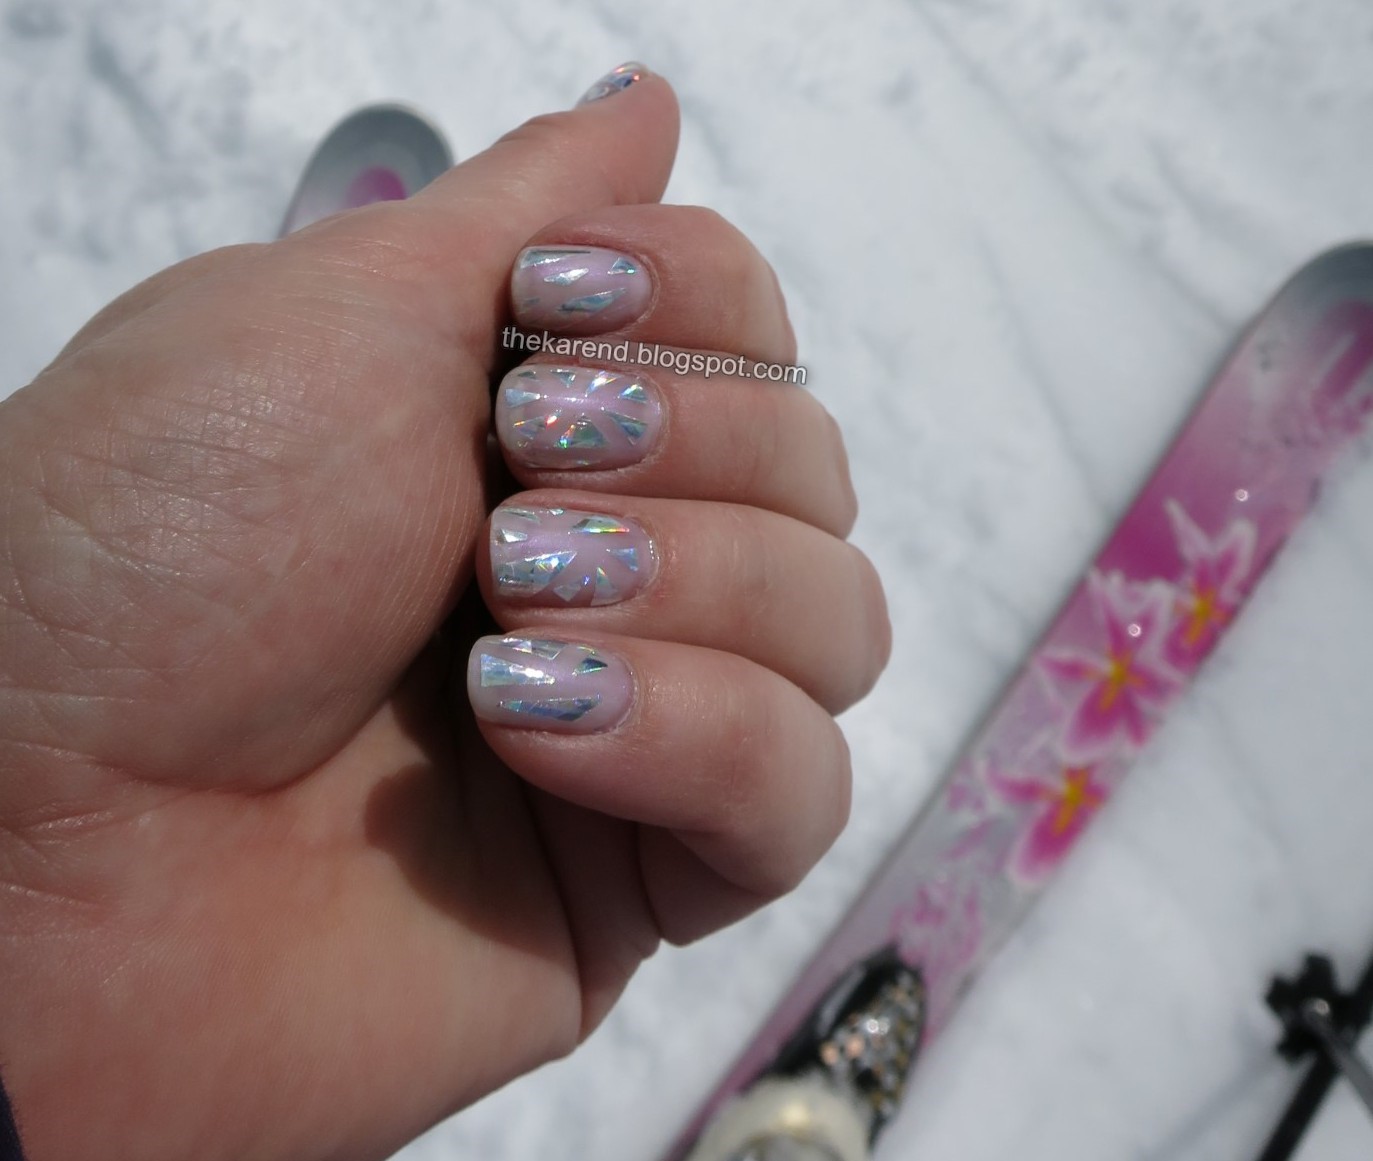
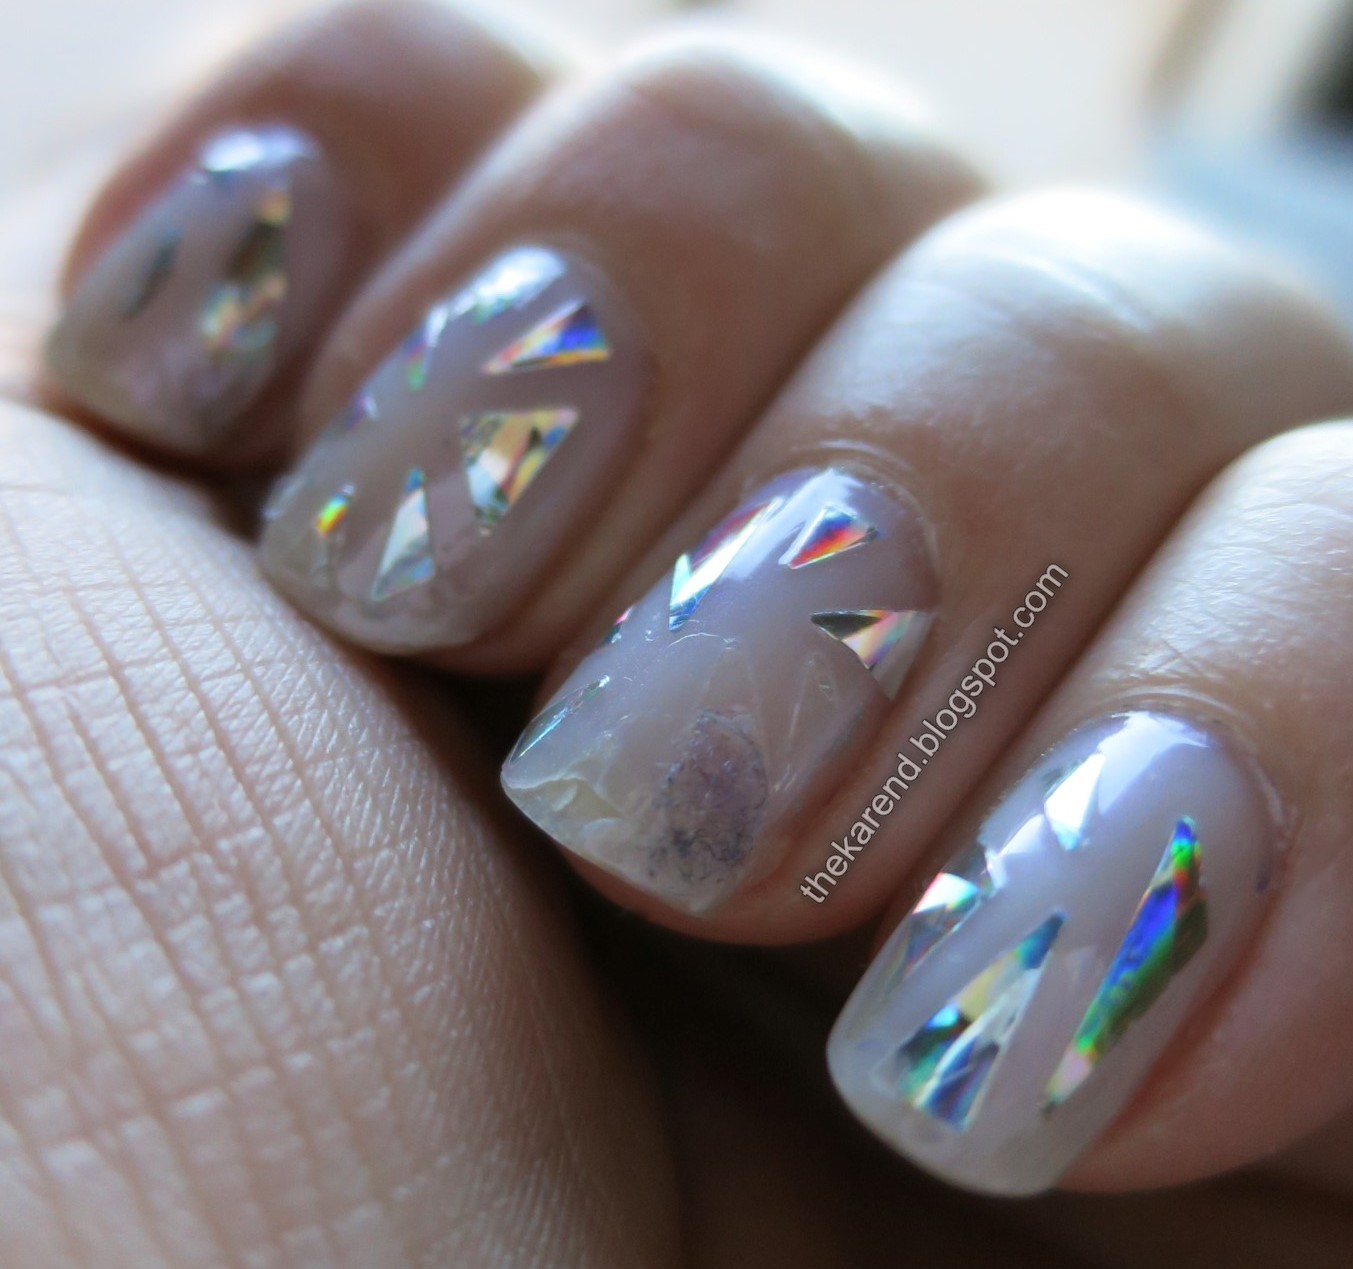
I was pretty happy with the finished look, though the gaps between segments were wider than I'd like.

The rainbow colors sparking off the holo were good in indirect light as above, but were better in direct light (below).

I wore this look for what is probably my last day of skiing this past Sunday, and it was warm and sunny enough that I took my gloves off a few times to admire the colors.

After a couple days of wearing these, I was rethinking the single layer of topcoat, as some of the decal sections were lifting (sometimes entirely, sometimes just the foil, leaving the sticky layer to pick up lint—not a good look). The worst were ones that were close to the edges of my nails, so when I use the leftovers for accent nails, I'll take care to place them so they are farther away from my tips and sides if I can. Of course it doesn't help that my peelies are still a factor, and that's not the decals' fault.
I didn't realize until I was putting this post together that the Korean nail artist who popularized these looks had been discussing collaborating with Sally Hansen before these products came out but was not part of creating them nor was she compensated in any way for inspiring these products. There's more on the controversy over on Racked. Now that I do know, I probably won't buy more of these kits, but I will use up the ones I already have.

Pretty look and good news! I've found actual cellophane is as easy to work with as a sticker without the moral quandary. Also, sorry to hear you lost you camera and very happy you had a backup.
ReplyDeleteThanks, Lisa! I might try cellophane at some point, but probably only as accent nails as I'm not sure I have attention span for full mani in that technique. :)
Delete