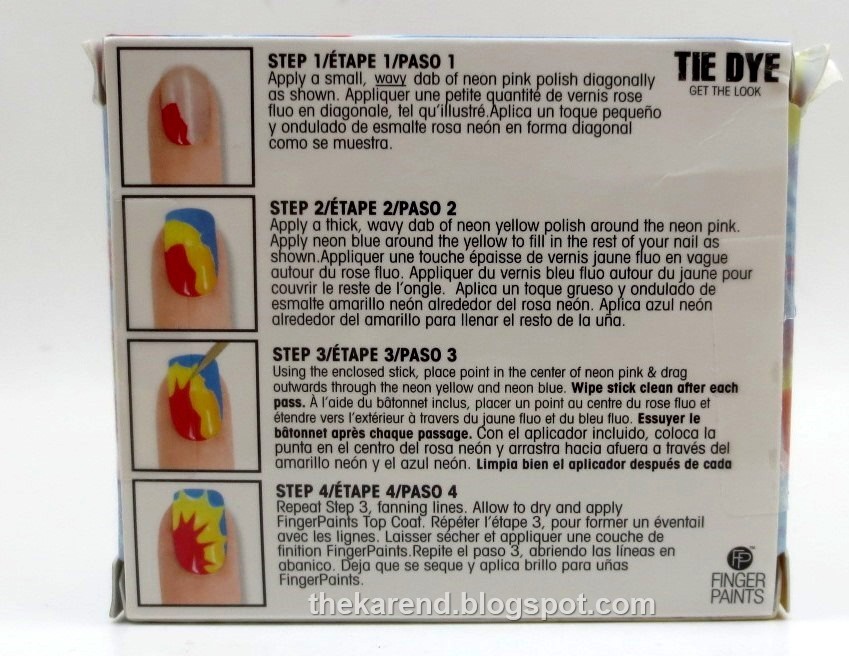
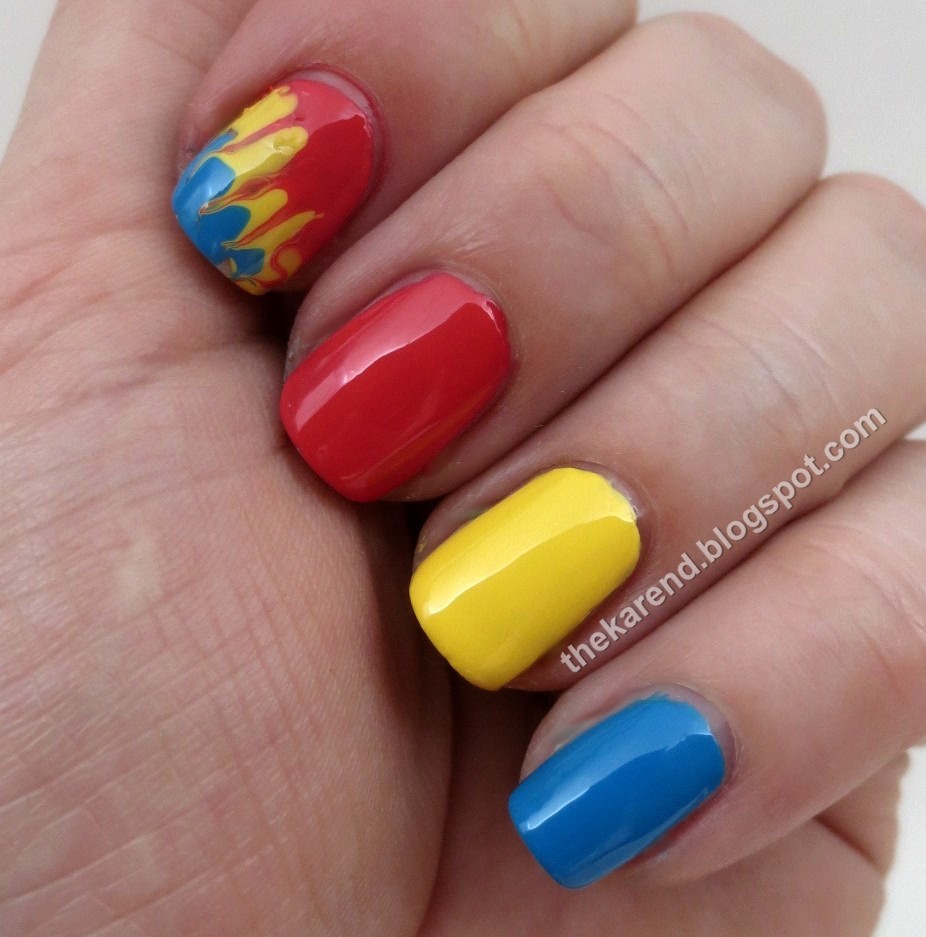
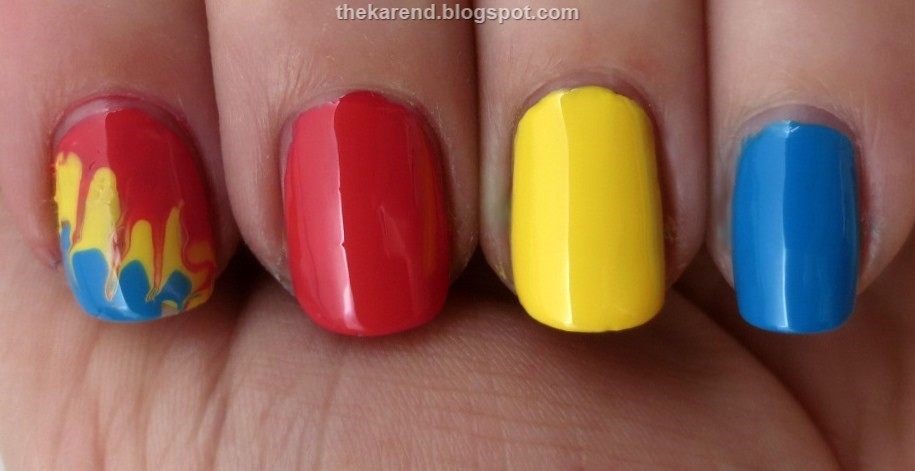
I set out to recreate the nail art per the instructions on the mini kit. By step 3, I was already distracted and thus failed to read the "wipe stick clean" part (which really I should have known anyway), which meant I made a big mess instead of nail art so took it off and tried again. I wasn't overjoyed with my second attempt either, so what you see below is my third try, when I used thicker application and a lighter drag than my first two. It's still not a match for the nails on the box, but for all I know those were made with Photoshop instead of polish. Frustrated, I abandoned the idea of doing all my nails up fancy and just went with solid colors on the last three. Far Out Fuchsia is not what I consider fuchsia but rather a reddish pink; I used two coats for my swatch. Yellow Out Man is indeed yellow; it was a three-coater. Be Hippy is a deep sky blue; this was nearly a one coater and let very slight staining when I took it off.
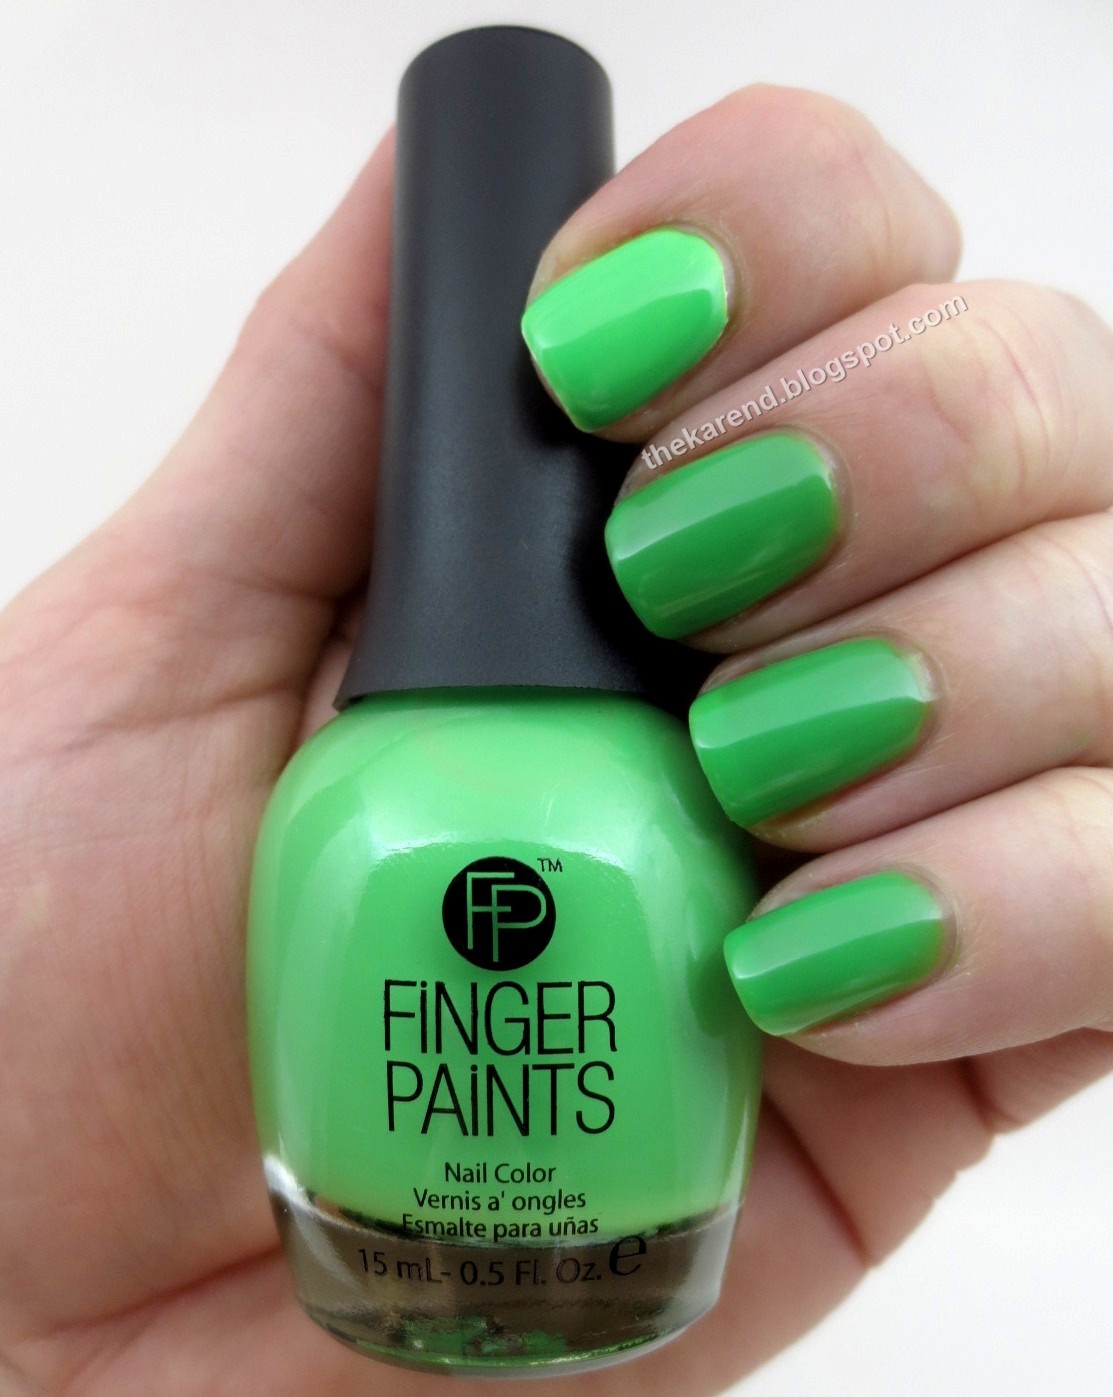
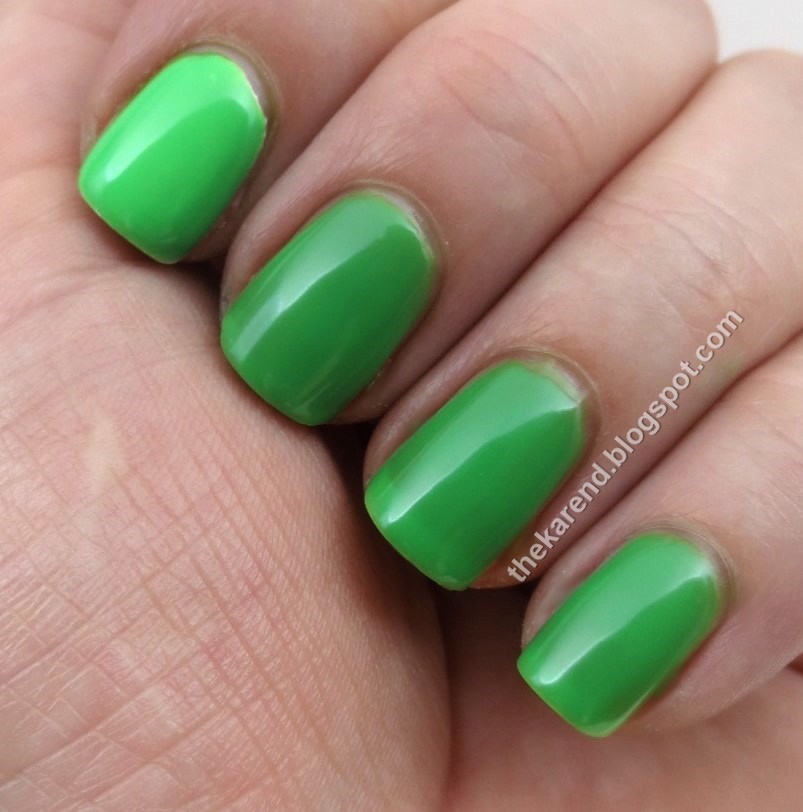
I tried to do a similar look with the green and orange, but the formula on the green didn't cooperate; it was more runny than the others, so I resorted to single color swatches. I did a white base on my index finger first, then added Peace Love & Green; two coats on the white nail and three on the others. The white base definitely brightens it up; apparently this one has more neon pigment in it, as it dries a touch less glossy than the pink, yellow, and blue did. If you look closely you can see a hint of visible nail line in the photos; it wasn't so obviously to the naked eye.
The orange, Tie Dye Tangerine, was back to the same sort of formula as the first three, as evidenced by the fact it's not really evident that I did the white base on my index finger approach again like with the green. It's one coat over the white and two coats on the other three fingers, and they all look pretty much the same to me.
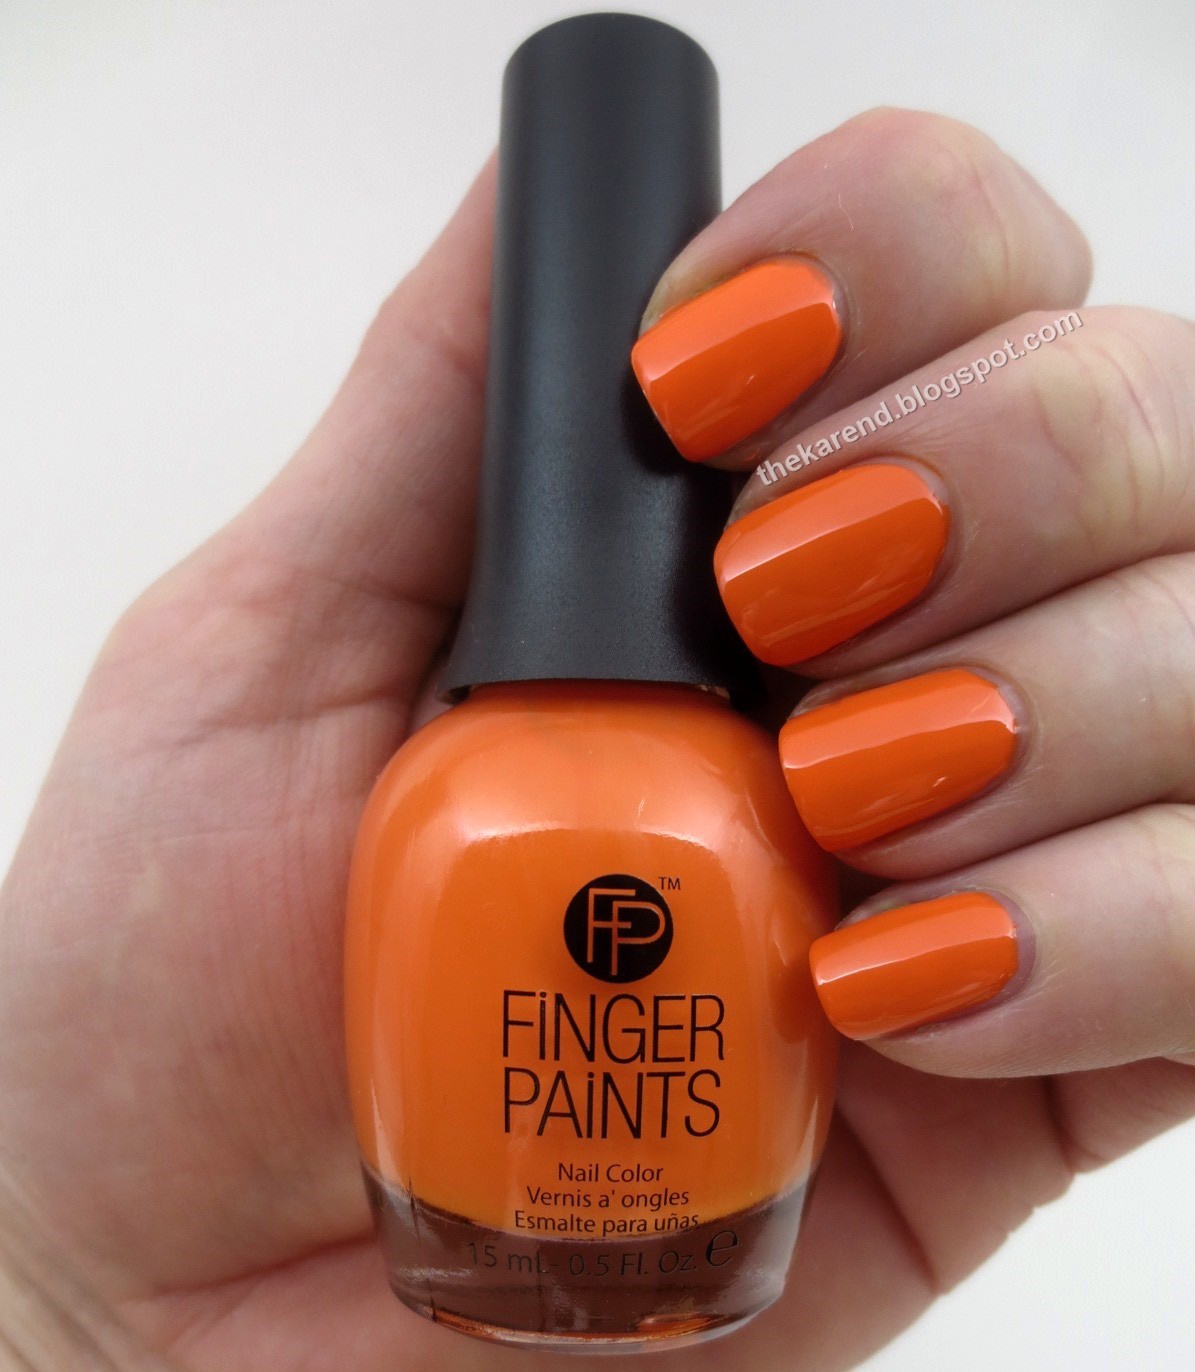
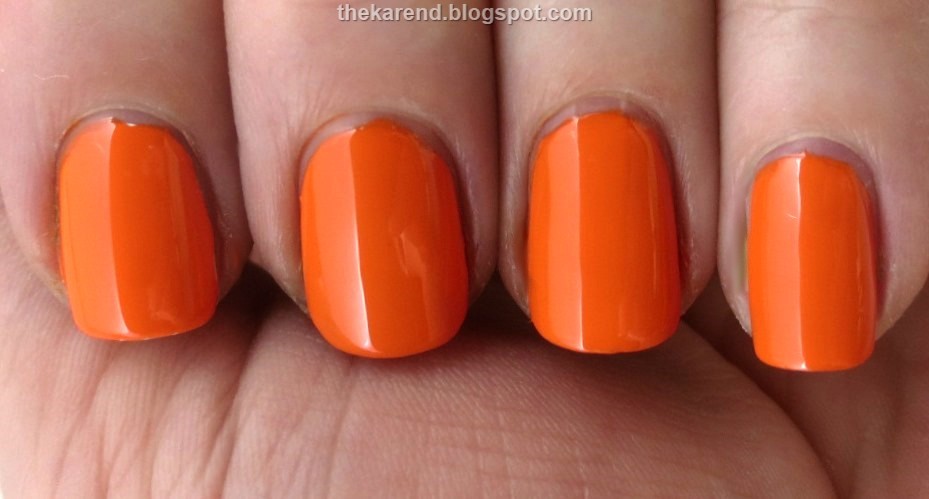
If the green had a less sheer formula like the rest of its siblings, it would be my favorite of the group, as I do like the color. As it is, my favorite is the orange; such a happy summer color.
I did pick winners for my 5th Blogiversary Giveaway. All but one winner has gotten back to me. I'll give her a few more days then redraw for that prize and then get an entry up about the results, including some notes about the relative popularity of the prizes because that sort of data interests me.

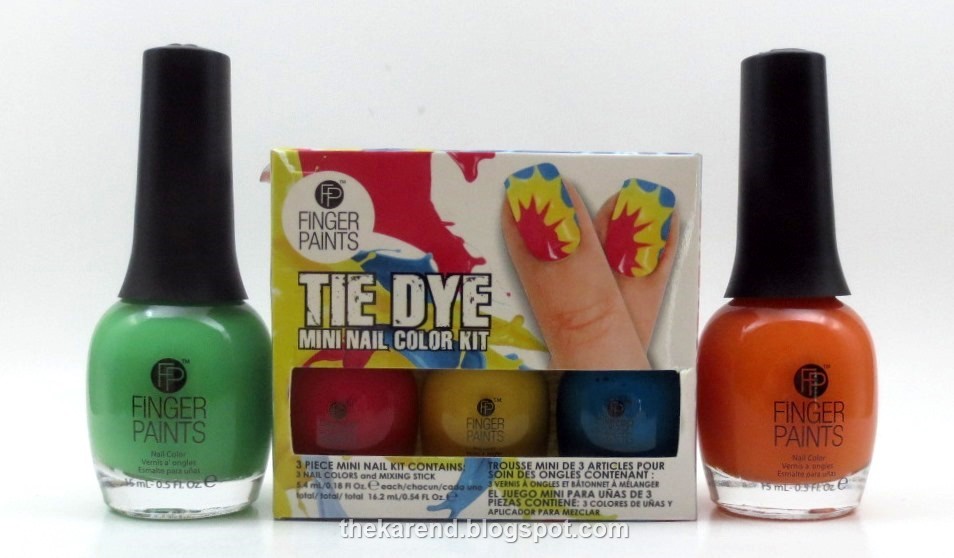
Those are pretty and for someone who doesn't have these colors, this is a great collection to start with as everything you need for the rainbow is included. I really like FingerPaints formulas and colors. The price is pretty decent too.
ReplyDeleteI love the idea of tie dye nails, but I'm sure that I can't get that result on the box either :)
ReplyDeleteYou need to work fast, and a striper brush might be more handy to use as your cannot really press it too hard down the polish...
ReplyDeleteThe colours are so nice. It does look tricky to get the design they've done :-|
ReplyDeleteI love the colors! Incidentally I've never seen the on-the-nail drag method *really* work as advertised. I did it once with random swirls and the polish was SO THICK just to get anything moving. :p
ReplyDeleteI love this post. :) I totally know what you mean about trying not to buy colors that are a mere half shade different than seven polishes you already have!
ReplyDeletecool colors, love the nail art :D
ReplyDeleteOhh I love the look of these colours, so bright and fun and the step by step guide is just awesome! I've never done tye dye but these look like the perfect colours for it :) xx
ReplyDelete